Wednesday, June 13, 2012

Applique Mixed Media Art Quilt


A couple of years ago I wanted to experiment with some fusible applique and Heat and Bond. It seemed like a great way to create something really new and interesting. I had purchased some roving wool, but had never worked with it before. It came in an assortment of six colors to a packet.


I used fabric from my stash that had quaint houses and flowers in the print. I fused a piece of Heat and Bond to the back of the fabric and started cutting out the cute little houses and buildings. I created a background out of landscaping fabrics and some really interesting tree fabric. The layout of the piece at this time of the project became a lot of hit and miss. I really did not have a clear idea as to how I wanted to project to look in the end, so I auditioned the fabrics in many different ways before they started to come together.


My husband is always interested in what I am doing. Here I am placing some of the flowers on to the background to create a layering effect.
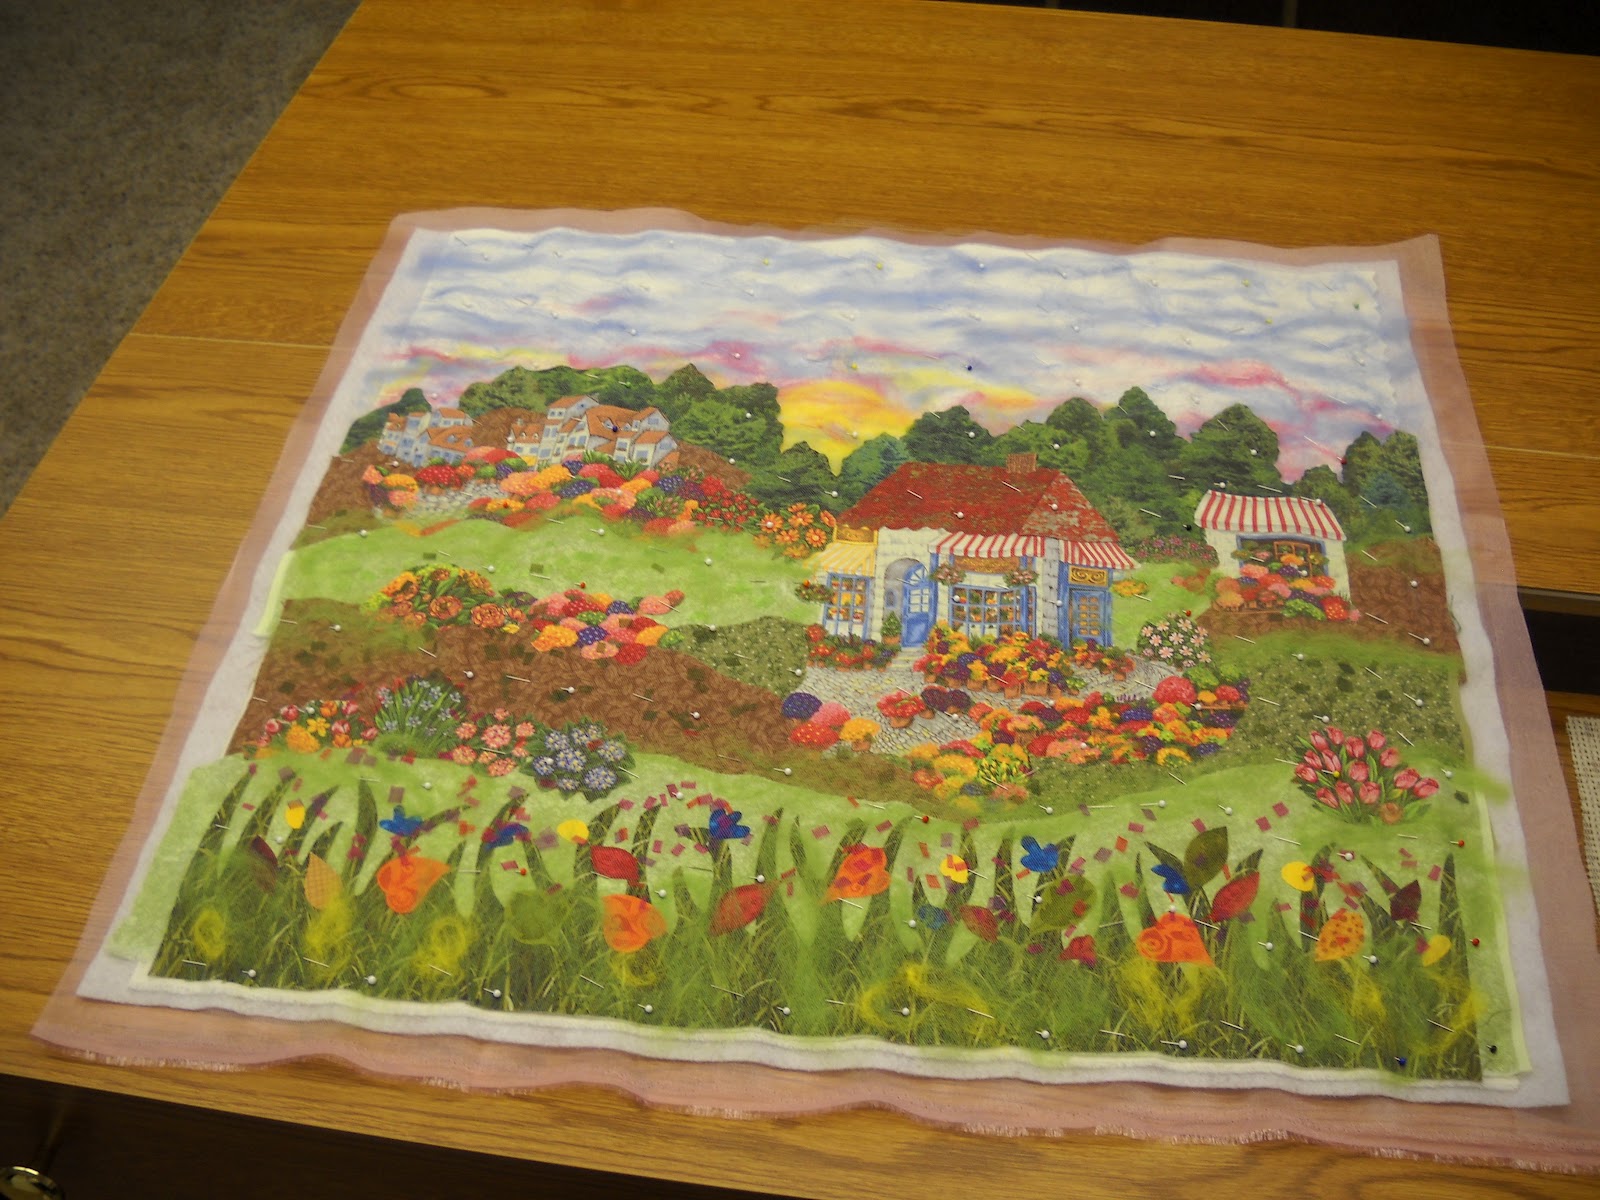


When I originally started this project, I did not have any plans of sharing it with the quilting community. Unfortunately, I did not take a lot of photos during the creation process. I used the roving wool to create the sun and the sky. Once I had all my fabric arranged to create a scene of hills, a forest of trees, and my flower gardens and houses, I fused it all down to my background of muslin. I then covered the entire quilt with bridal tulle. I added batting to the back and pinned it in place.
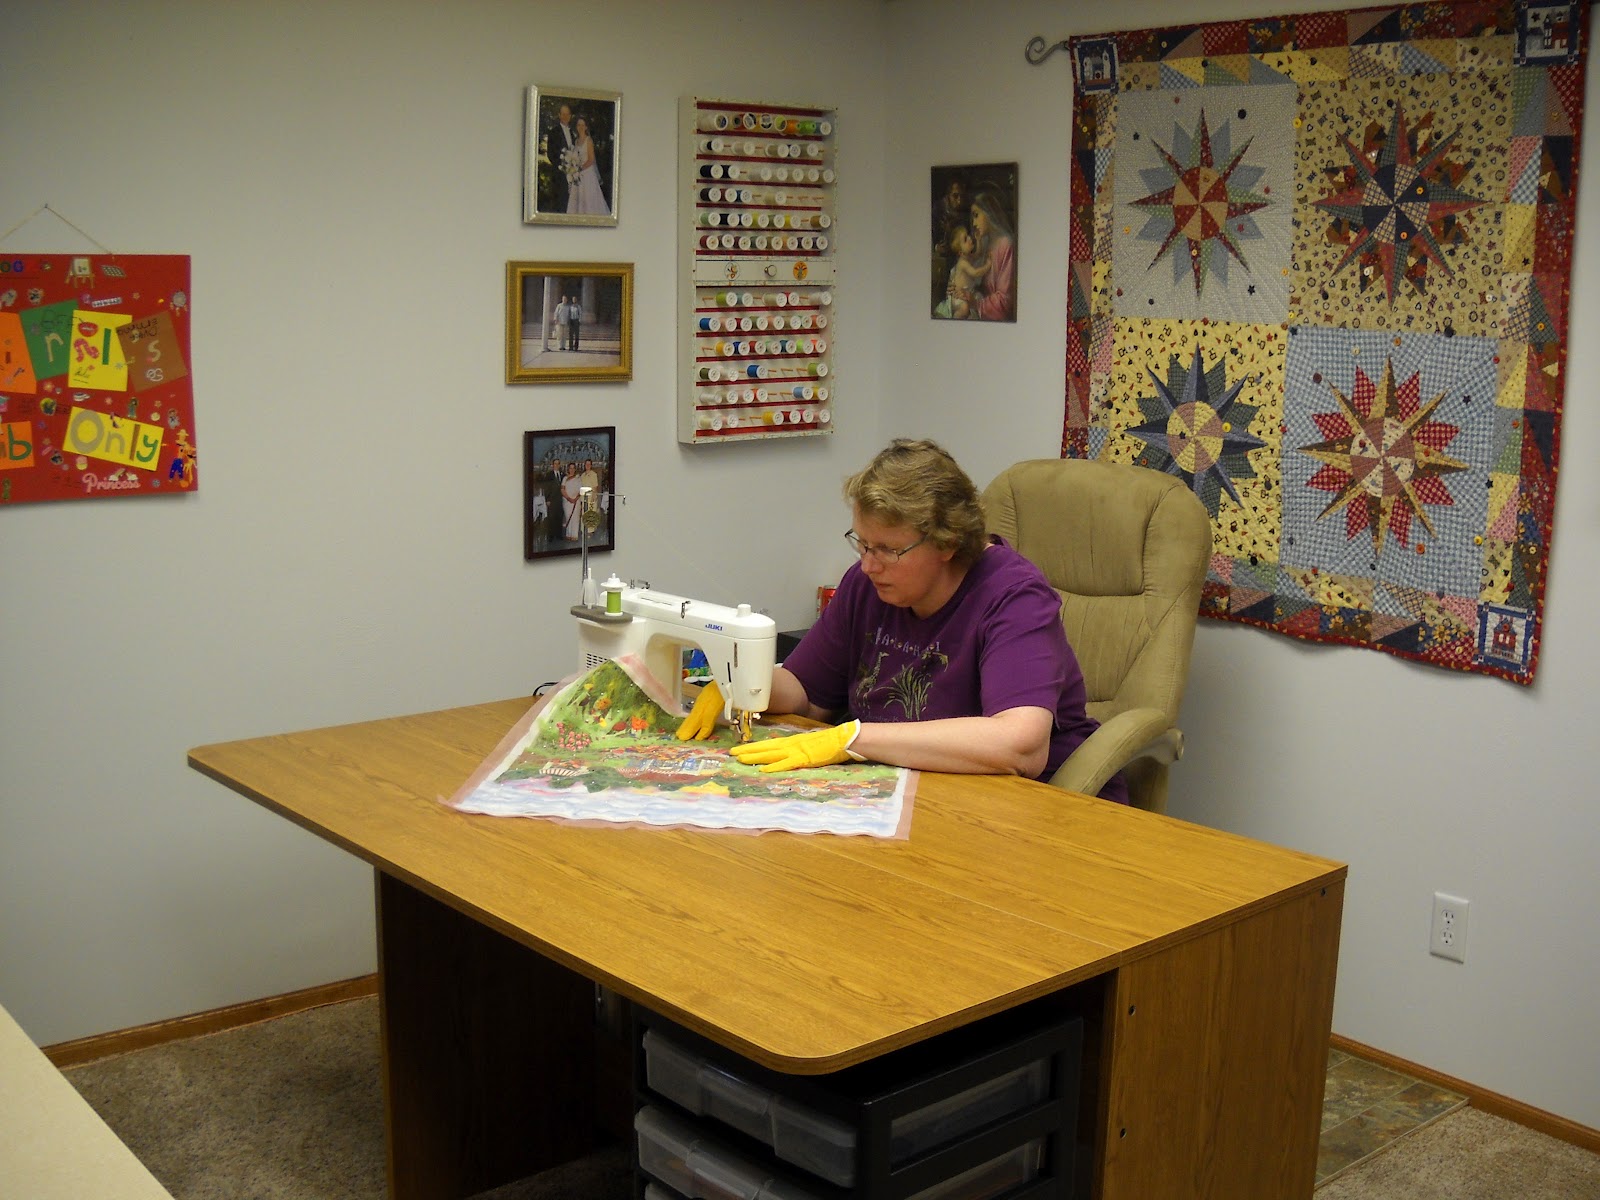


My husband bought me a beautiful Juki sewing machine and a new table. I just love it. The machine is a real work horse with a good motor. It does a great job of free motion quilting. I took the pin basted quilt to the machine and added a lot of stitching throughout the sky and actually over the entire piece.


Once the machine thread painting was done I still needed to find a way to finish the piece. I used strips of black bias tape and gave it the appearance that you were looking out a window. I added a backing and binding and did a little more machine quilting. I wanted to have this as an actual piece of artwork, so I decided to put it into a solid black frame to keep with the window effect.


My daughter Barb really likes the color green, and since that is the primary color I used, I knew she would enjoy this project. She was really surprised when she opened her gift.
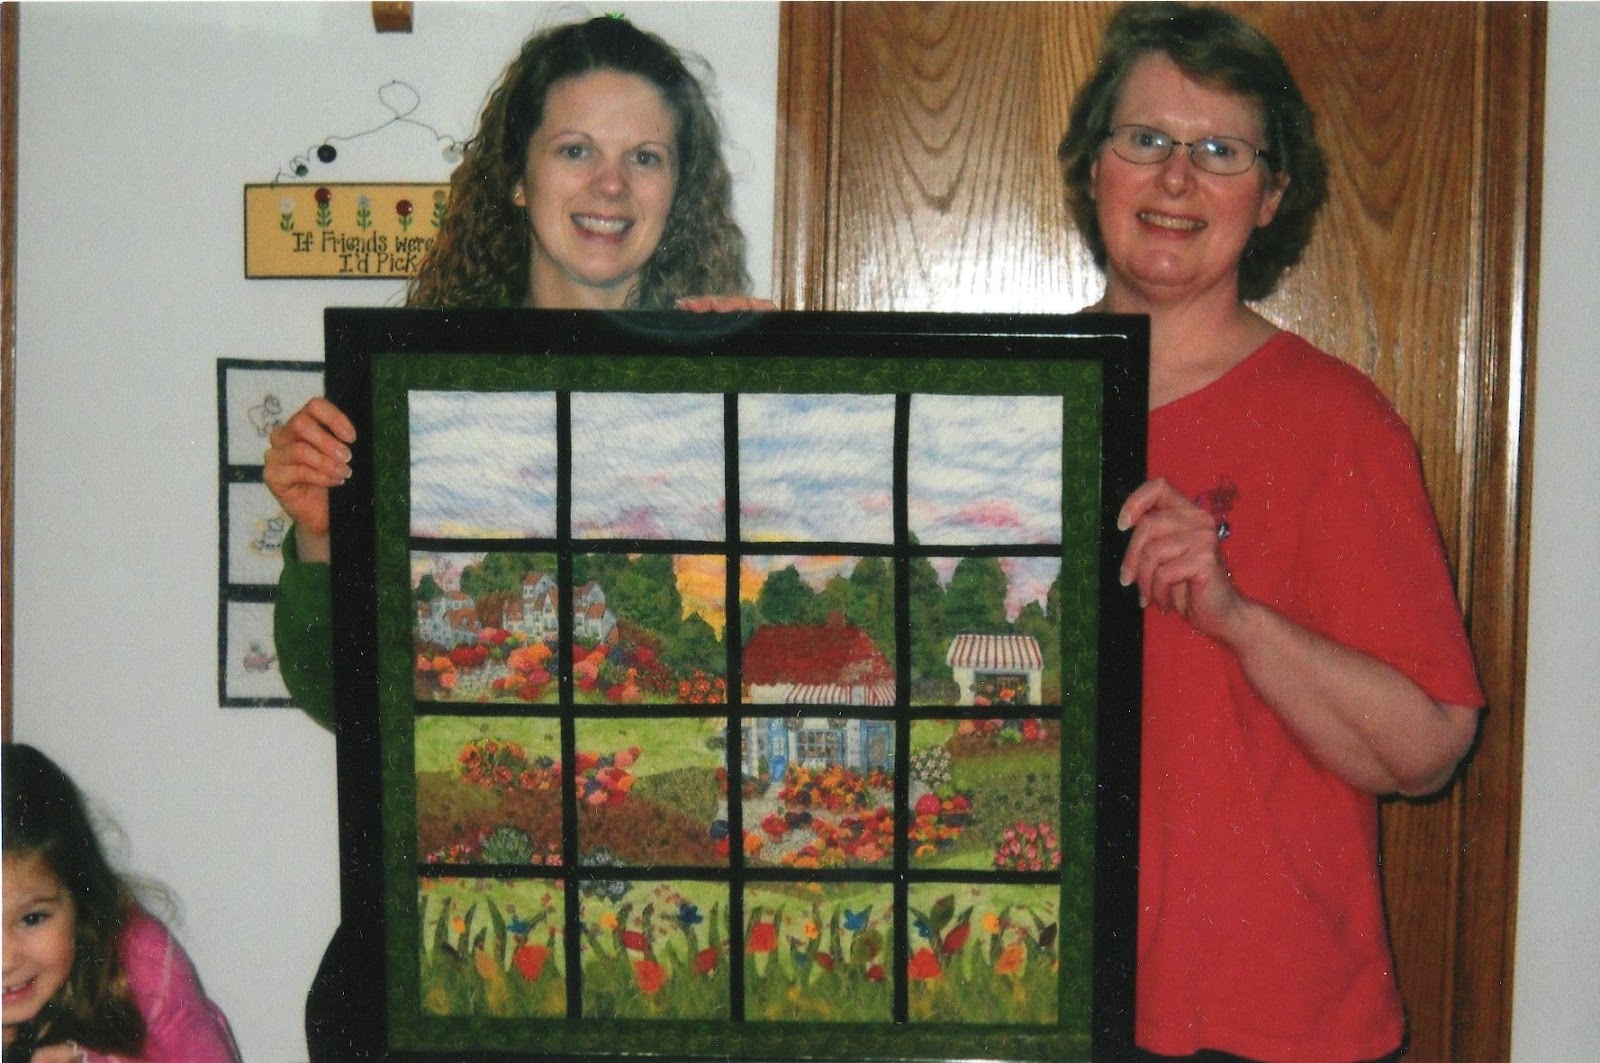


Here we are with the finished quilt. I called this art quilt, “The View Out My Window.”

Friday, May 25, 2012

The Golden Wedding Anniversary Quilt


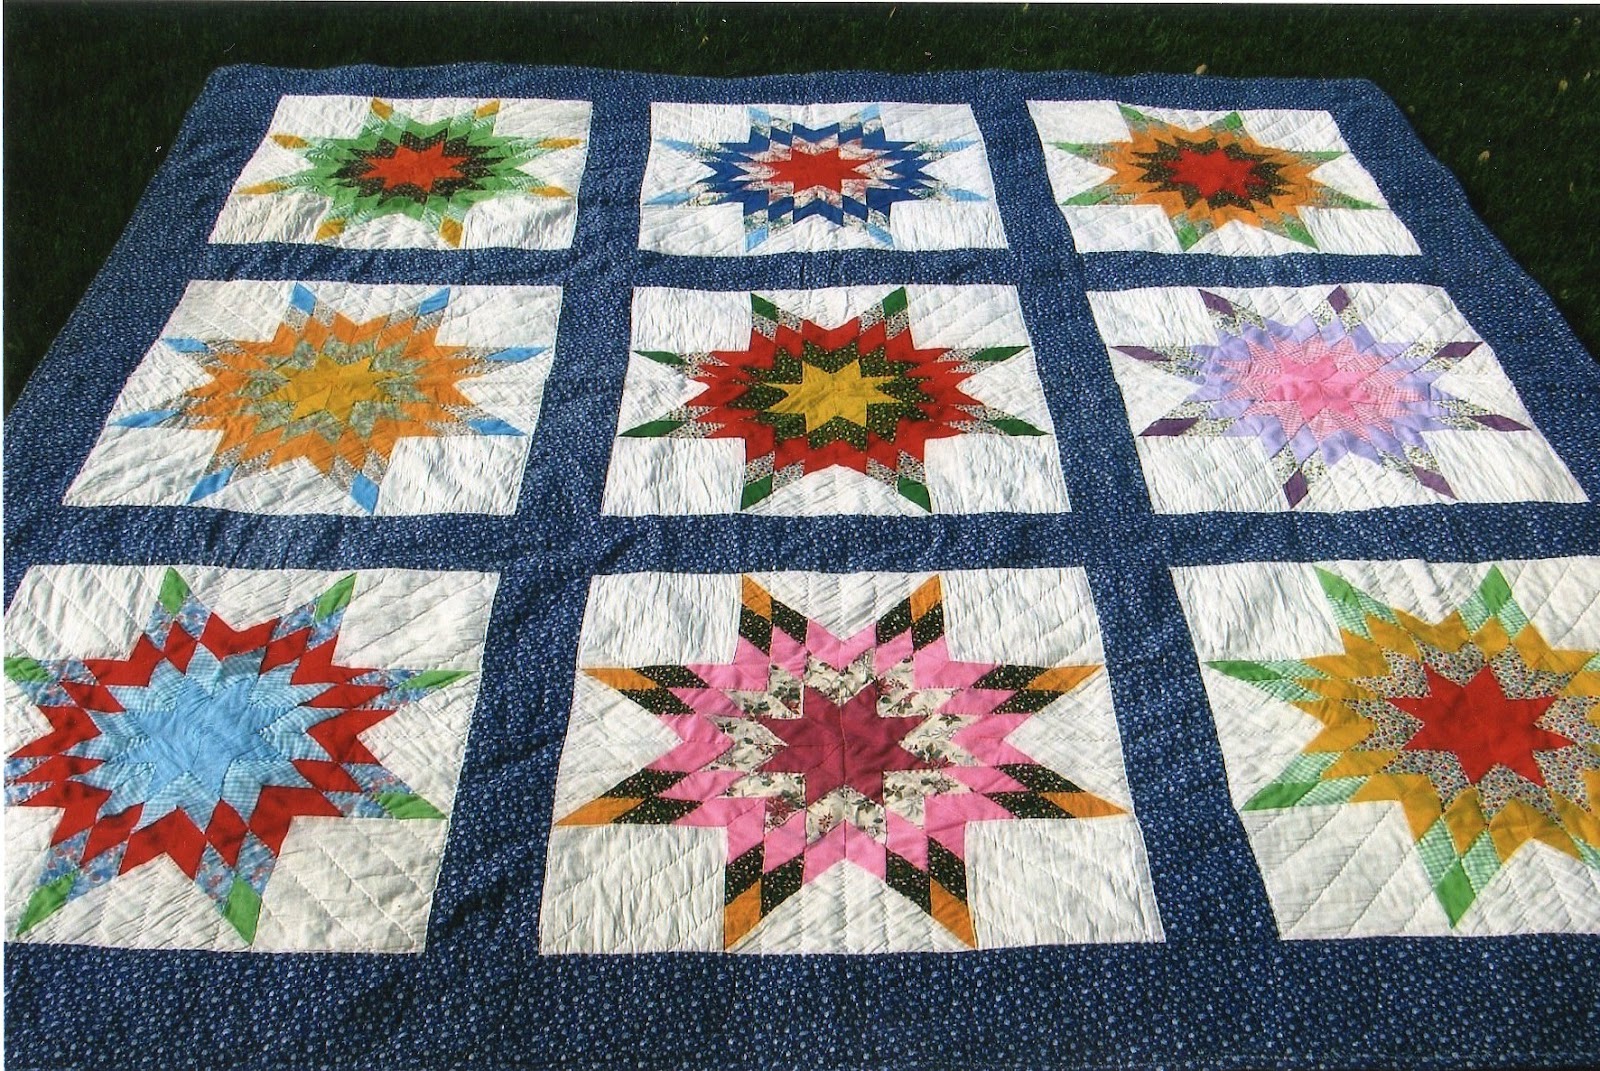
My Aunt Mayme taught me to quilt when I was 13 years old. By the time I was 15, I was hooked. I did not have a sewing machine of my own back then. I learned how to operate my Mom’s old Necchi machine. The big talk of the summer was the upcoming Golden Wedding Anniversary of my Grandma Gert and Grandpa Nick. There was going to be a big party with music and dancing. How excited I was! I wanted to make them something special, so I decided on a quilt.


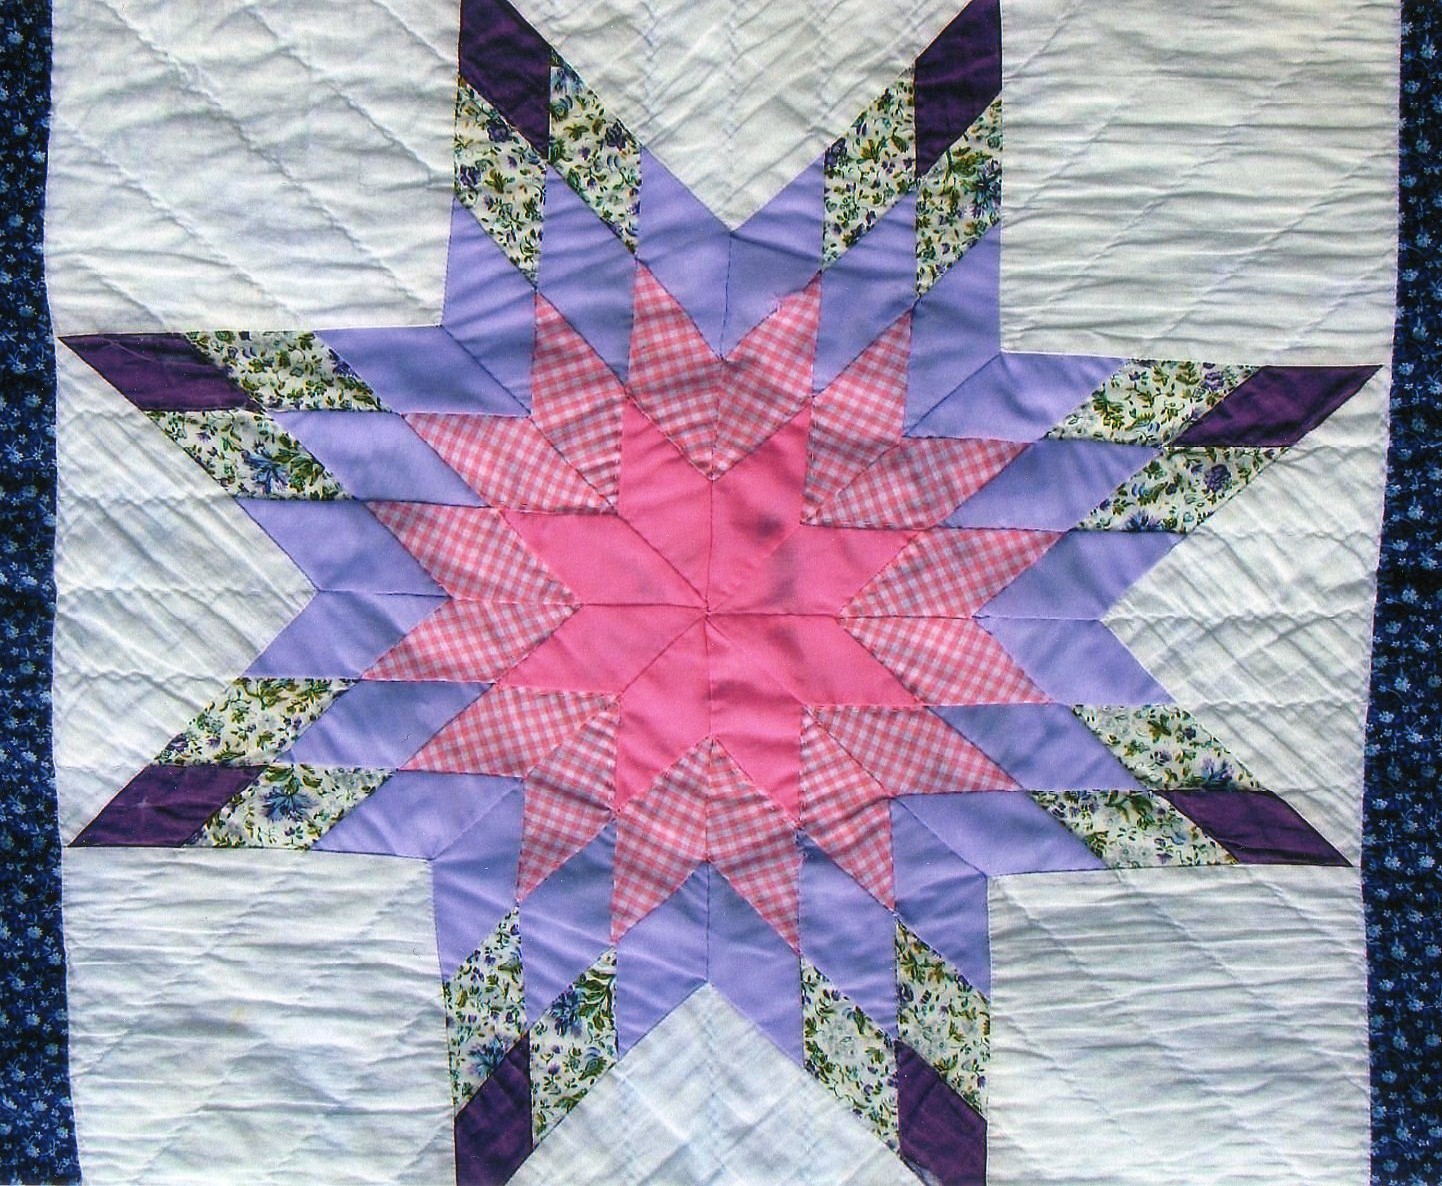
I chose an eight point star pattern. Now remember I was just entering my 2nd year of quilting. I did not even think about the difficulty level of the project at hand. I saw a picture of this pattern and it only had one template. I thought this must be an easy pattern…..  Just one template! I had a small brown paper bag at the time that was filled with my fabric stash. This bag was like a treasure chest to me. I had never heard of the color wheel, and gave no thought to which colors went well with another. All I knew was that this quilt had to be beautiful.


I went thru the fabric bag and selected a few fabrics for each star block. I then cut several diamond templates from cardboard cereal boxes for my pattern. I started tracing my templates with a number 2 pencil and cutting the diamonds by hand. No rotary cutter for me back then. I put my little stacks of diamonds together in plastic baggies, so as not to mix them up. When I had all nine blocks cut out, I put them in a cardboard shoebox with a spool of white thread, a needle and a small scissors. This was my sewing kit for the project and I was so happy I could finally start to sew. The diamonds were very small, so I decided I had better sew them together by hand. I had seen Mayme do it a million times. How hard could it be??


I worked all summer on that quilt and when I finally had the stars assembled, I had to figure out how to put in the white corner squares and triangles. This part was more difficult than sewing the diamonds. When it came to adding the sashing and border I used the sewing machine, and then I really made progress. My Dad was overseeing the quilt project from the start. He kept telling me that I will never get it done in time for the big day. Once the top was done, I then stretched it into my large wooden floor frame and hand quilted it. The quilt was still in the frame the night before the party. My dad told me I would never get it done. I worked all night and even hand sewed the binding. By morning it was on the kitchen table, all wrapped up in shiny gold paper tied with a big bow. There is a sad part to this story. The big day flew by and by evening all the gifts were taken to the farm and I didn’t get to see them open their gift. I never saw my beautiful quilt again. I didn’t even take a picture of it when it was finished. When Grandma and Grandpa passed away, everything was divided between the children. One day while I was talking to my oldest daughter April, I brought up the quilt. Thirty-five years had gone by and I had no idea where the quilt was. The last time I had actually seen the quilt was that night so long ago when I wrapped it up for their party. I told April that of all the quilts I have given away over the years, this is one I would like to see again. Well, it didn’t take long for her to call the youngest aunt, Alice, and ask her about the quilt. We found out that the quilt was given to one of the aunts who had asked for it when Grandma passed away. April asked if she could see the quilt, and take some pictures. She didn’t tell me she had located the quilt. Imagine my surprise when she handed me a packet of pictures and there was my quilt. I cried, and was so touched that she had done such a wonderful thing for me. I pondered over those pictures and was amazed I could still identify all those wonderful fabrics I had so long ago. The quilt was still in perfect condition. I just thought I would share my quilt with you, and my little story. And remember to ALWAYS take pictures of everything you make!


Friday, May 11, 2012

Appliquéd Heart Quilt


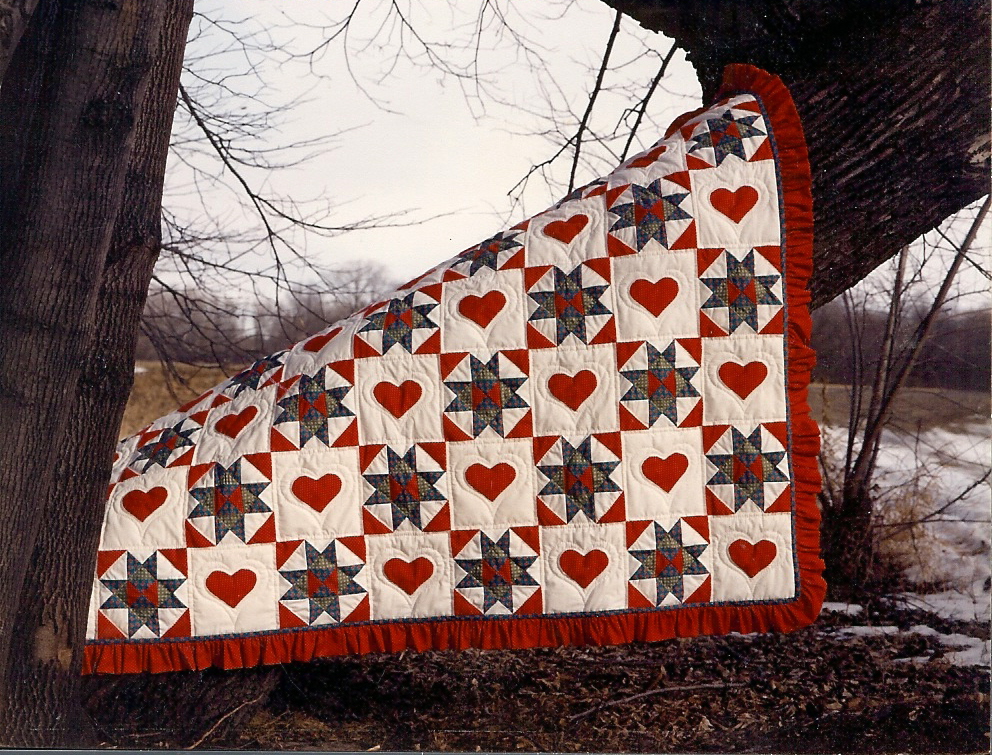
Just a little memory out of the past. I created this hand appliquéd quilt and it was published in the Winter 1991 issue of Quilt Magazine. Although I have made hundreds of quilts, of which most of them I gave away this is one of those that I was always found of.


As I was submitting this to a magazine for publication, I had to take the quilt to a professional photographer. This was something totally new to me. I chose Roger and Becky Ottman, a couple that I would come to just love over the years. Learning how to stage props when photographing an item was a learning process that started with this quilt. When Roger said we should go outside and hang the quilt across the branch of the tree, I thought he was crazy. The photos came out just beautiful with the different backgrounds we used and the additional props we incorporated into the photos.   


This is a full size bed quilt.  When I made this quilt I was a stay at home mother of six very active small children, it was a miracle that I was even able to finish this project. The hearts were hand appliquéd on a cream colored block and then I alternated them with pieced blocks of the Ohio Star pattern. To make the quilt more feminine I added a generous double fold ruffle around the edge.  After I finished the quilt, I decided to submit some photos to Quilt Magazine. I did not know they were going to use it until one day I was in my favorite fabric store add I glanced at the magazines, and there it was on the cover. Wow, what a thrill.

Monday, April 30, 2012

Framed Victorian Quilt Blocks


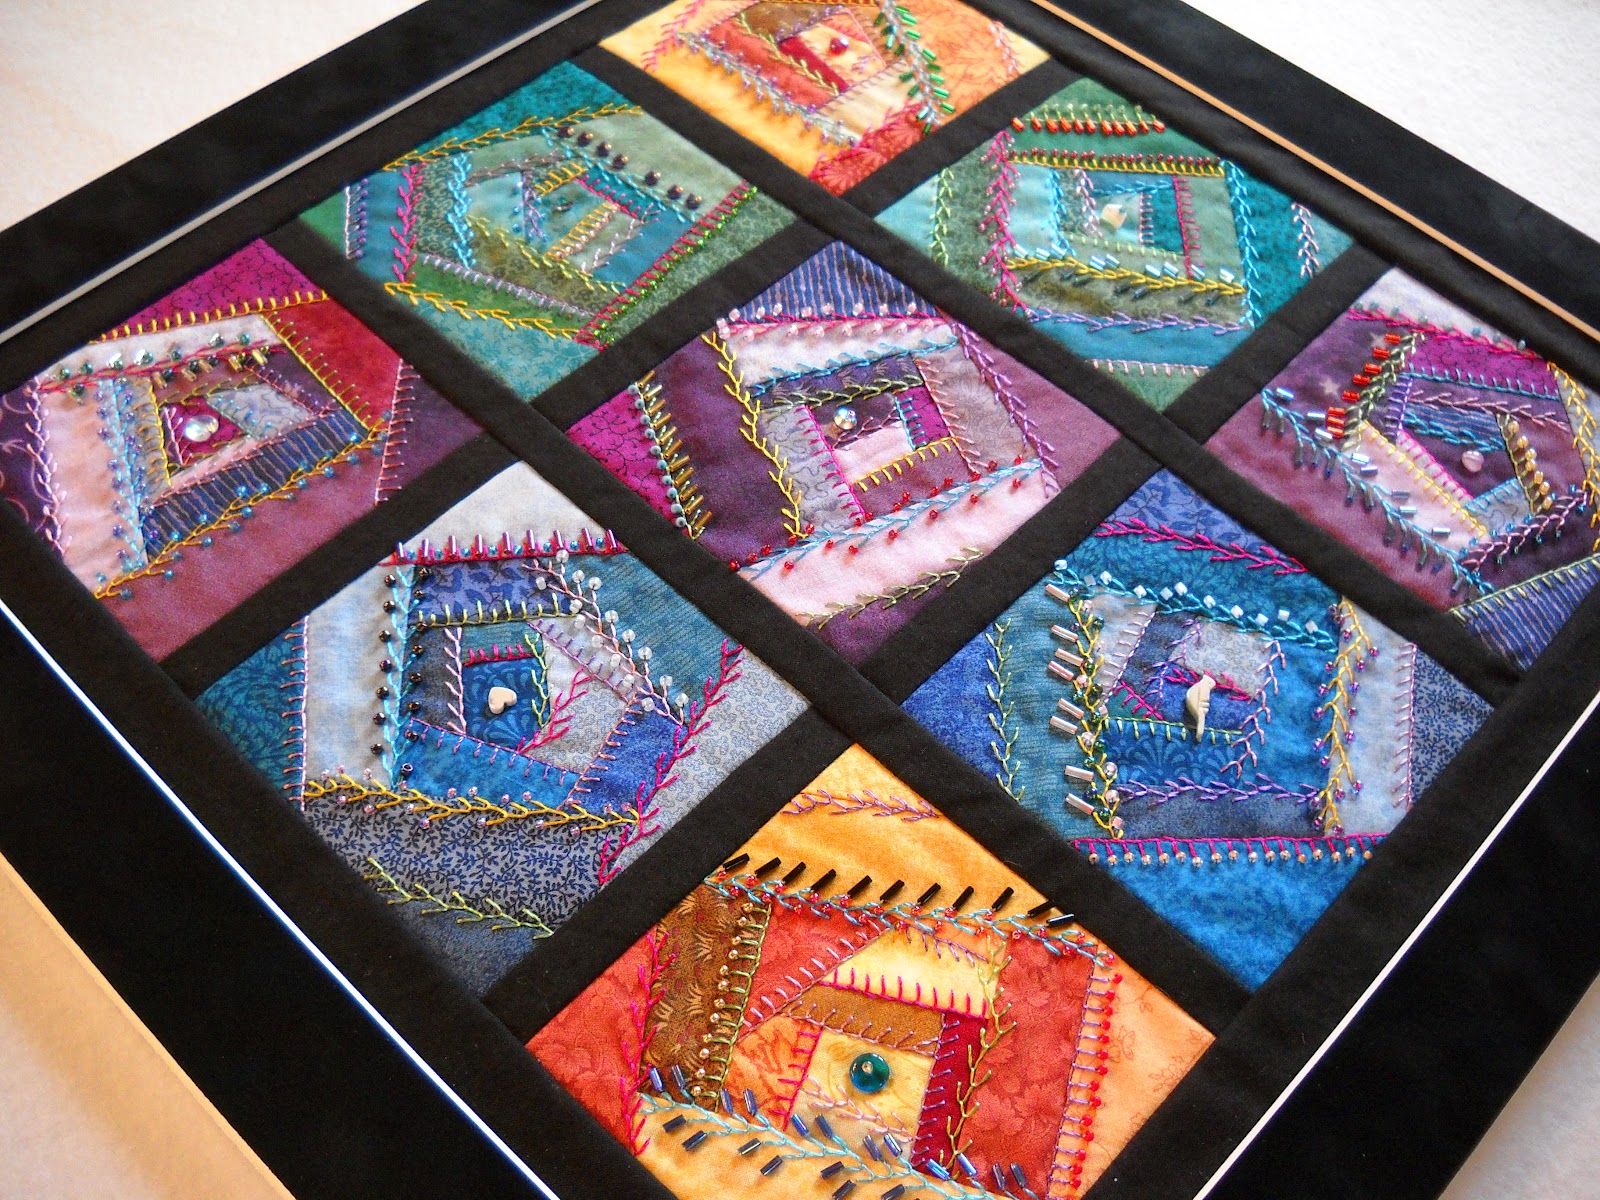
This miniature Victorian Wall Quilt was inspired by my original full sized Victorian quilt that I had finished back in 1996. With the recent interest from my friends on Craftsy.com I decided to post it to the public at this time. I wanted to have fun with some handwork and thought a miniature Victorian quilt would be just the project.


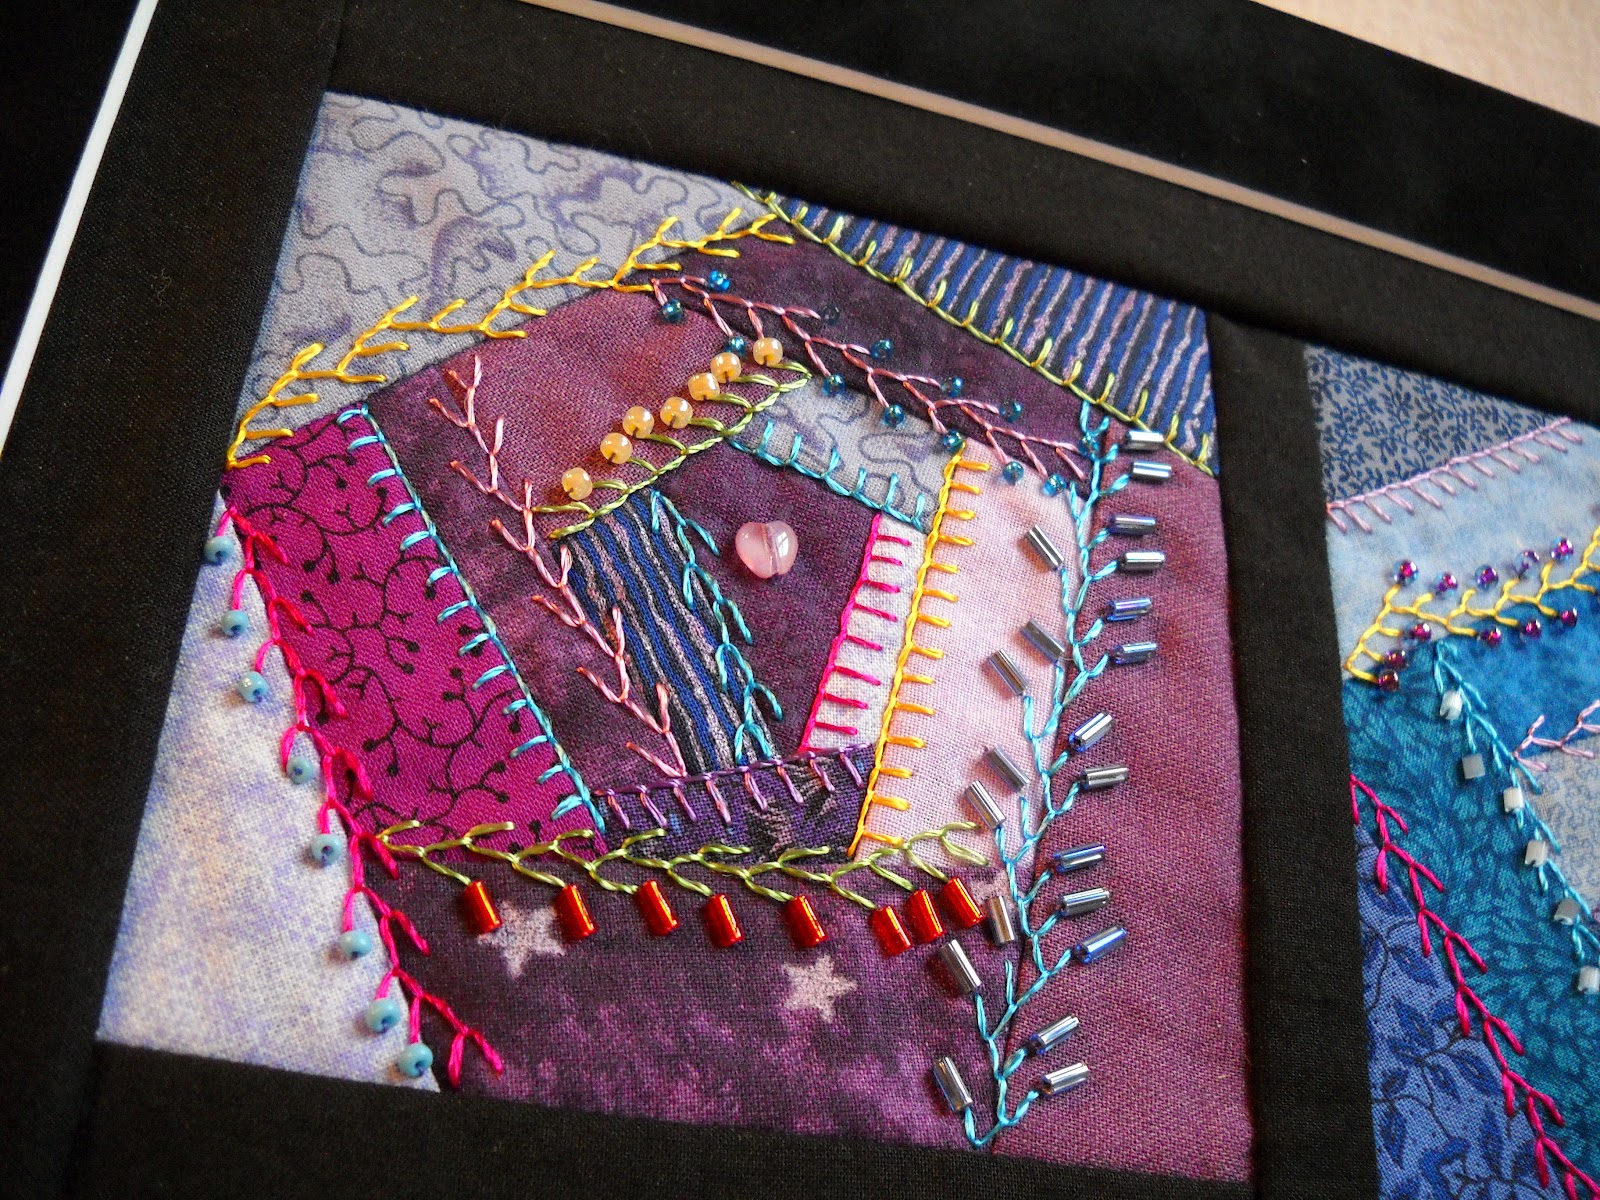
It consists of 9 totally different Victorian blocks each measuring 4 inches. I had it professionally framed with a deep purple frame. A black suede mat with a white core center was used in the framing process.


The blocks were constructed of quilter’s cotton fabrics. I stayed with very small scale printed fabrics. I really like the jewel colors, and decided to select fabrics in those tones for each block. I then chose to use rayon embroidery floss. The strands had to be separated, because they were too heavy for the stitching I was going to do. Making this type of quilt is a good opportunity to try out a large range of embroidery stitches. As a reference guide for stitches I quite often referred to a wonderful book by Judith Baker Montano titled, Elegant Stitches. This text is a beautiful example to use as a reference guide while doing a project like this. The book is small enough to keep in your sewing basket and the illustrations give step by step instructions on creating lovely embroidery stitches and combining them to expand your stitching variations.


After the blocks were put together, I used black Kona cotton fabric to piece them together, with ½ inch sashing strips. I also added a narrow black border. I did not quilt this project because I thought it would distract from the embroidery and beadwork. Below are some close up photos for you to enjoy and view the details I put into each block.


Block one


Block Two


Block Three


Block Four


Block Five


Block Six


Block Seven


Block Eight


Block Nine

As you can see the little blocks are heavily embellished with glass beads. I chose a variety of bugle beads and seed beads, and then added tiny glass buttons, stones and a Mother of Pearl bird. If you were interested in buying this quilt project you can contact me at:   juliesoodlesofdoodles@mail.com


Friday, April 6, 2012

Wool Art Quilts

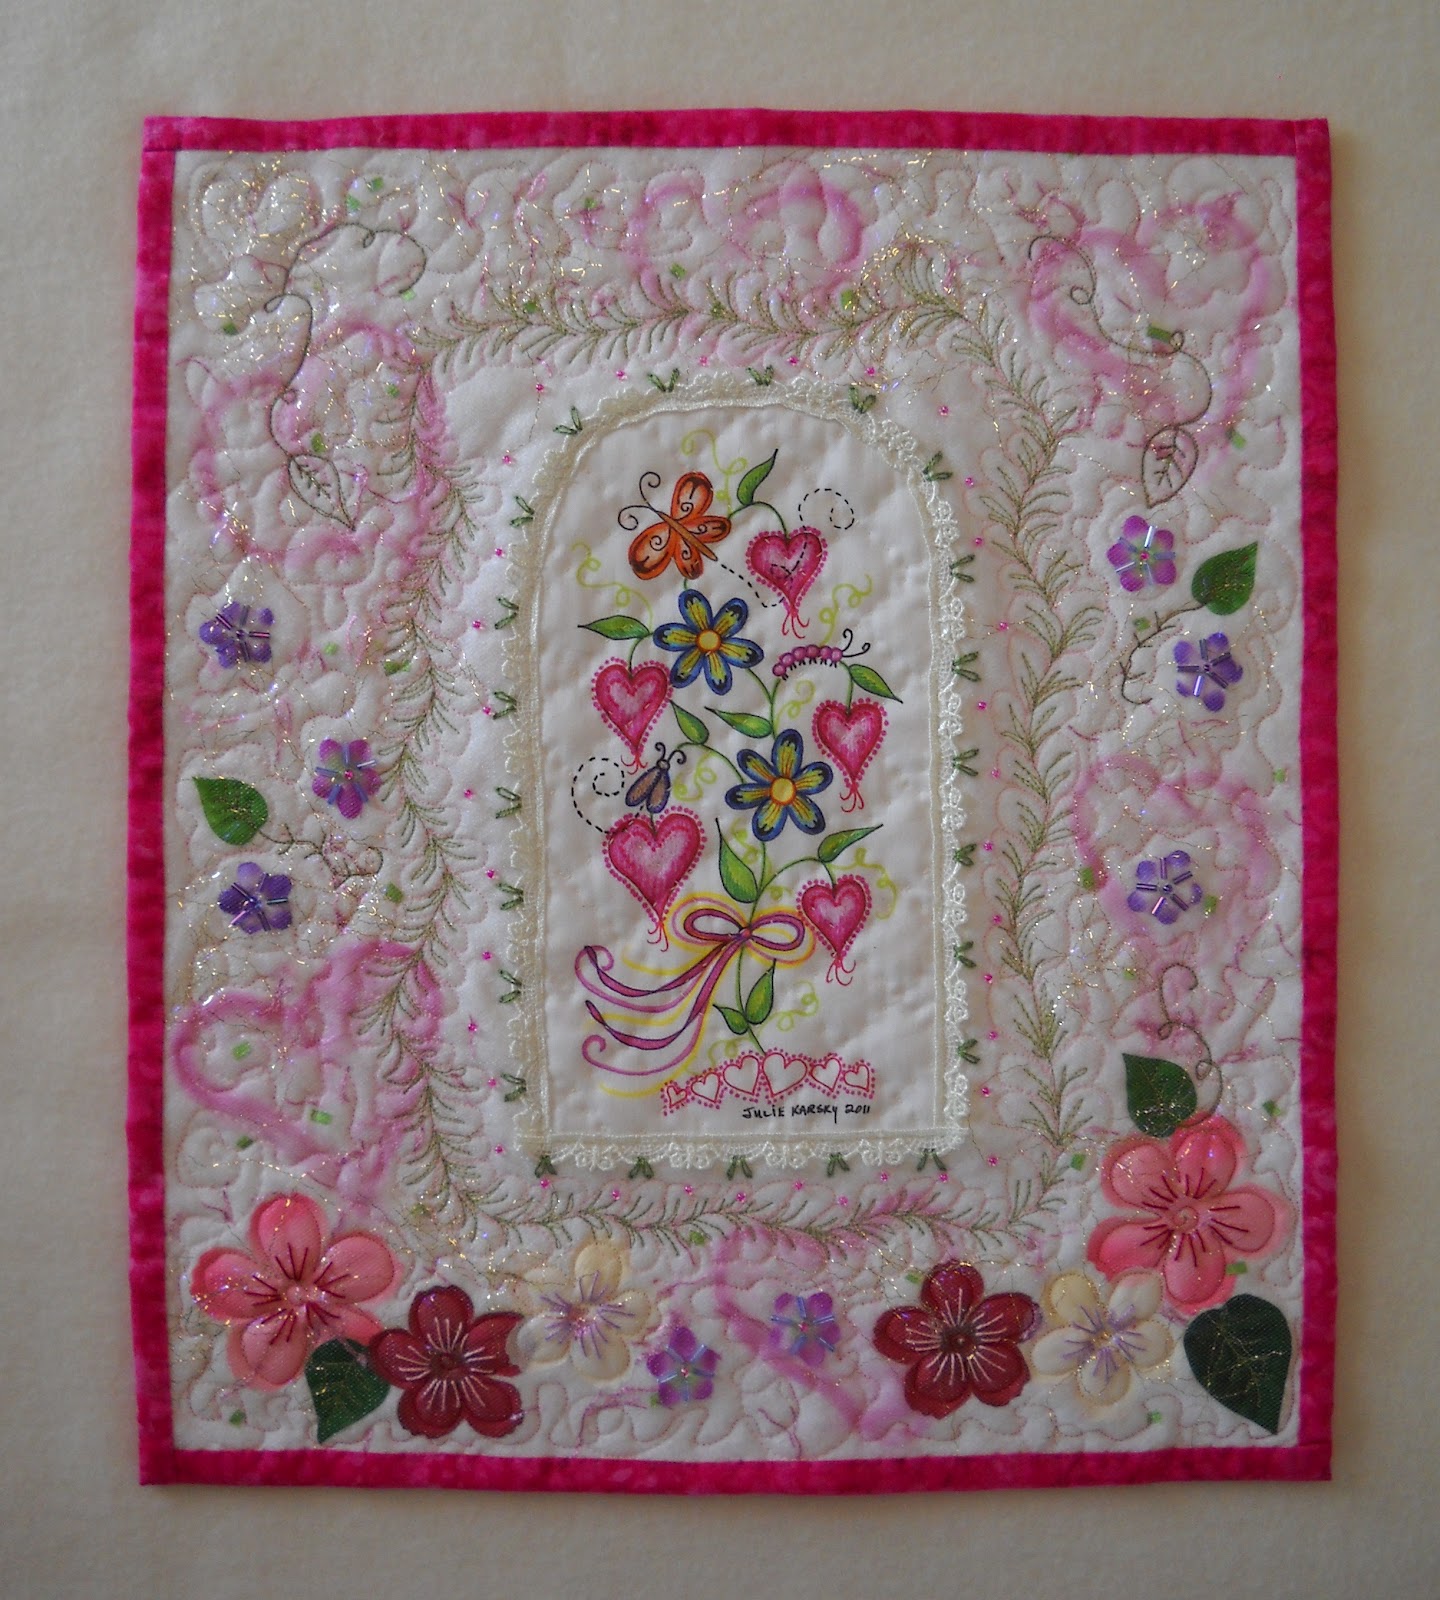
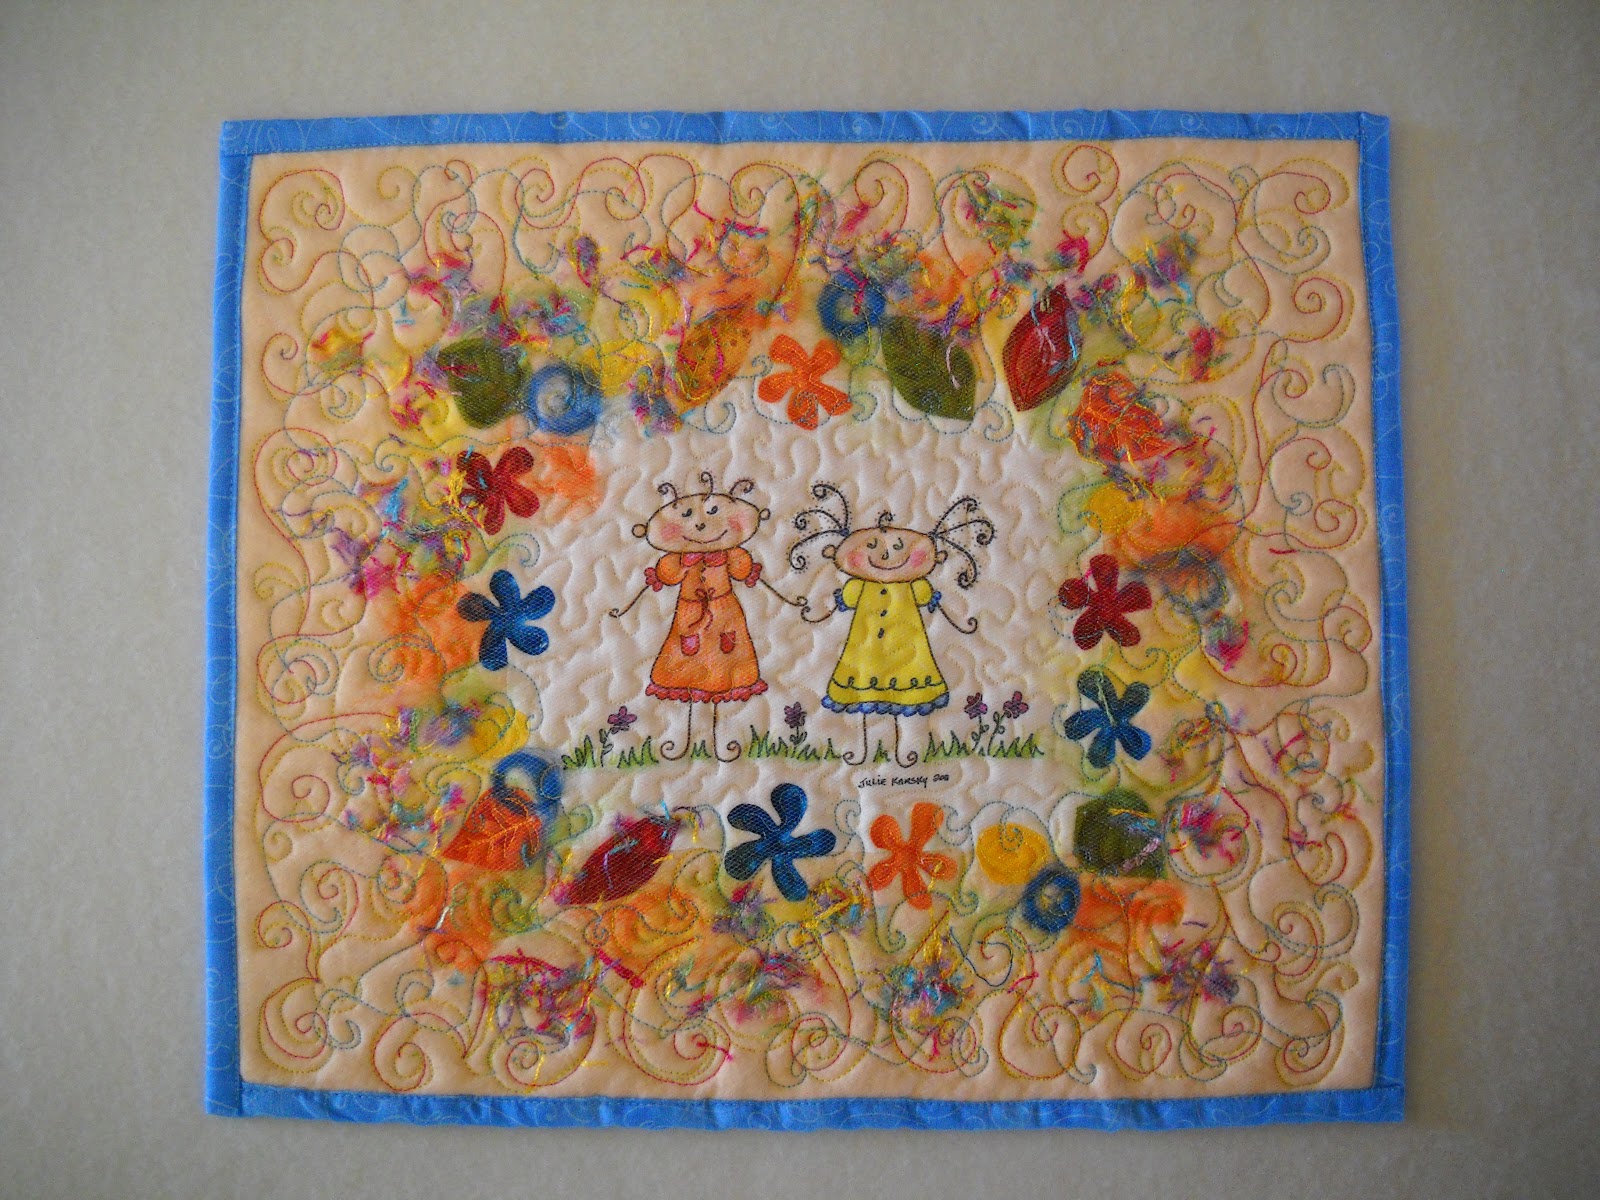
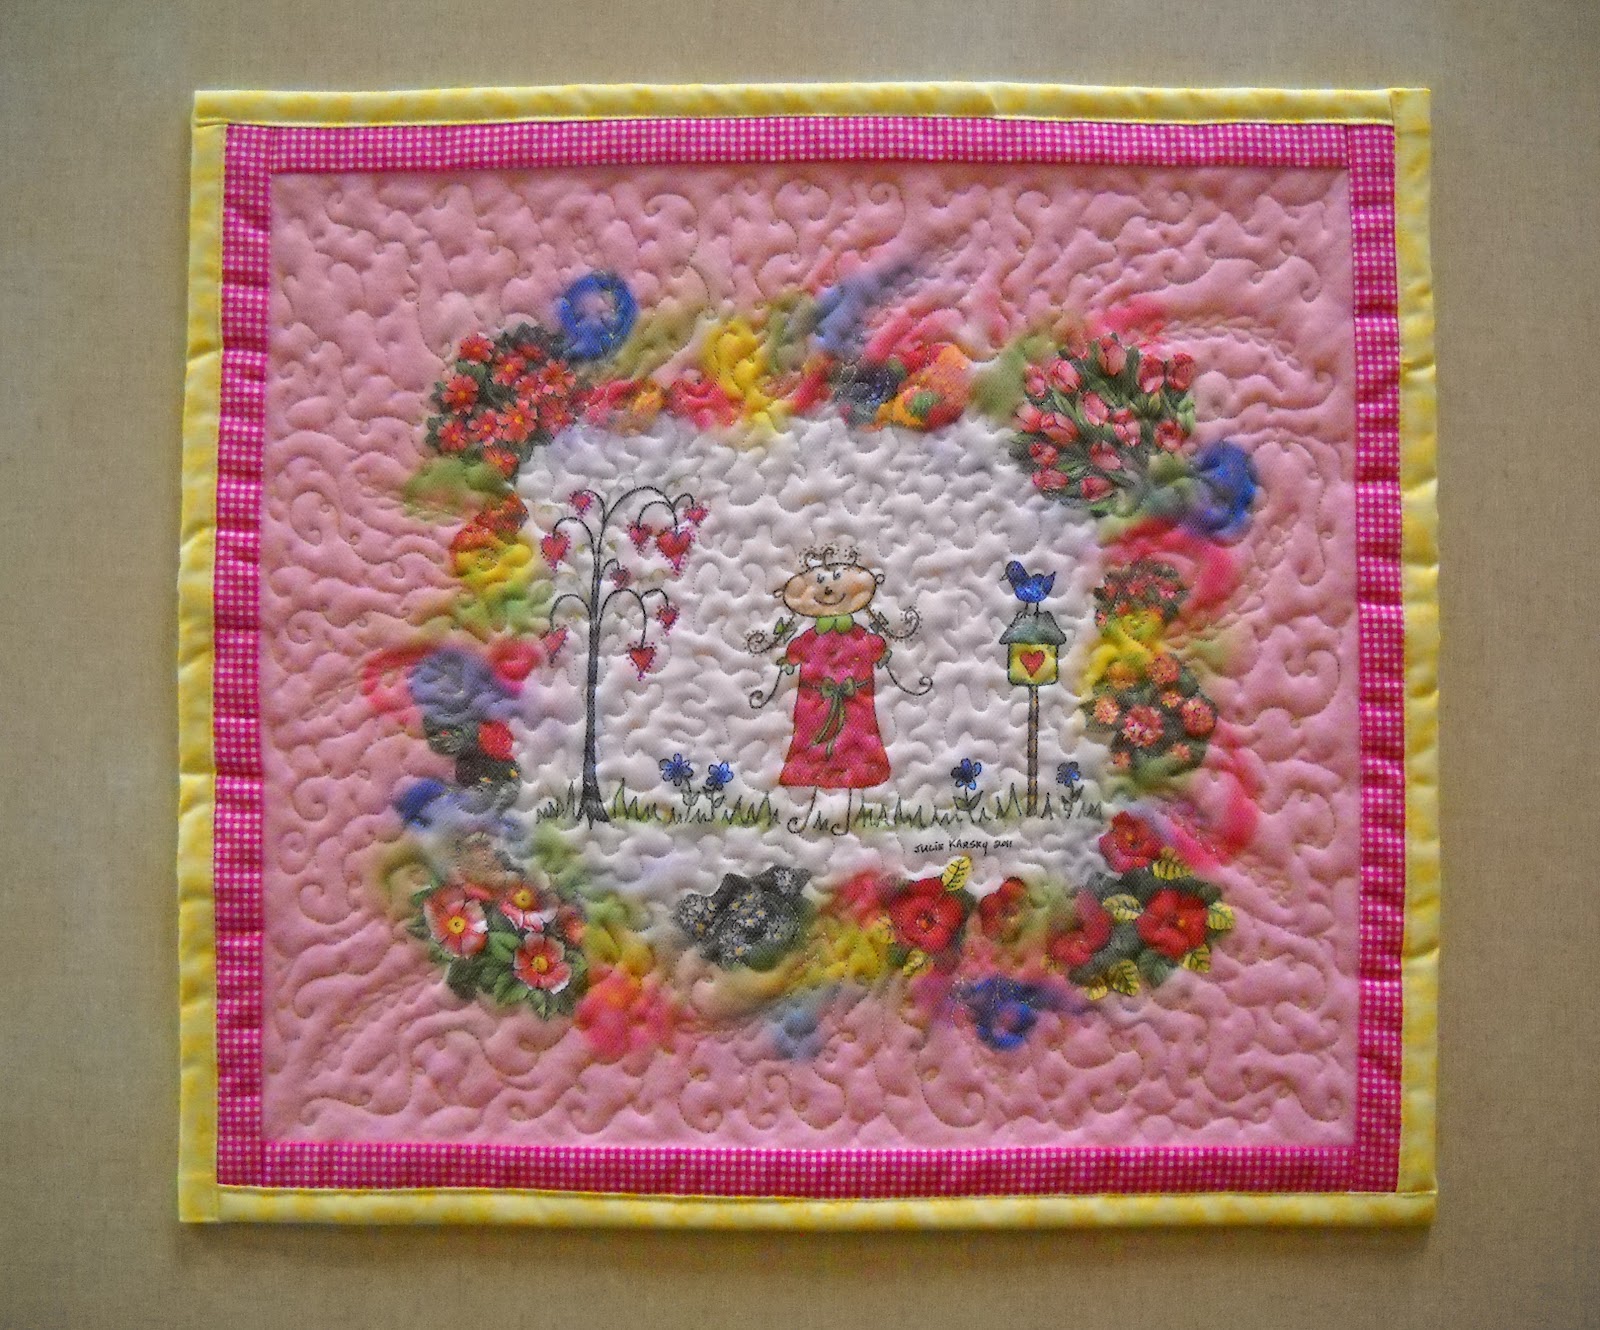
I love making these little art quilts. It gives me a chance to use my original drawings that I have printed onto fabric through the Spoonflower Company. The roving wool that Wistyria Editions makes is a beautiful product to use in these quilts. When I use the wool felt as a base, it provides a nice background for the roving wool and the additional embellishments to cling to.


Romantic Hearts
15 ¾ inches by 13 ½ inches

Best Friends
14 inches by 12 inches. 

Friends Forever
14 ¾ inches by 15 ¾ inches

My New Dress
 16¾ inches by 15 inches

Summer Afternoon
15 inches by 12 ¼ inches


Liz's House
17 inches by 17 ¾ inches


Winter Berry's
17 ½ inches by 17 ½ inches

Catch of the Day
20 ¾ inches by 18 ¼ inches

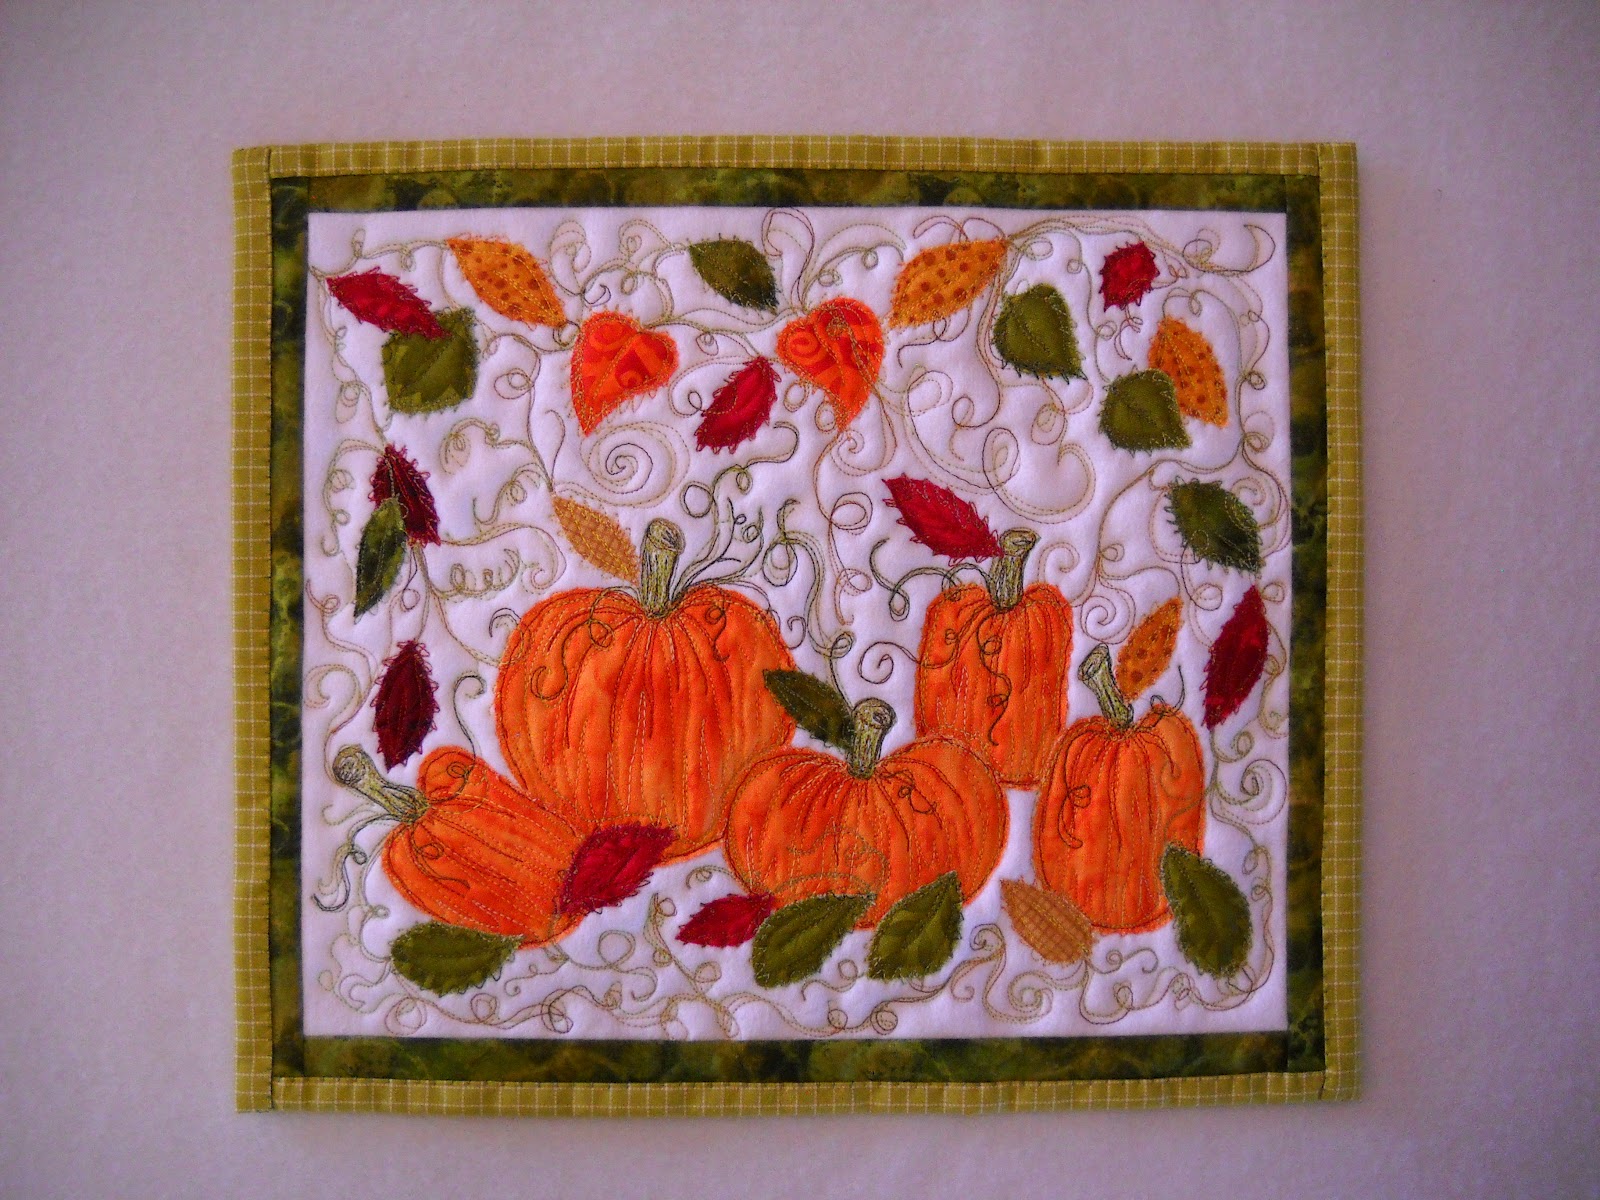
Pumpkin Patch
11 inches by 13 inches

Dancing Sunflowers
16 inches by 14 inches

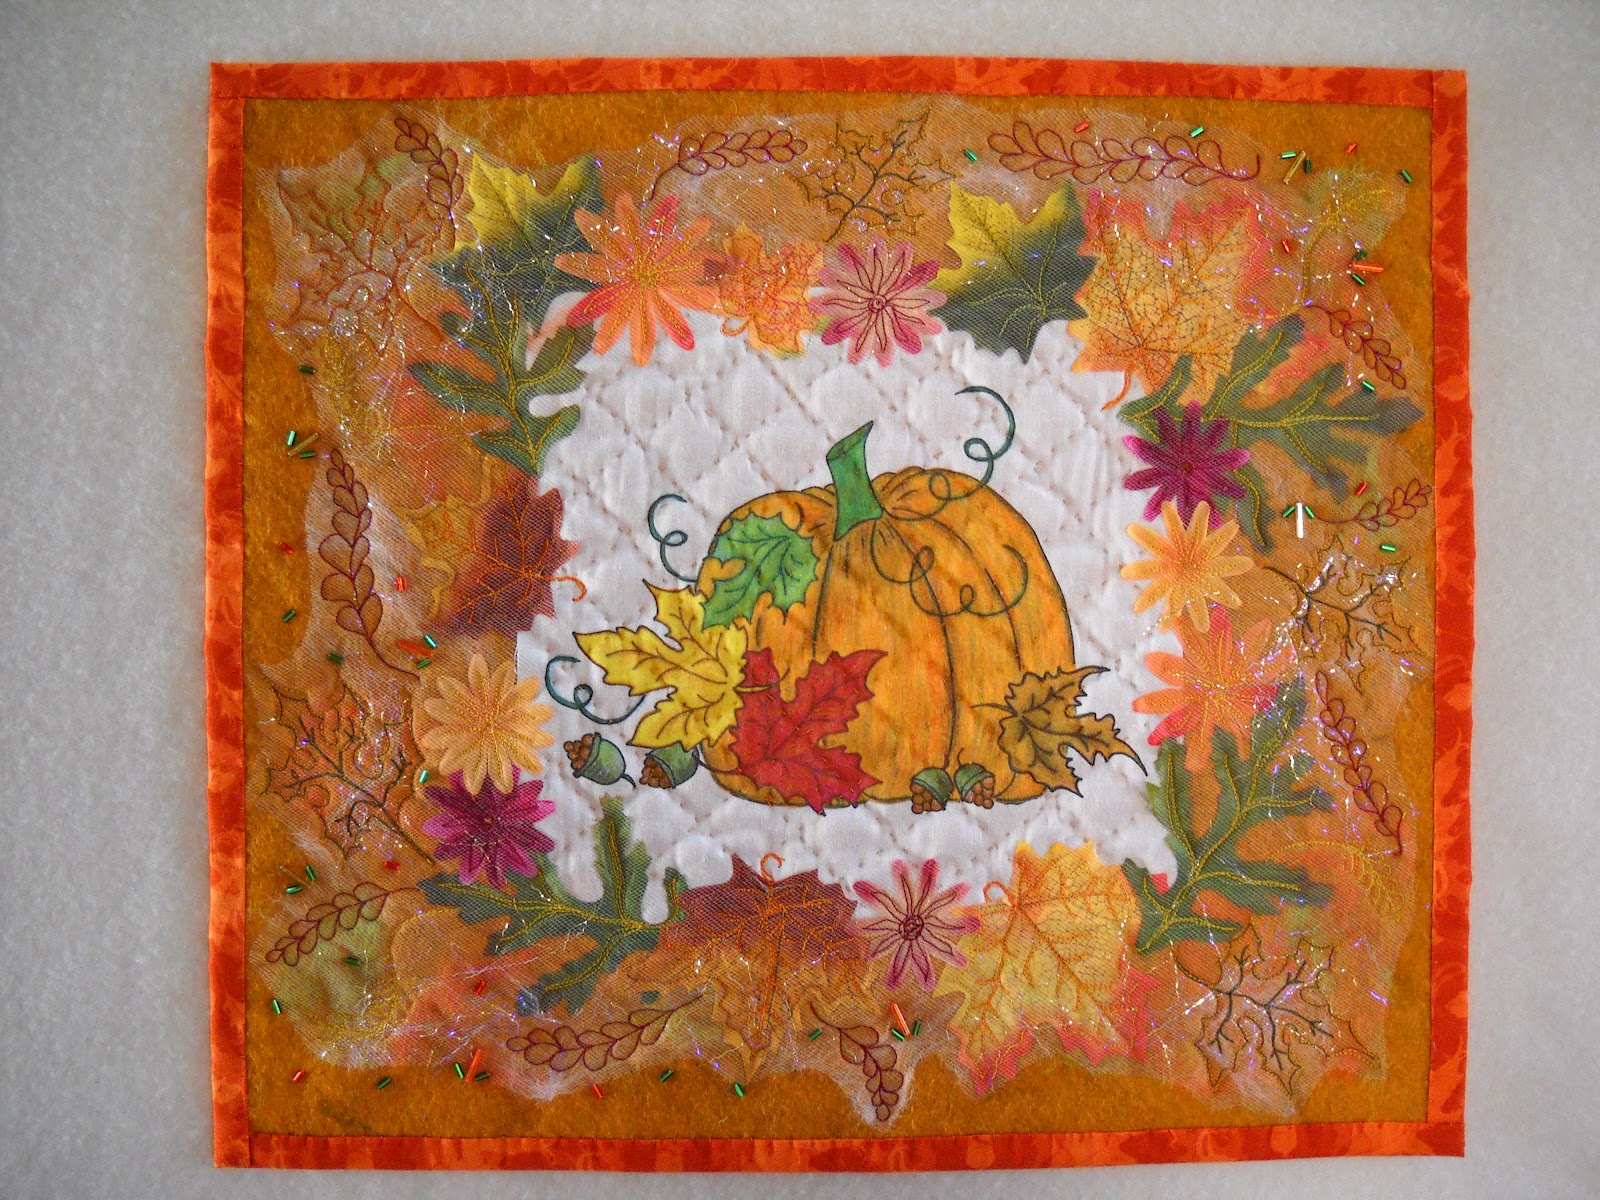
Autumn
16 inches by 14 inches