Tuesday, July 17, 2012

Wool Art Quilt - Romantic Hearts


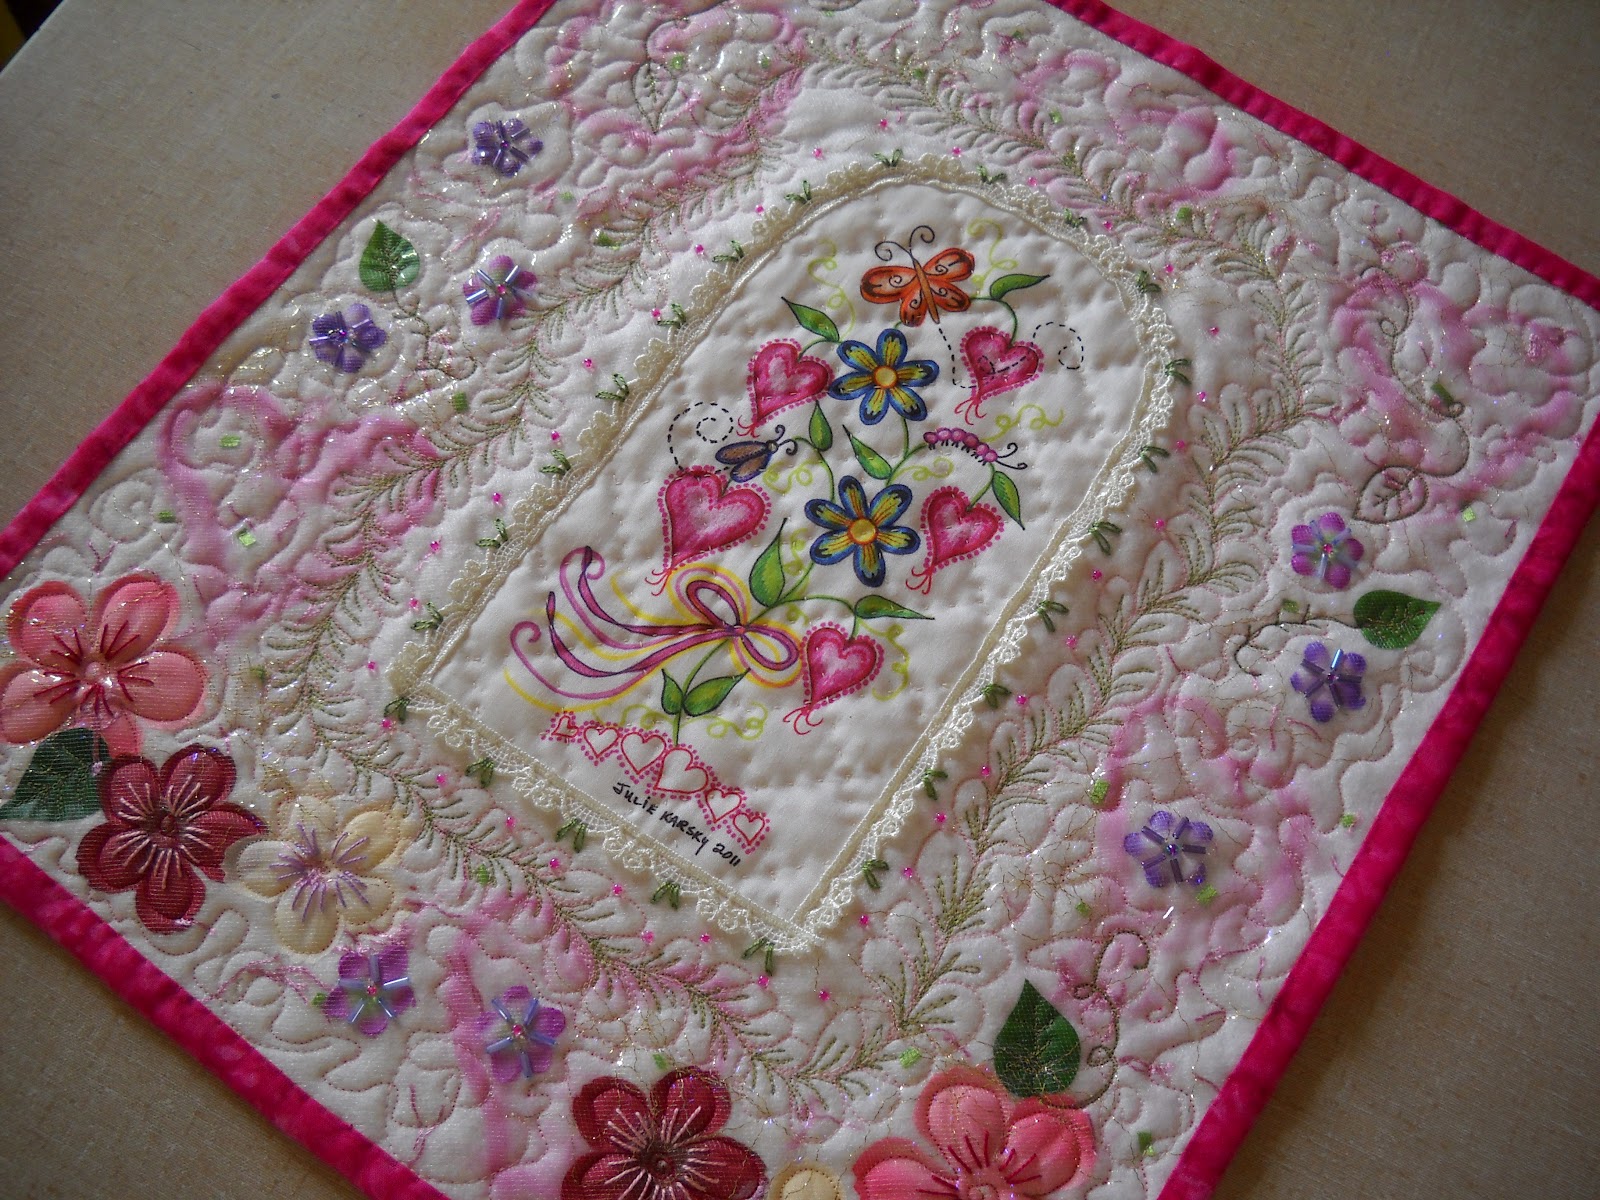
I wanted to create a wool art quilt that would have a very feminine look to it, so with that in mind a chose one of my art pieces that I had printed through Spoonflower.
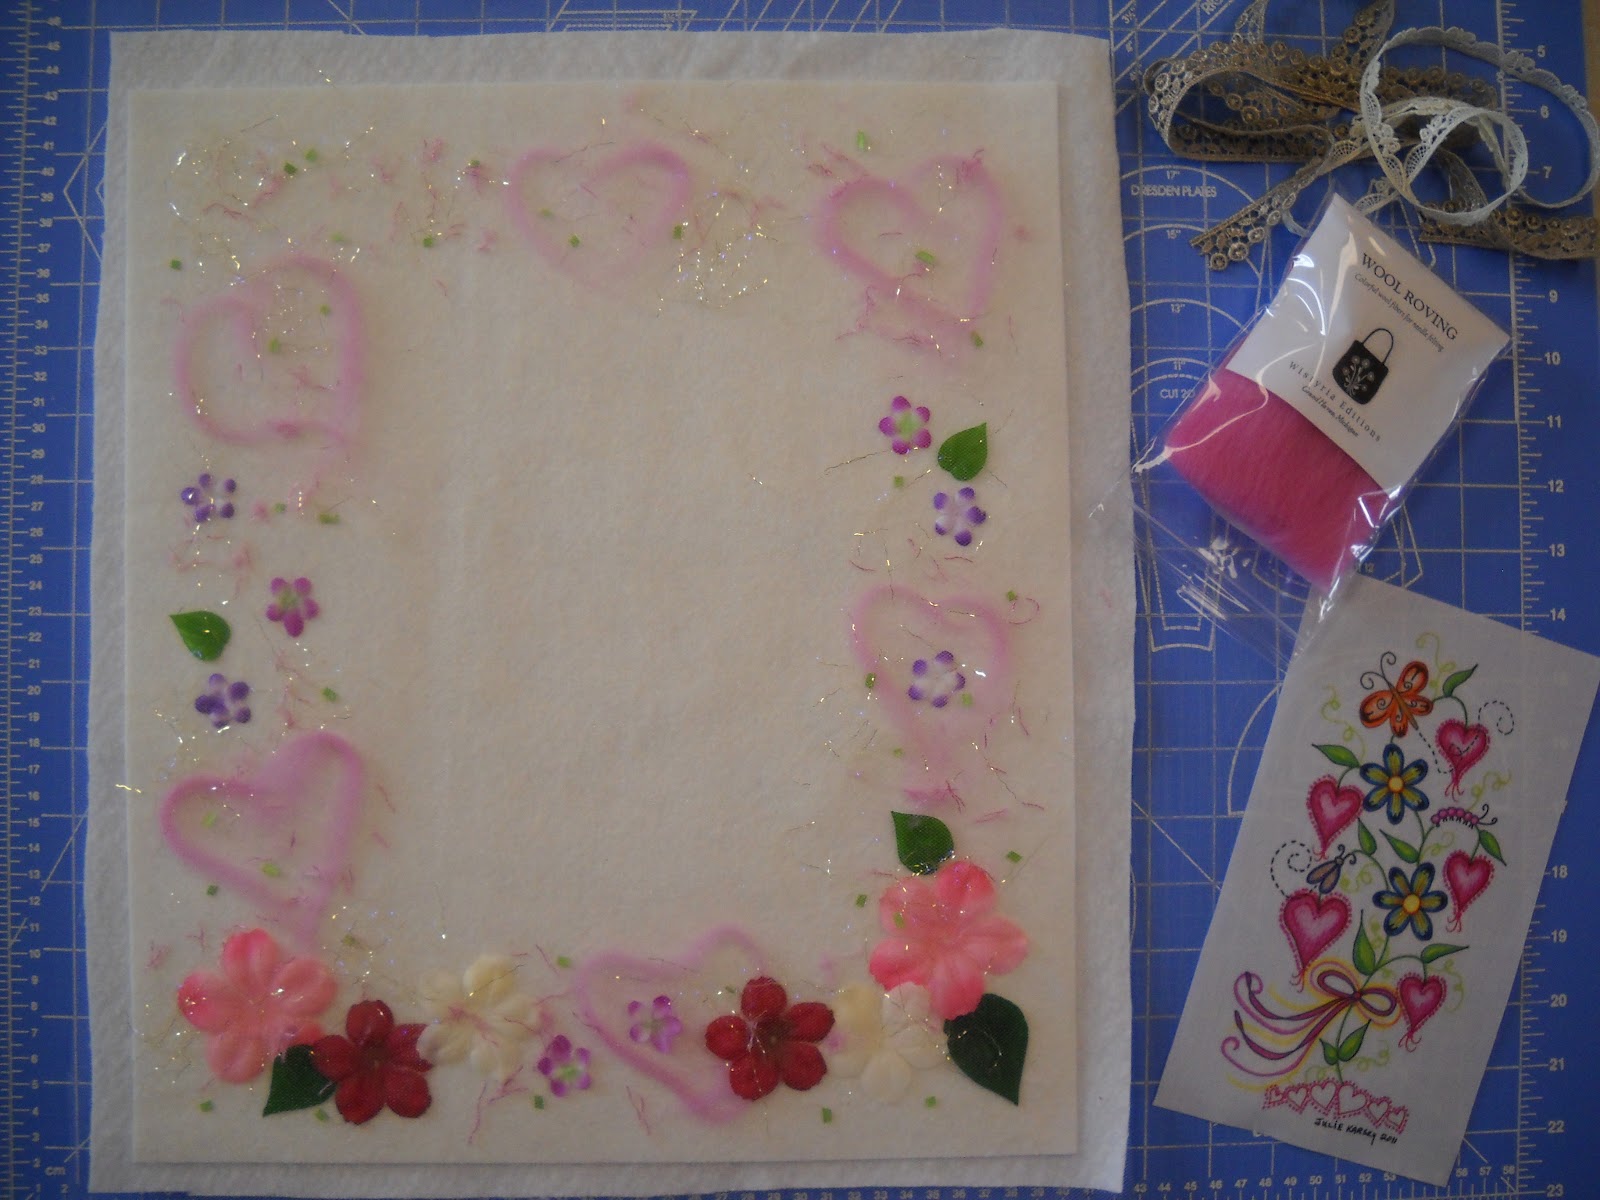

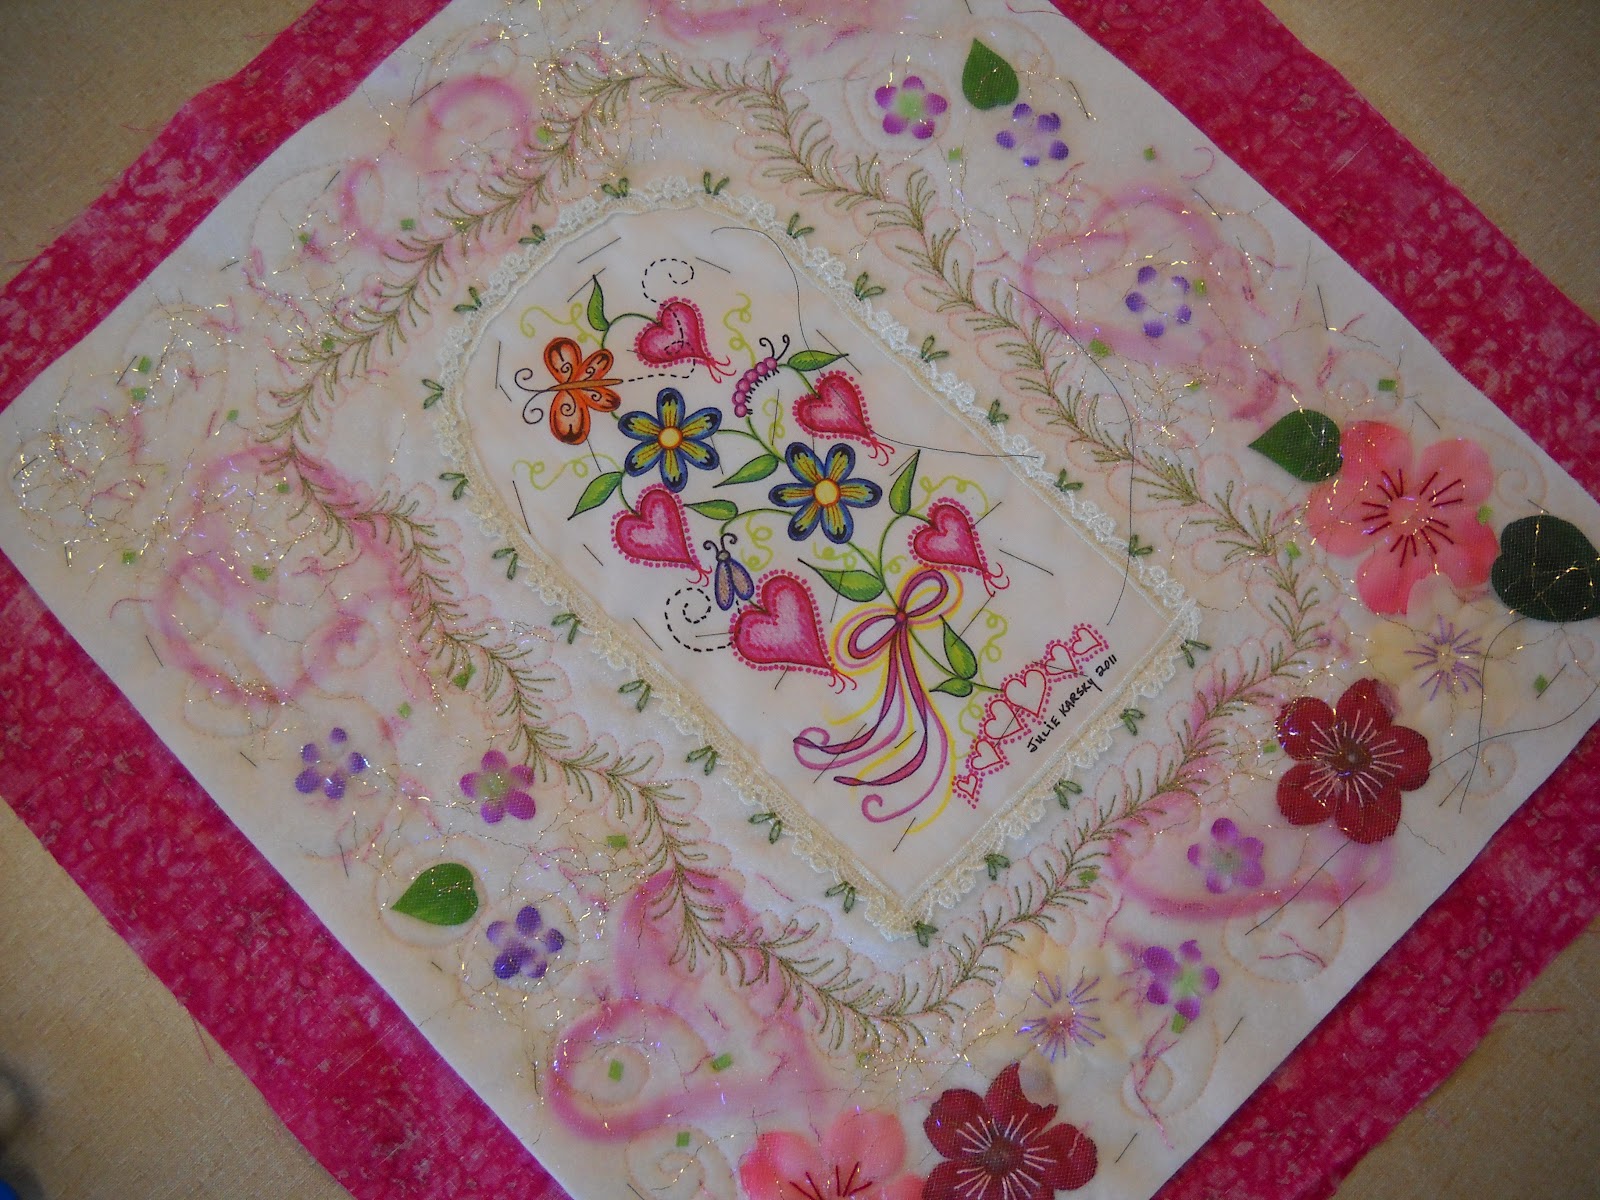
I trimmed the piece of fabric art to use as the center of my quilt, and then started to arrange silk flowers that I had taken apart and placed them onto my piece of creamy wool that I am using as a base for the quilt. I lined the quilt with a piece of cotton batting. I used roving wool to create the shadowy hearts in the background.


This is really coming together, and it has a very soft look that I was trying to achieve. 


I gave the quilt a sprinkle of gold Angelina fibers, and then covered the top of it with white bridal tulle. This is done to hold all the loose flowers and leaves in place and to also keep in place the roving wool and Angelina fibers. It was time to take it to the machine and start some thread painting. I started to stitch some feathers to the border of the quilt and frame in my little center block.


I placed my fabric block the middle of the quilt, and pinned it in place.


To hide the edge of the fabric block, I used a pretty lace and stitched it to cover the edge of the fabric. It took a little time to get everything in place, but with a little perseverance and I was ready to continue.
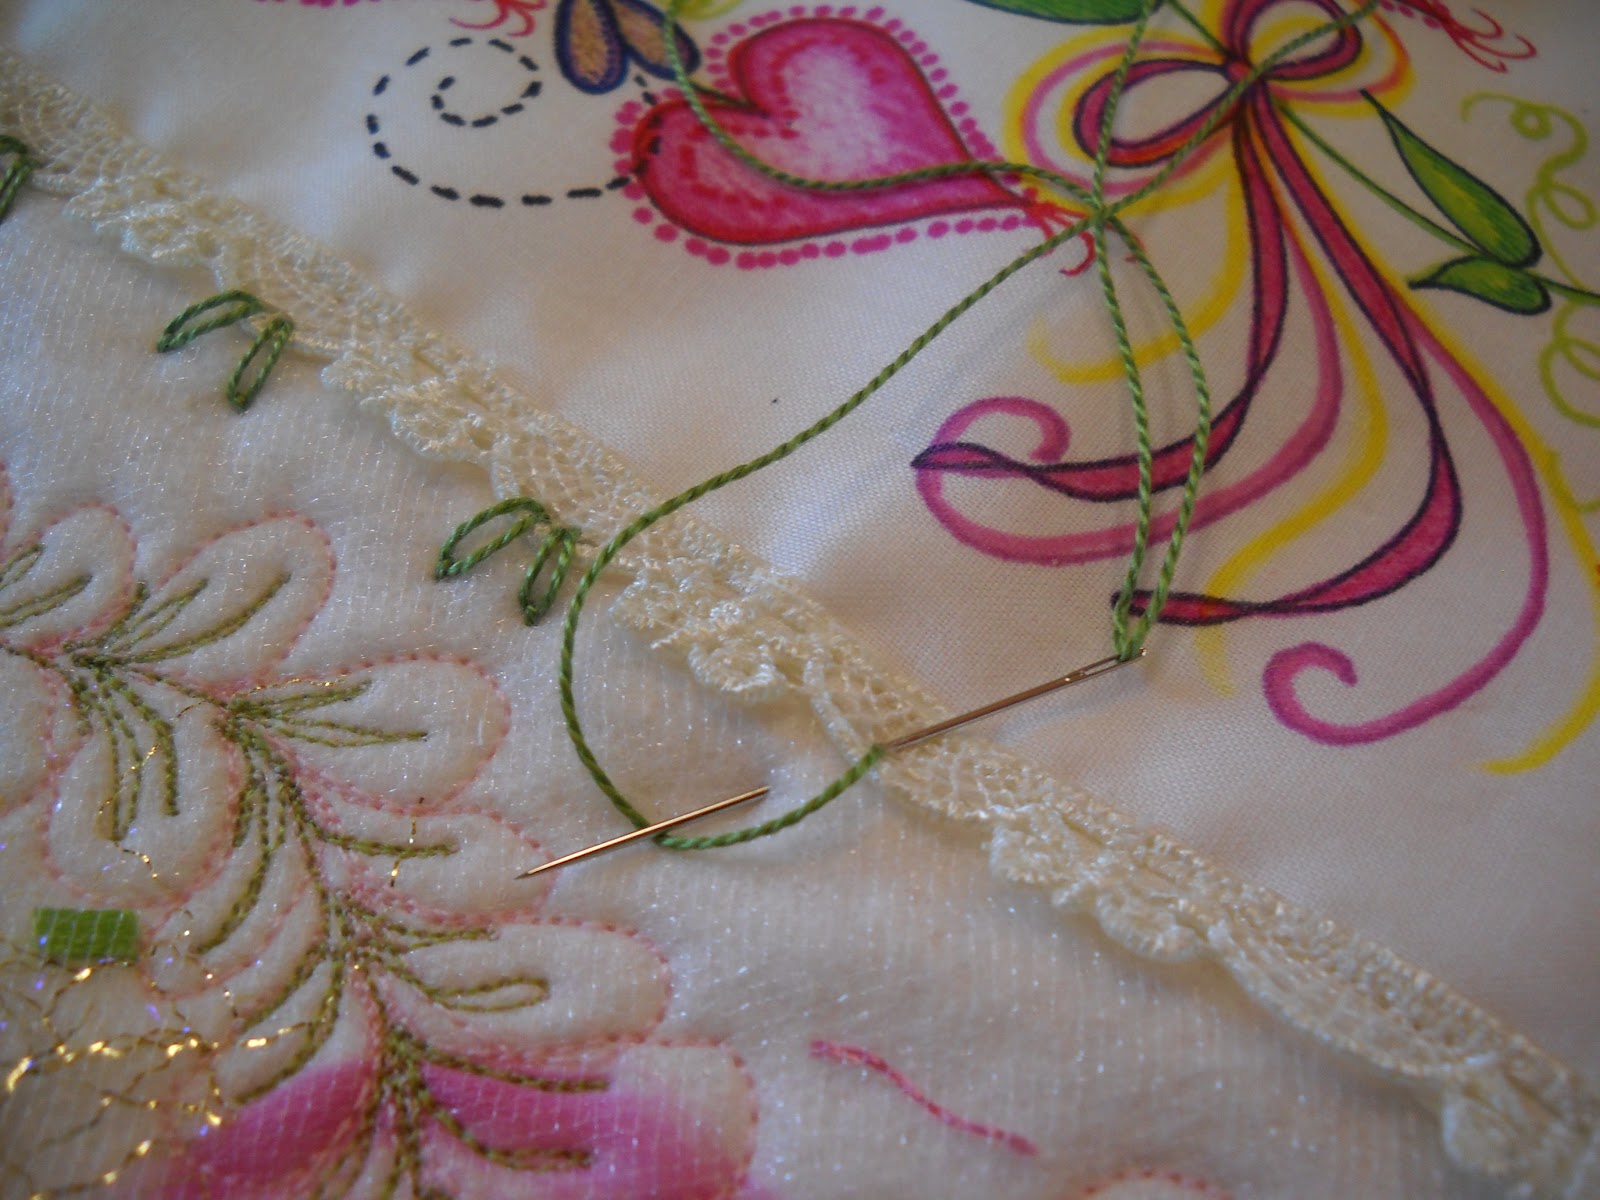

It looked a little bare around the outside of the lace, so I added some hand embroidery with pearl cotton using the lazy daisy stitch in a sage green.


Now it was time to really give the quilt some rich detail and enhancement. I again went through my selection of pearl cotton threads by DMC and using needles by John James, I stitched the inside of the flower petals. I really enjoy sewing with the pearl cotton in a size 8. It has a nice twist and sheen to it. I stopped buying regular embroidery floss years ago.


This is a close up of the flower petals after they have been stitched with the pearl cotton.


With that complete I laid the quilt on my June Tailor cutting mat, and with the Omnigrid ruler and my Olfa rotary cutter I cut the batting from the outside of the quilt and trimmed it to the finished size I wanted.


I decided on a pink fabric to the backing and I basted all the layers into place. I then took it back to the machine and added more machine quilting.
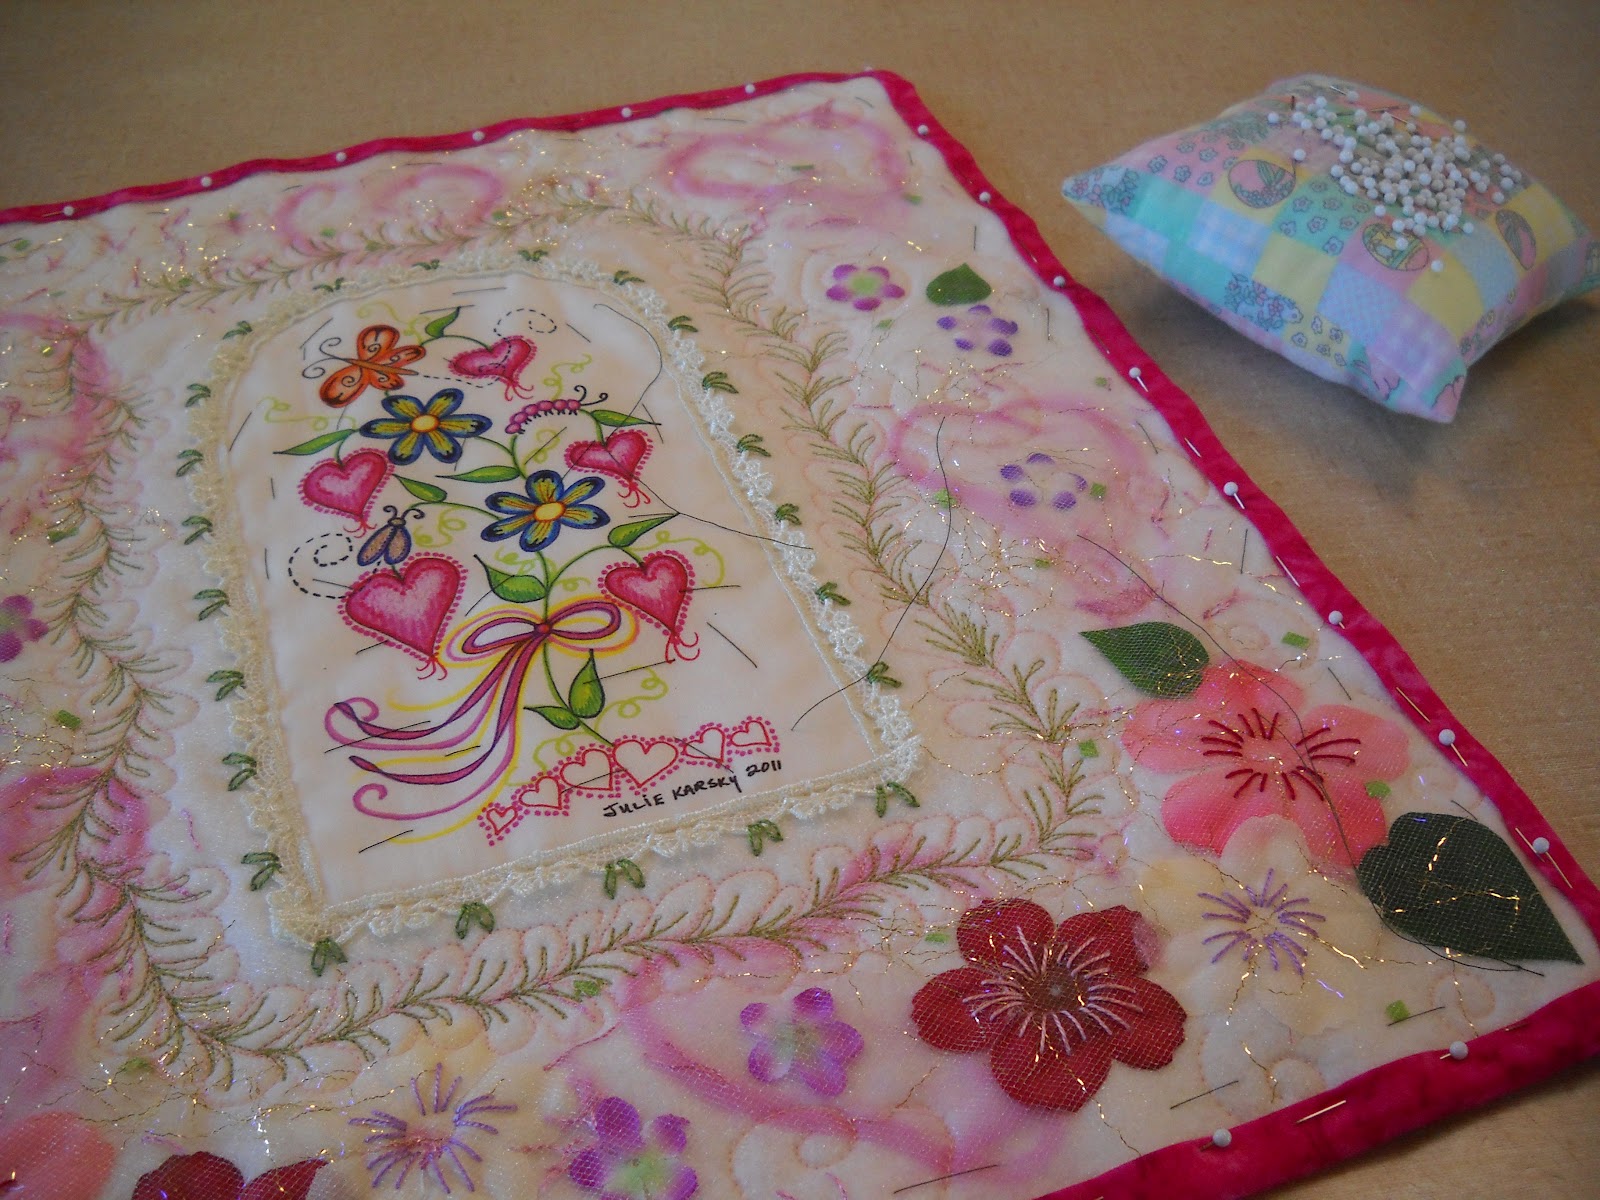

To create the binding I cut the backing fabric to 1 inch from the outside edge of the quilt top and rolled the fabric twice over to the front of the quilt. I pinned it in place and hand stitched it in place with Coats and Clark hand quilting thread.
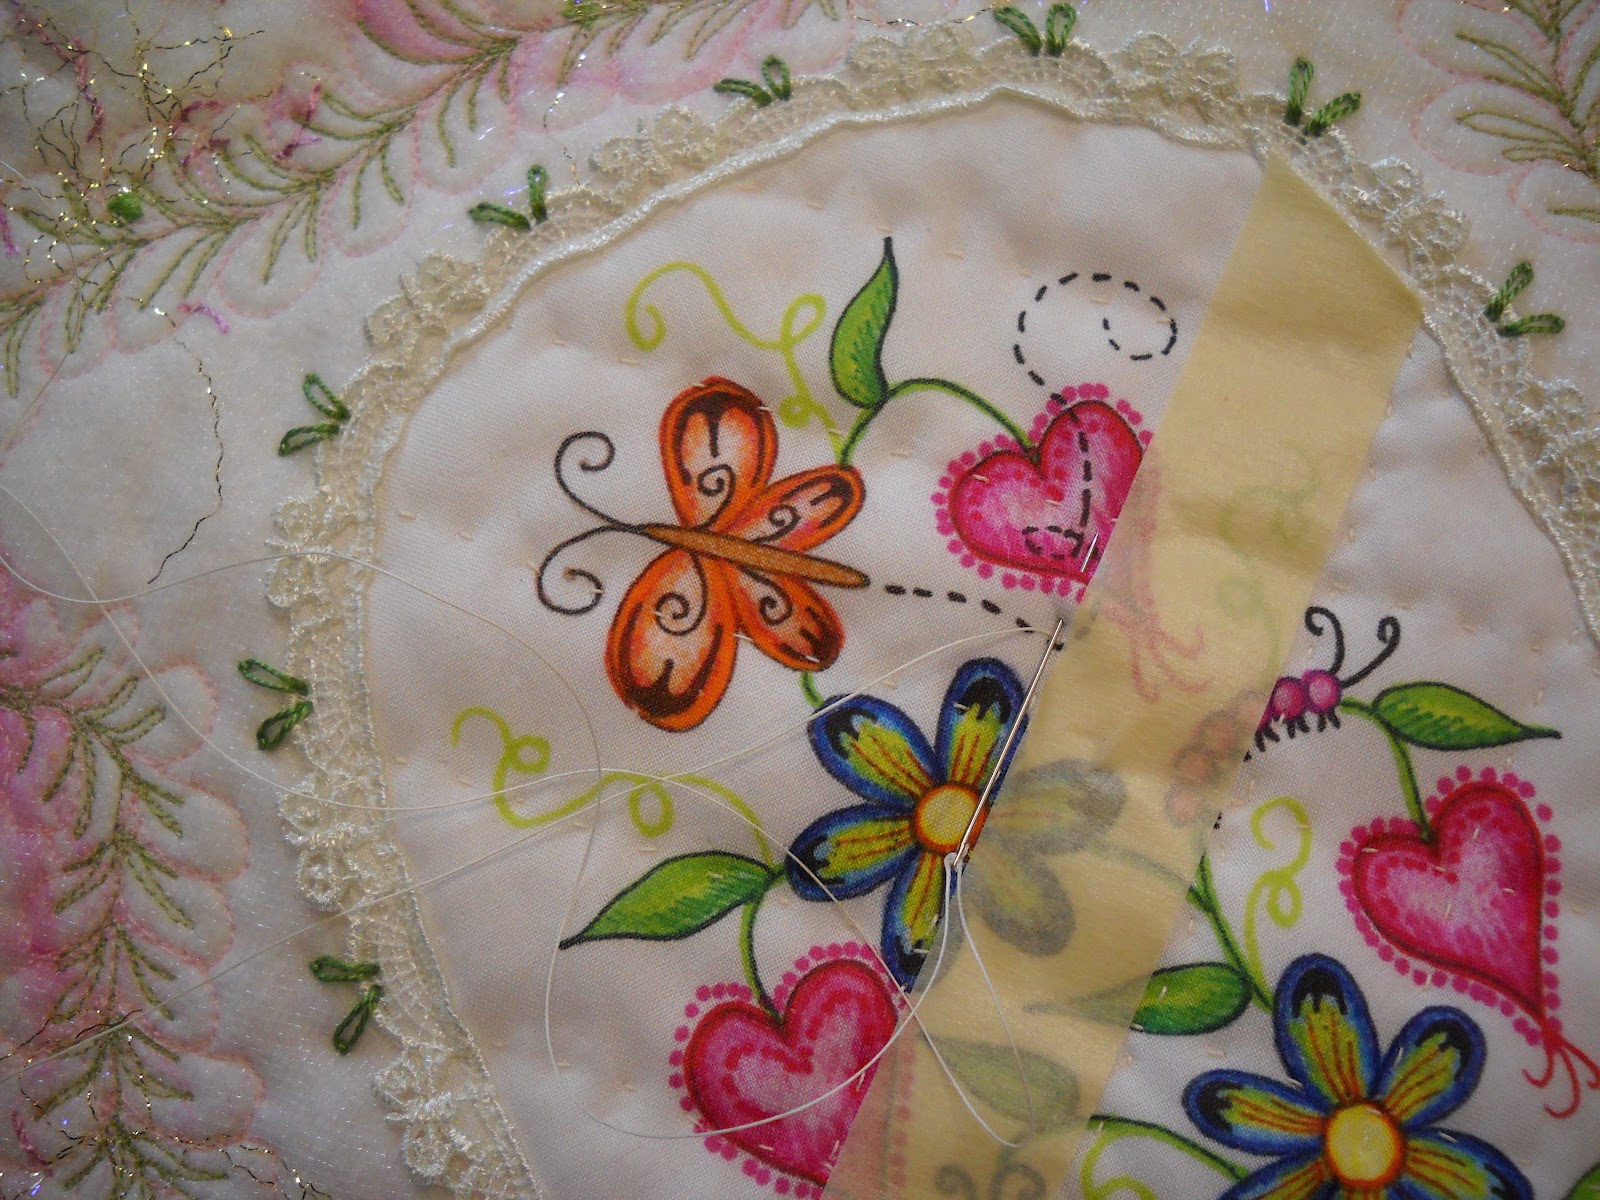


I decided to do some hand quilting over my printed fabric in a cross hatch pattern. To avoid using a pencil to mark the lines, I used masking tape. This is a nice way to get an even grid while hand quilting, and not having to worry about marking on the quilt.


Oh yes, this is taking shape nicely. But even with all that has been done, I felt it needed more.  
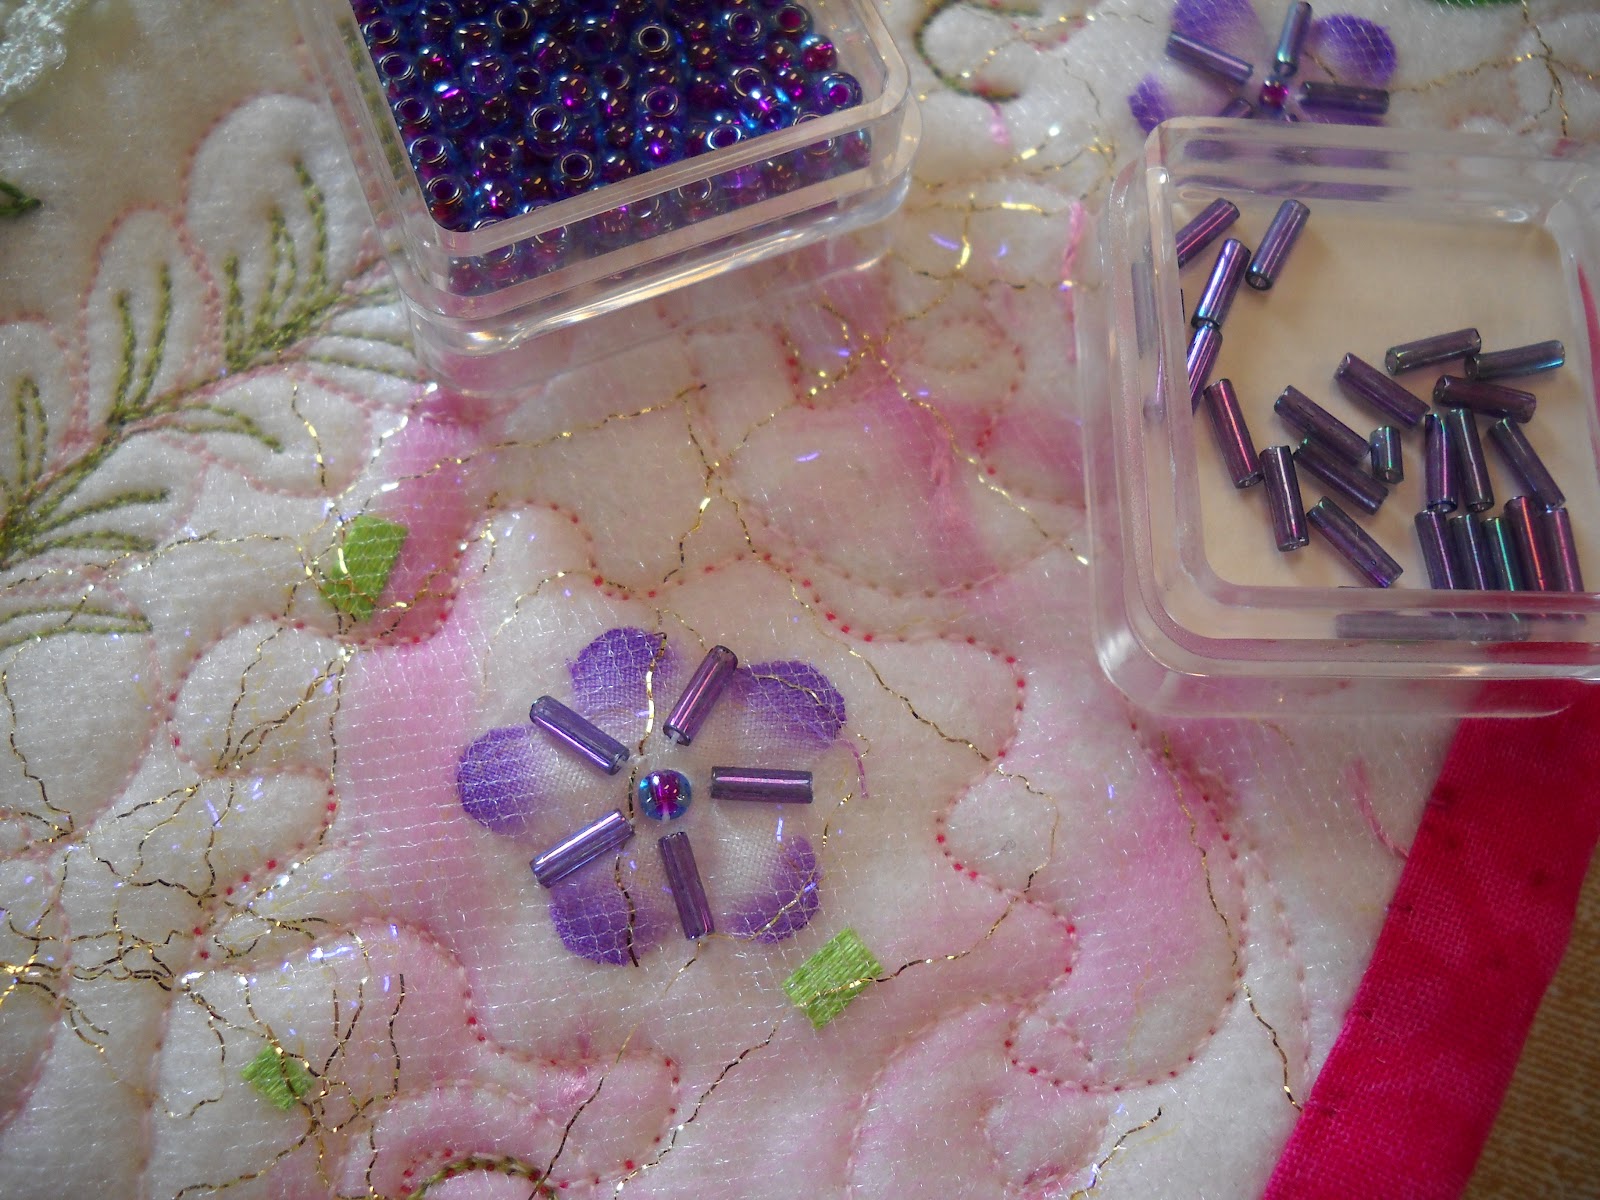

To give this quilt extra sparkle that will really be noticed, I hand stitched bugle beads inside the small flowers and added a round bead to the center.  
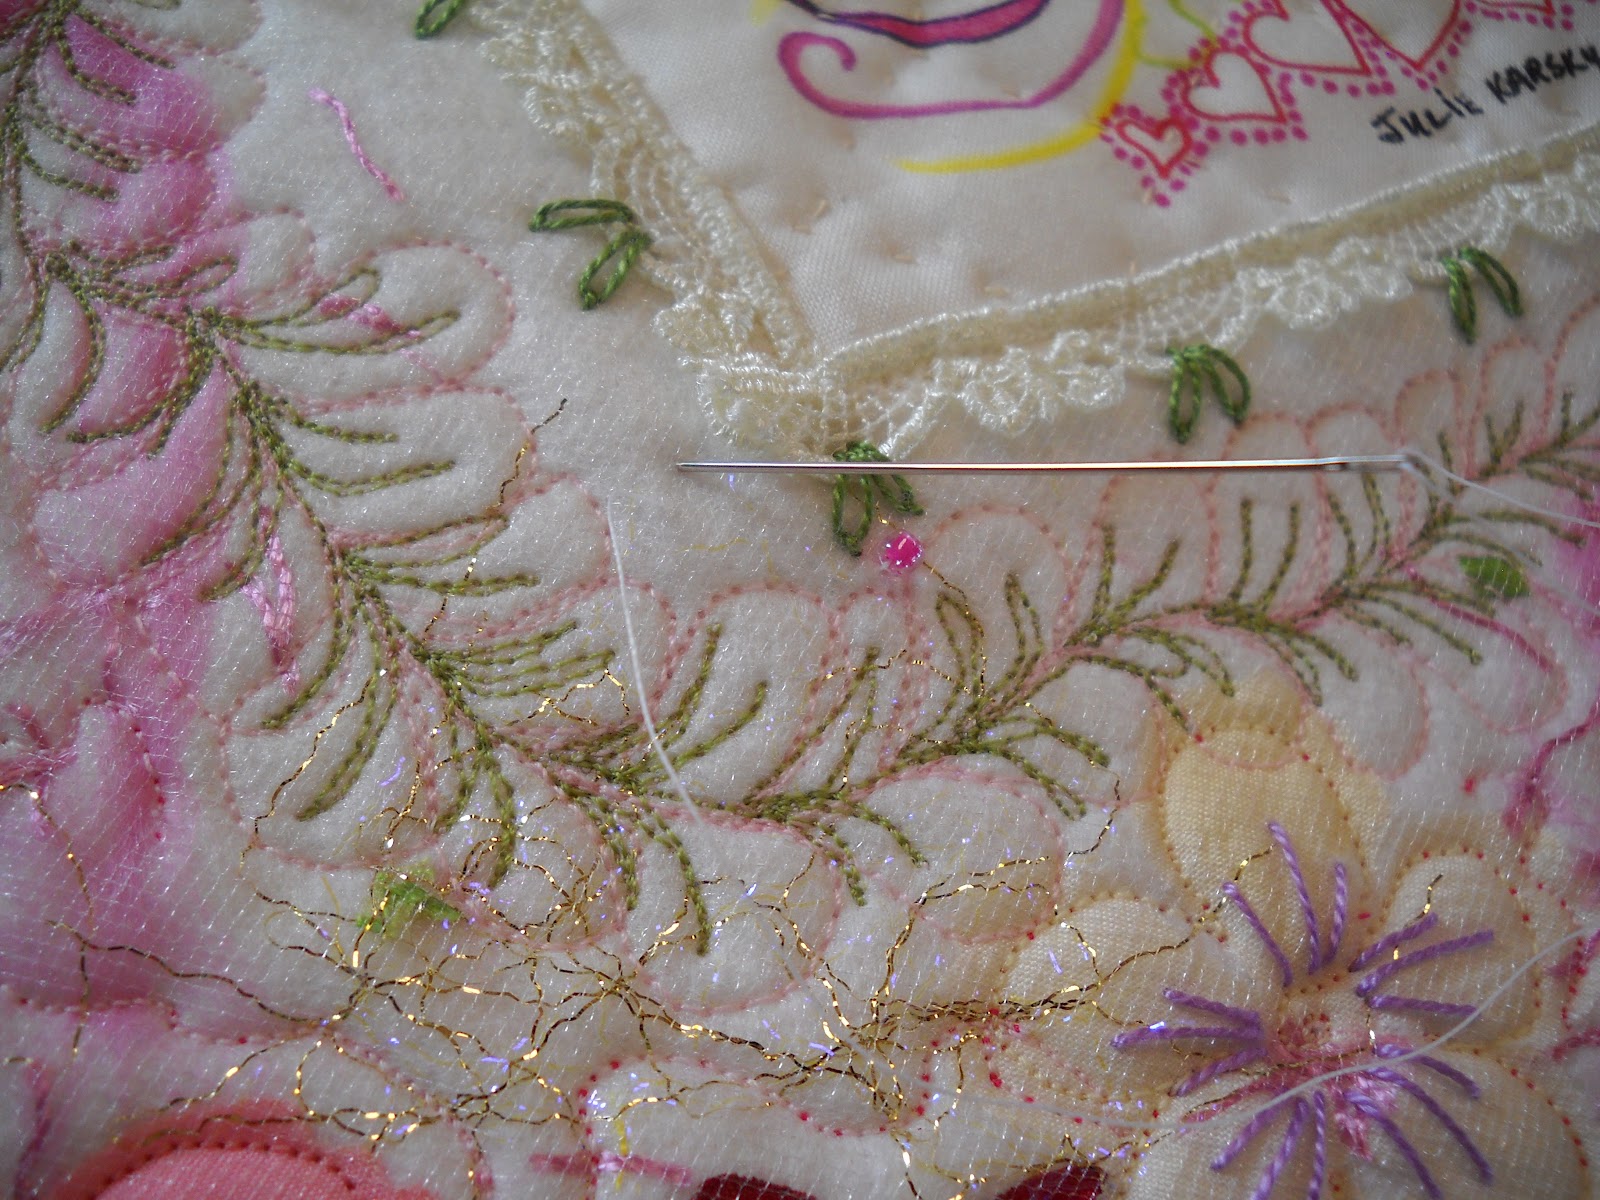
Here I placed little pink glass beads randomly around the border of the quilt. I think it is finished. I have included a few close ups of the completed quilt for you to enjoy as well.


Monday, July 16, 2012

Scrap Book Halloween Spider Web


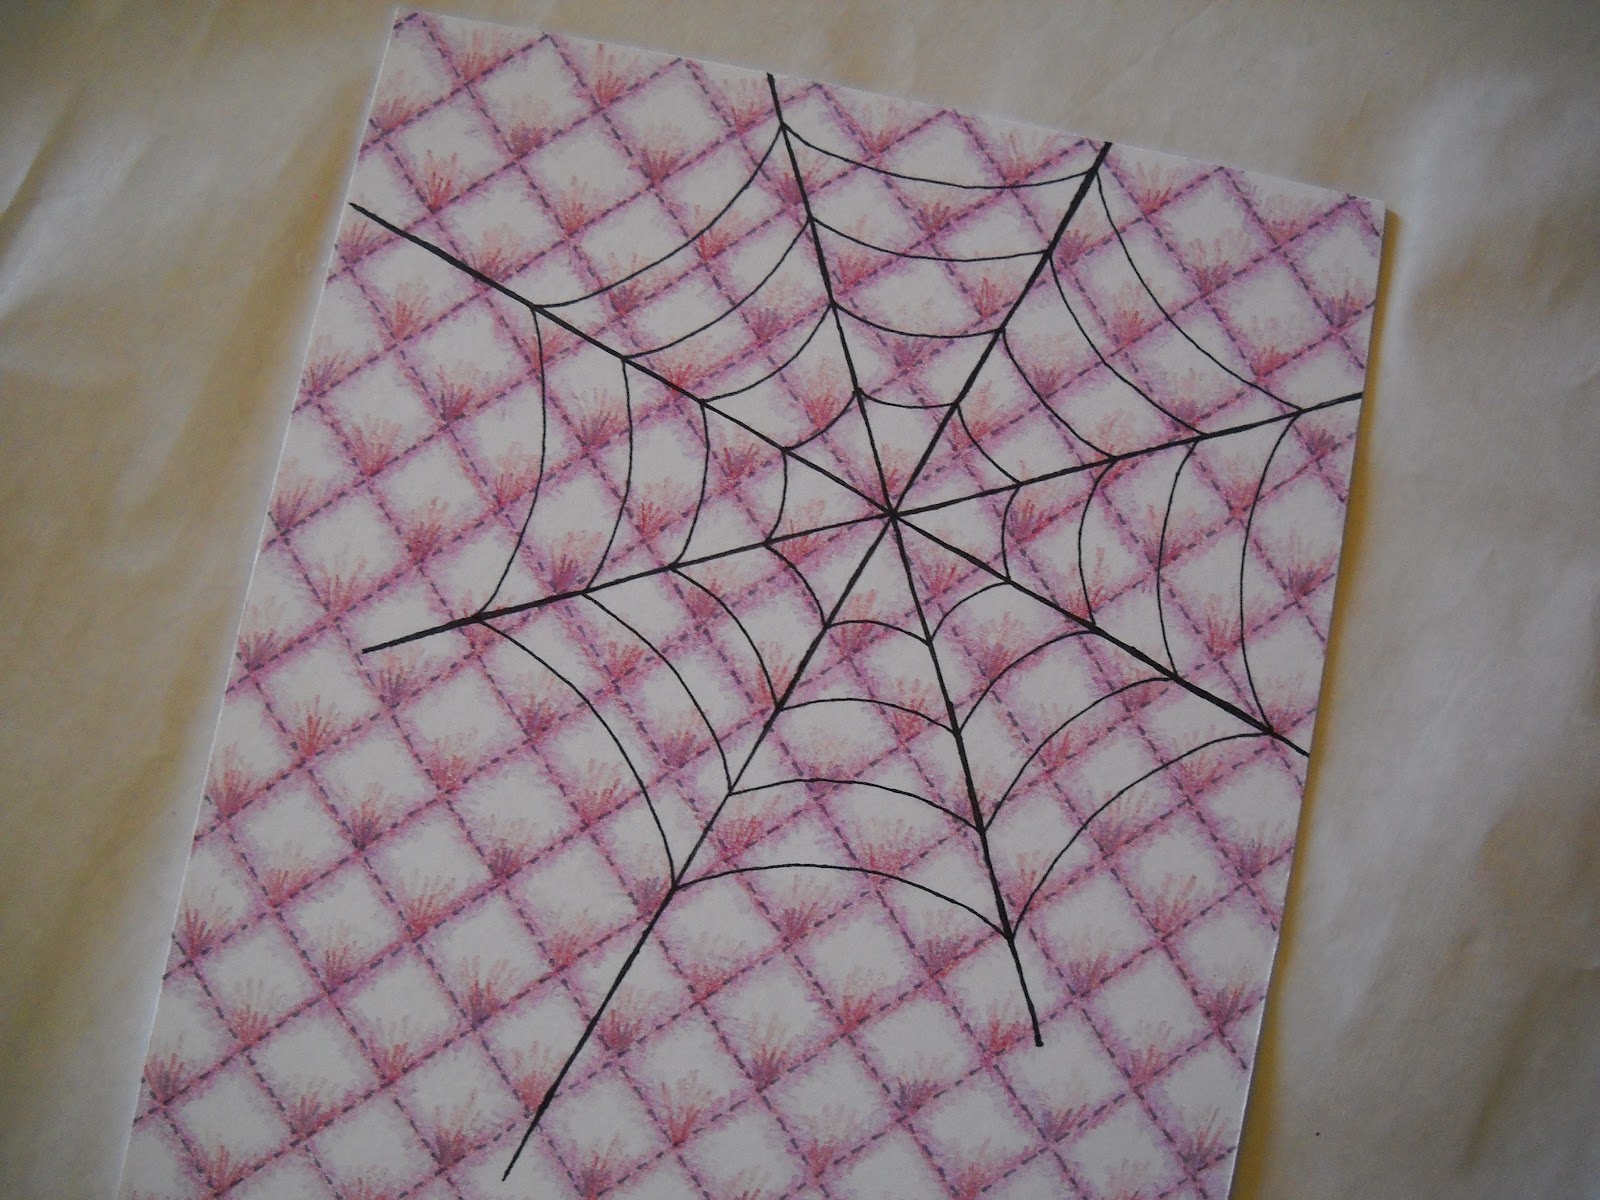
I am working on a new project. I plan to use the original drawing in a photo collage, but also wanted to keep a scan of my original to use to make some scrapbooking paper. I drew my artwork onto a piece of matt board. 


I took a little bit different approach in this project and used a quilting template after I drew a grid.  


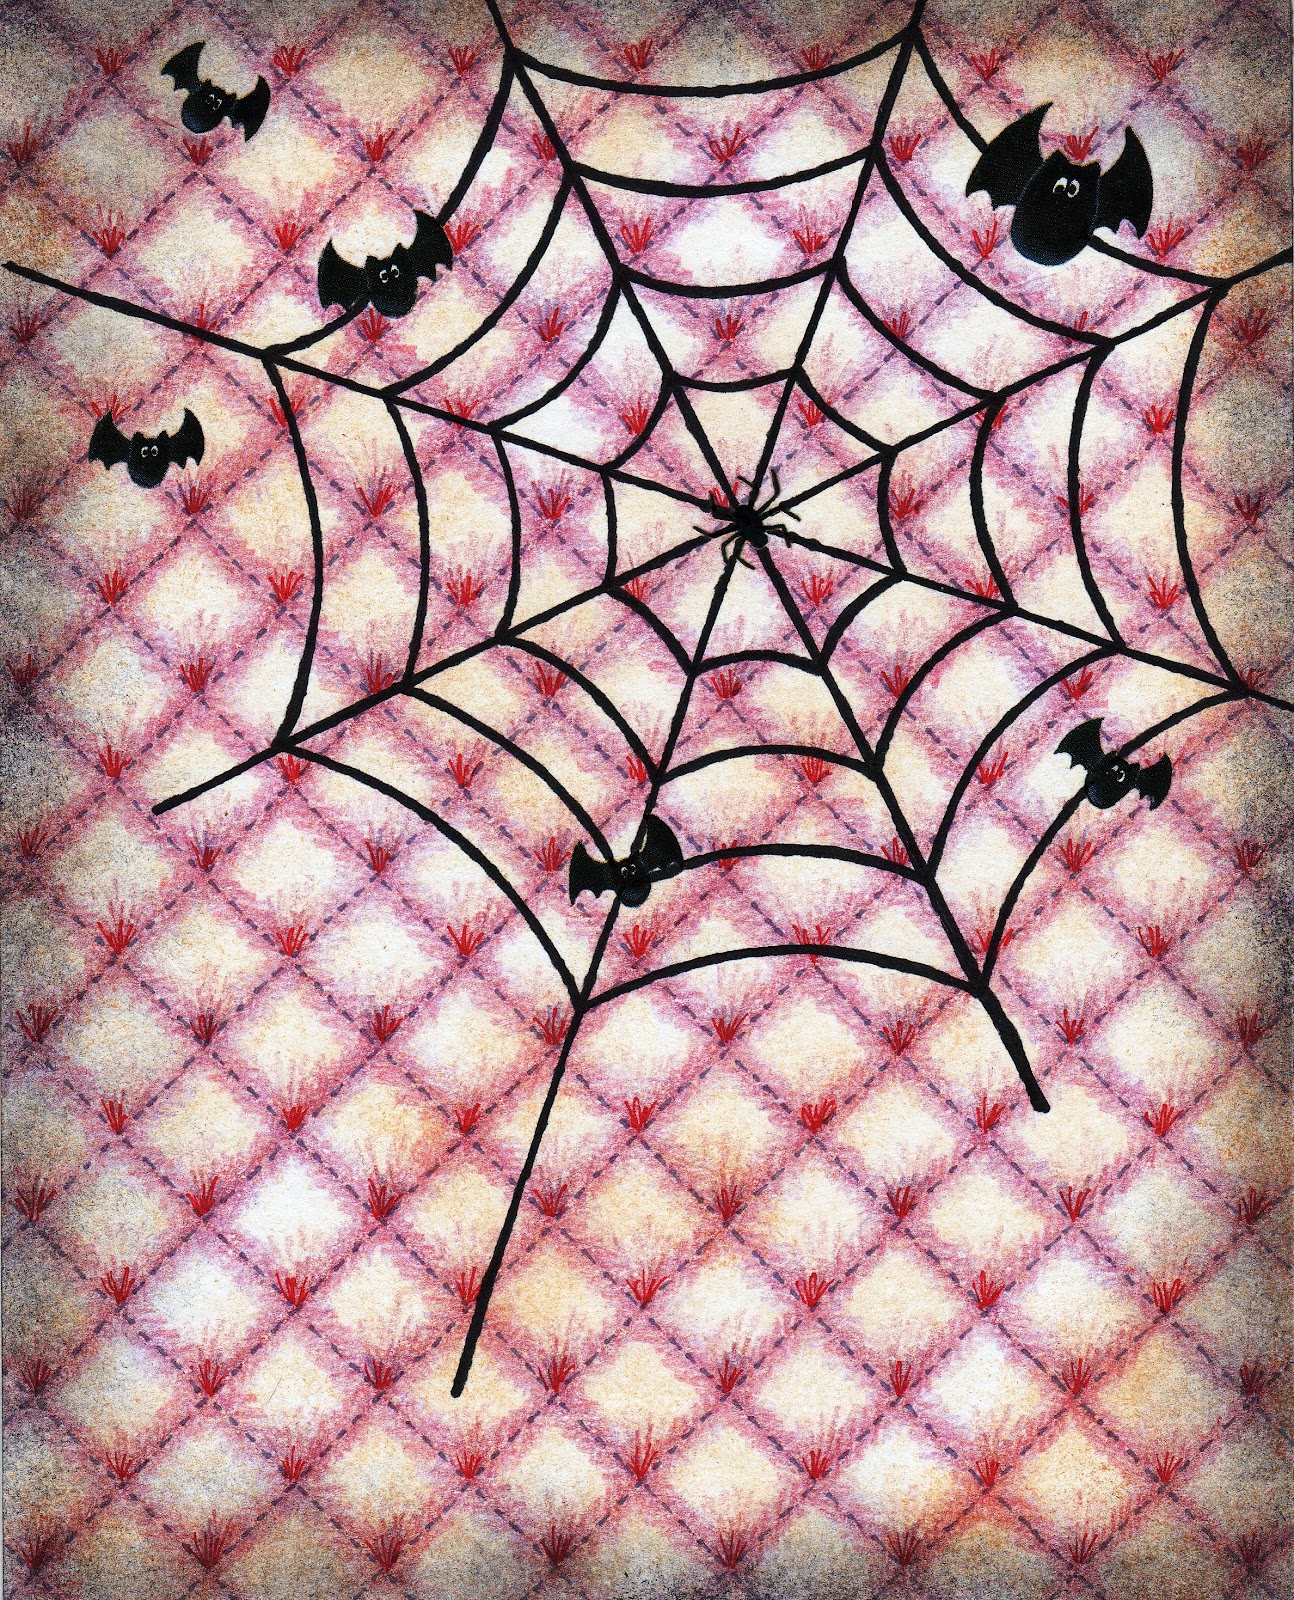
I covered the grid with what appears to be stitching lines and then added some shading with my Crayola Twister colored pencils. 


I like the way the spider web appears to be hanging from the upper corner of the page. I decided on a Halloween look and added a little red shading in the bottom points of my background grid and then used a red fine point Sharpie pen to draw in some flames.


I gave it a bit of a spooky look by dabbing some black ink around the edges. This changes the freshly drawn look to appear aged. I just love the Memories brand ink products to do this, along with a thick stencil brush.


To continue with the Halloween theme, I added some bat rub-ons.


There we go – my Halloween art that I can take to my printer to make cardstock paper to use in scrapbooking or journaling.  And then I can use my original drawing to make my photo collage. My daughter Ruth has some great pictures of herself that were taken while she was in costume for the Renaissance. I can’t wait to get started on this piece.


Sunday, July 15, 2012

Victorian Crazy Quilt - The Flower Patch – Block 1


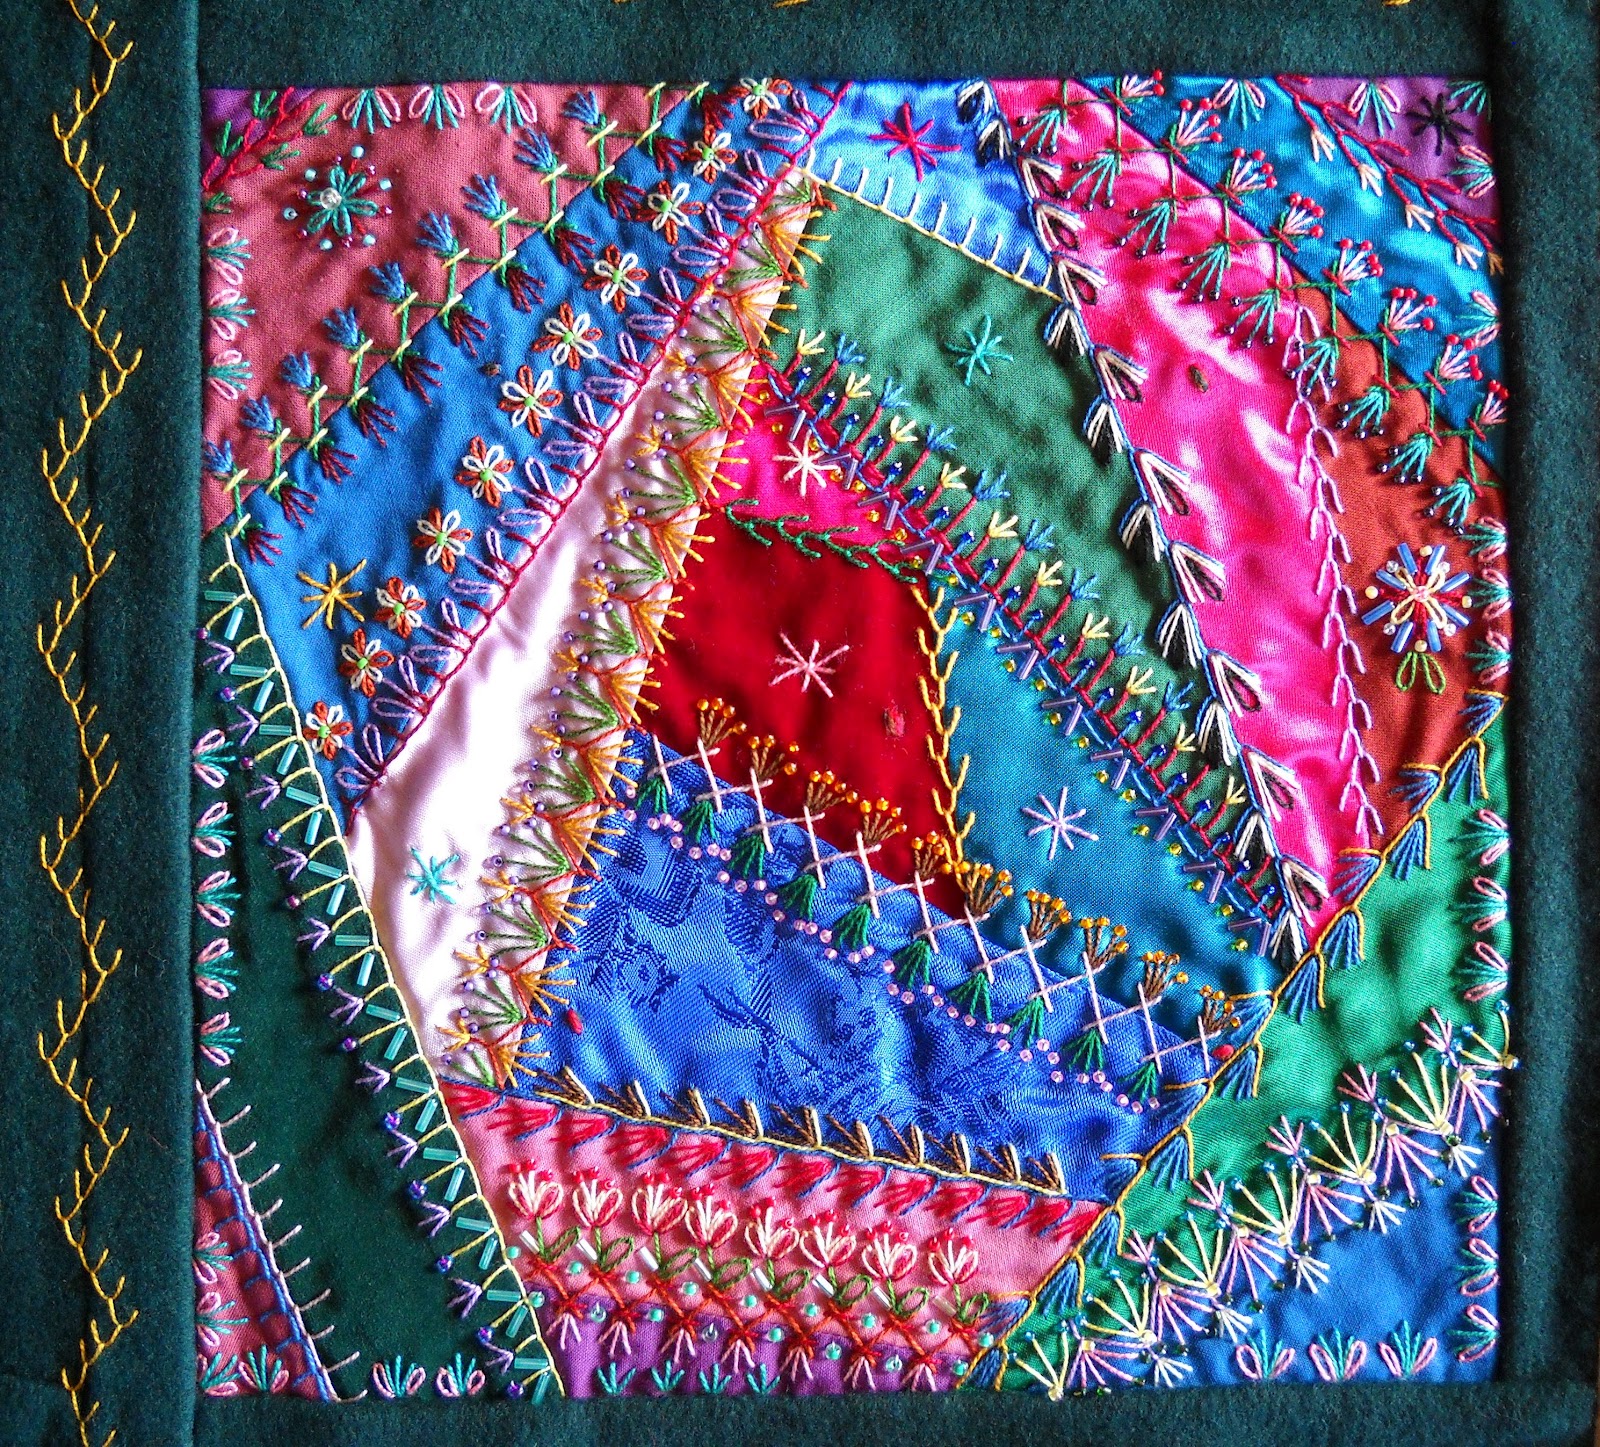
With the encouragement of my husband, Joe, I decided it was time to take my Victorian quilt out of storage and share it with all of you. I made this quilt back in 1996. It is created from my own imagination. There are 56 blocks in the total assembly of this masterpiece. It is one of my finest quilts that I have ever created. I enjoyed each and every minute I spent making this quilt. I will be sharing each block with you. I hope you don’t get bored.


The name for this block came to me as I was looking at this particular photo. The row of tiny flowers I embroidered using the lazy daisy stitch reminds me of a flower patch.  


The patience for such a project is something that can be good therapy, as well. Just one section of stitching has forty tiny glass pink seed beads added to the tops of each stitch. I wonder how many beads there are in this one block alone………..


You will see a combination of different stitches and threads used throughout this quilt. In many cases one stitch pattern is overlapping the other, giving it a layered look and adding more interest to the block.


When photographing the quilt I had run into a problem with the color fuchsia, just not coming out right. From the start to finish of the photography session of my quilt, this was the one color that gave me problems.


With this photo you can see where I used bugle beads in place of stitches.


It was fun to create my own little flowers and mix up the use of different colored threads at the same time. And of course the beads add so much to each little section of the block.


Monday, July 9, 2012

My Victorian Quilt


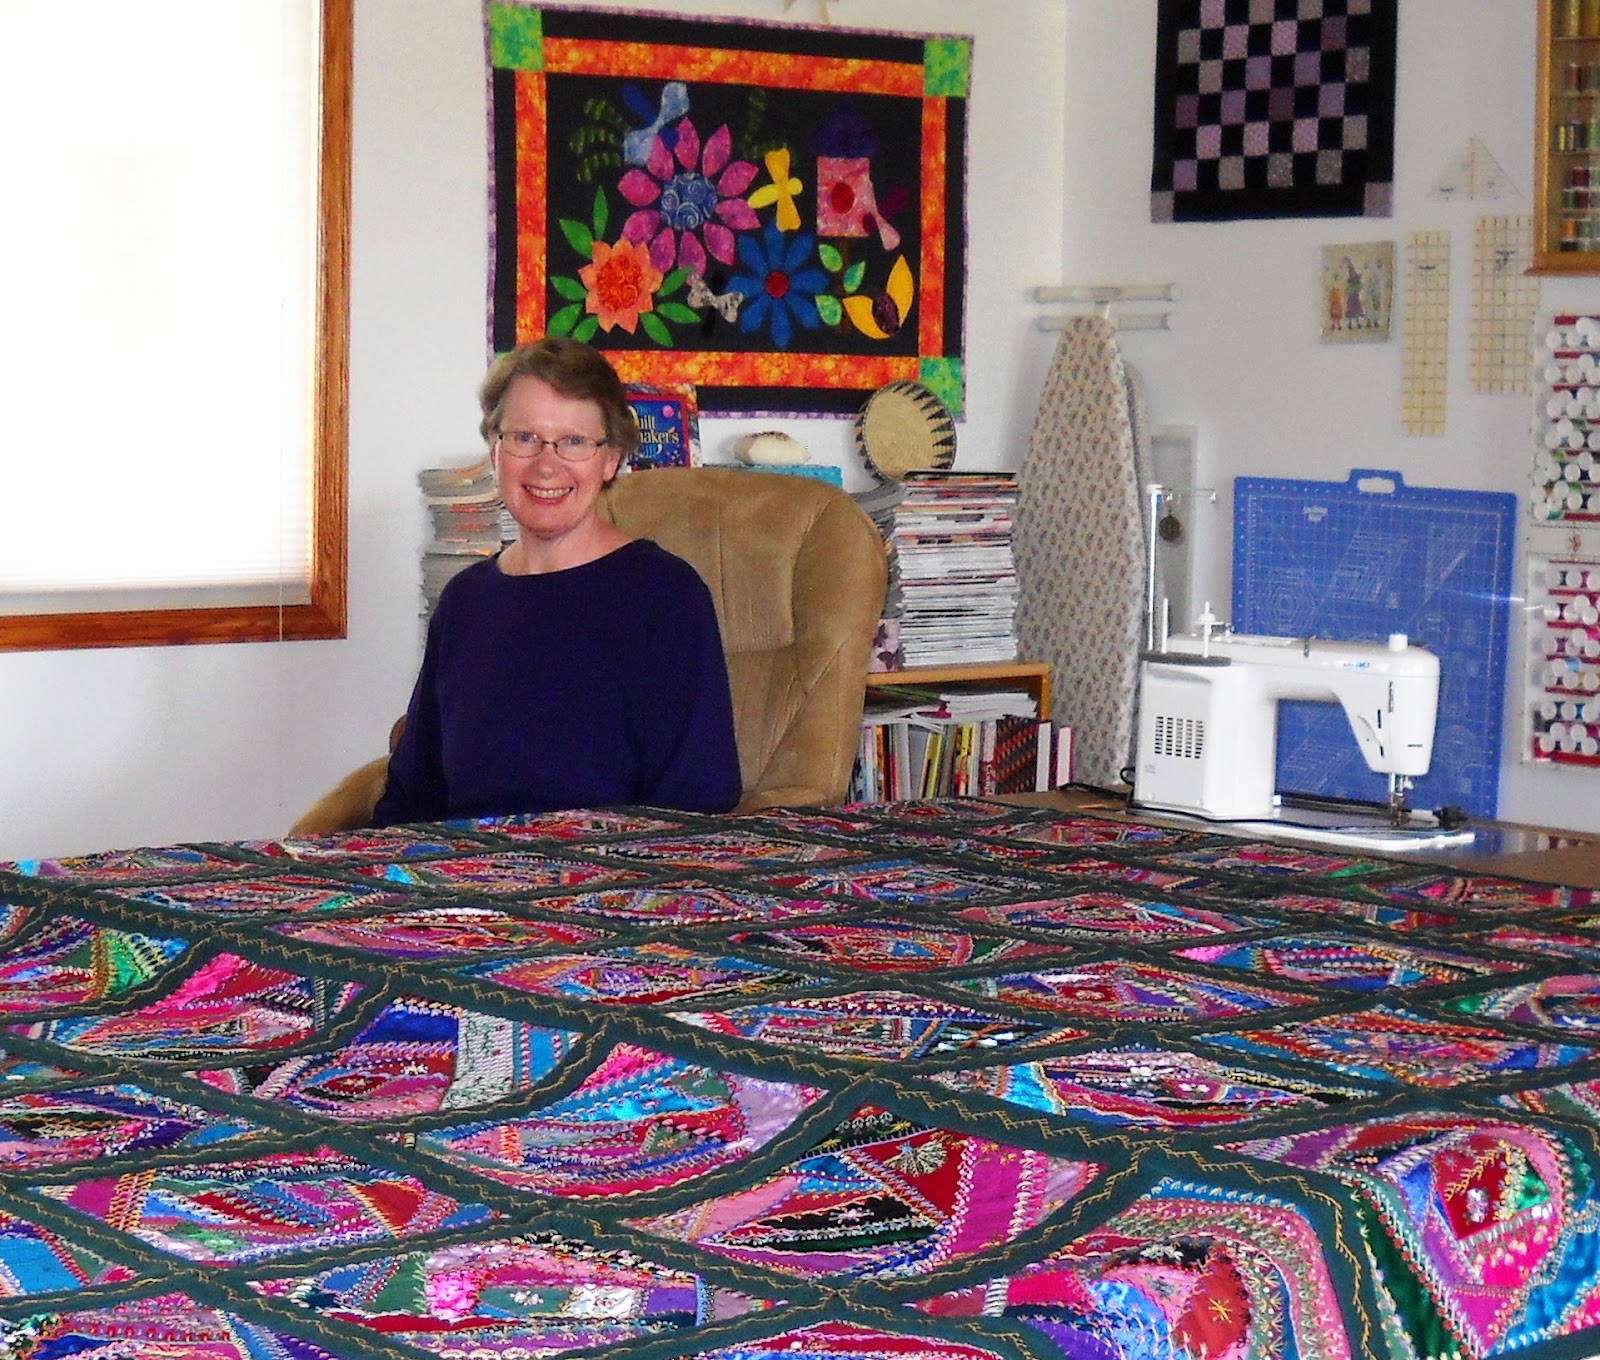
What is in the box you might ask – well it is 18 months of total daily commitment to a project that has received no exposure since it was completed.


This is my Victorian quilt that I had finished back in 1996. There are a total of 56 individual blocks, each one totally unique in its design. With the help of my husband we photographed the entire quilt, so we could share it with all of our friends out there.


I hope that you enjoy viewing this quilt in the upcoming months as much as I do when I look at it, as well.


Monday, July 2, 2012

Scrapbook Paper - Grape Harvest


This is a background that I am working on for a photo collage. Here is my step by step progress......


When Joe wasn't looking I took some more of his mat board left over from one of his framing projects. I thought I would make it an 8X10. I started with a sketch of grapes and vines.

I used “Crayola Twisters” to color in the leaves and grapes and accented them with my “Sharpie” brand makers. I then drafted a one inch grid on the diagonal, and then sketched in quilt lines.


I have found two kinds of gel pens that I like by "Jelly Roll" and "Glaze." They even come in glitter and metallic. I proceeded to cover the grapes in a deep purple and accented the vines and stems with gold.


I wanted to give it an antique look so I then layered the edges and quilt stitches with yellow ink by "Memories".


I had some harvest stamps by "Creative Imaginations" so I stamped in some text and also added some little leaves to the vines with brown ink.


Sunday, June 24, 2012

Amish Pin Wheel


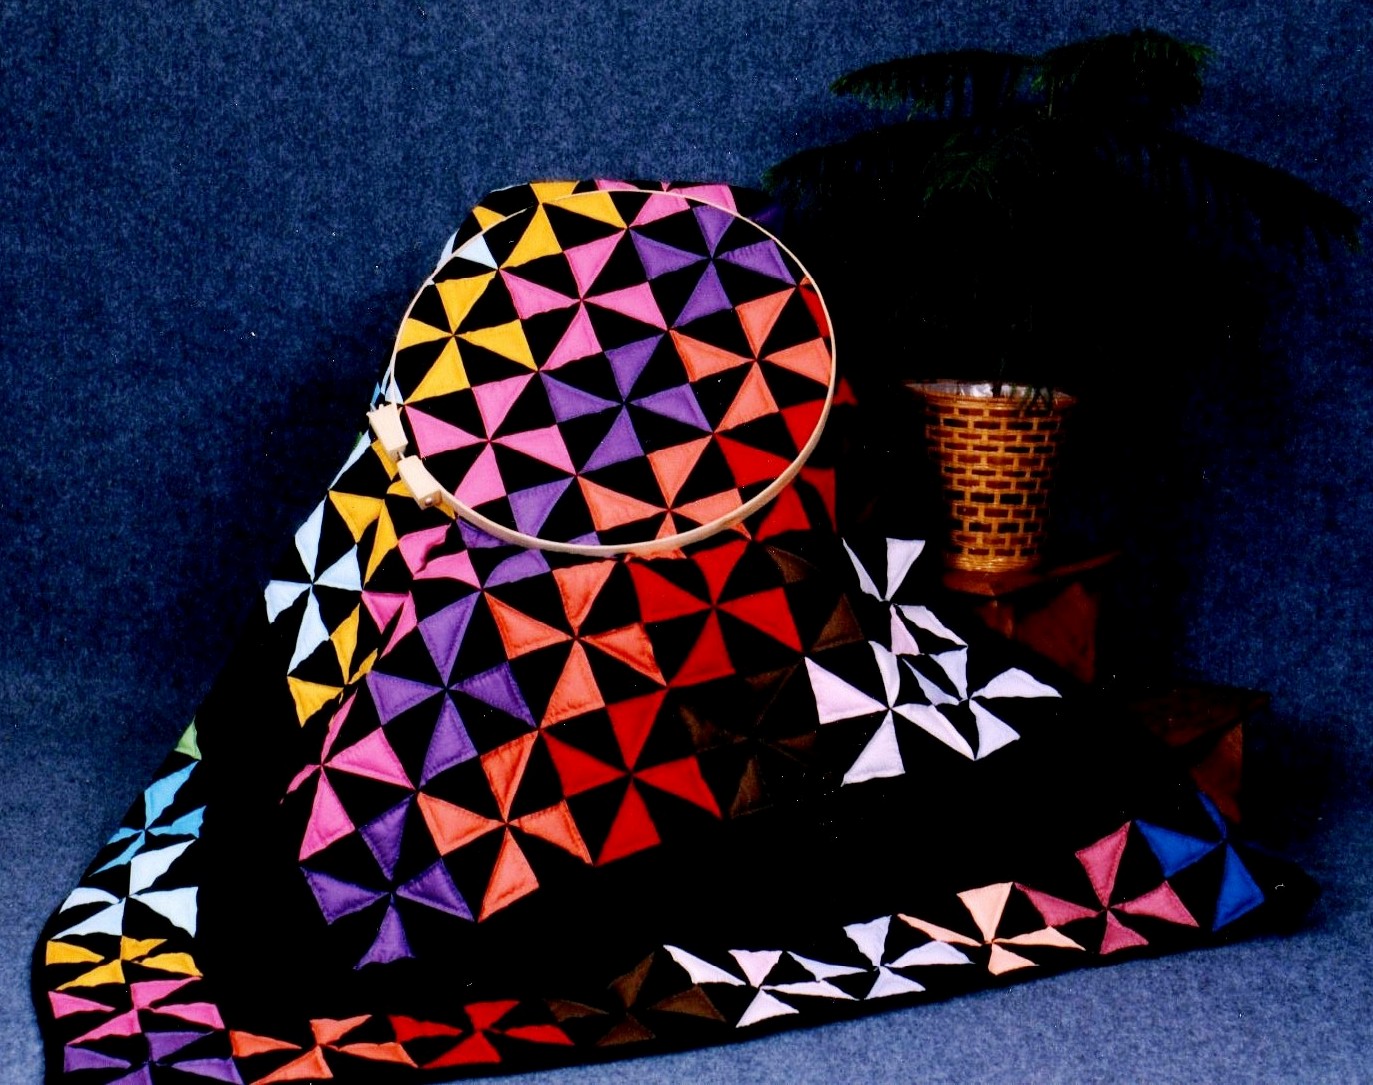
I have always been interested in the designs and colors of Amish quilts. A couple of years back I decided to adapt this style into a quilt that I was going to put together.


This particular quilt was featured on several catalog covers by “The American Quilters Society.” The first time it was on the cover of their 1988 Fall issue and then when they put together their Collection of Quilts 1860 – 1989, mine was also was one of the quilts that was placed on the front cover of that publication.


The colors were a combination of my own design and imagination. The blocks were pieced using the pinwheel pattern from 8 small triangles. The quilt was a standard bed size, machine pieced and hand quilted.


Although this photo was taken with a quilting hoop as a prop, I hand quilted this quilt in an old fashion quilt frame consisting of four boards, some clamps, and chairs.


Each triangle was quilted a quarter inch from the seam.


This quilt has a sweet little history. Not only did it make the cover of several publications, after about 5 years I received a letter from a lady who spent a night in a Bed and Breakfast in Vermont. She said she slept under this fabulous quilt, and she enjoyed the quilt so much, that she just had to write to me. When I sent the quilt to The American Quilter’s Society it was required to sew a sleeve on the back of the quilt with my name and address on. This was for photography and identification purposes. Apparently the sleeve was not removed by the buyer. What a thrill it was to know the location of my quilt, and also that it had a good home.

Wednesday, June 13, 2012

Applique Mixed Media Art Quilt


A couple of years ago I wanted to experiment with some fusible applique and Heat and Bond. It seemed like a great way to create something really new and interesting. I had purchased some roving wool, but had never worked with it before. It came in an assortment of six colors to a packet.


I used fabric from my stash that had quaint houses and flowers in the print. I fused a piece of Heat and Bond to the back of the fabric and started cutting out the cute little houses and buildings. I created a background out of landscaping fabrics and some really interesting tree fabric. The layout of the piece at this time of the project became a lot of hit and miss. I really did not have a clear idea as to how I wanted to project to look in the end, so I auditioned the fabrics in many different ways before they started to come together.


My husband is always interested in what I am doing. Here I am placing some of the flowers on to the background to create a layering effect.


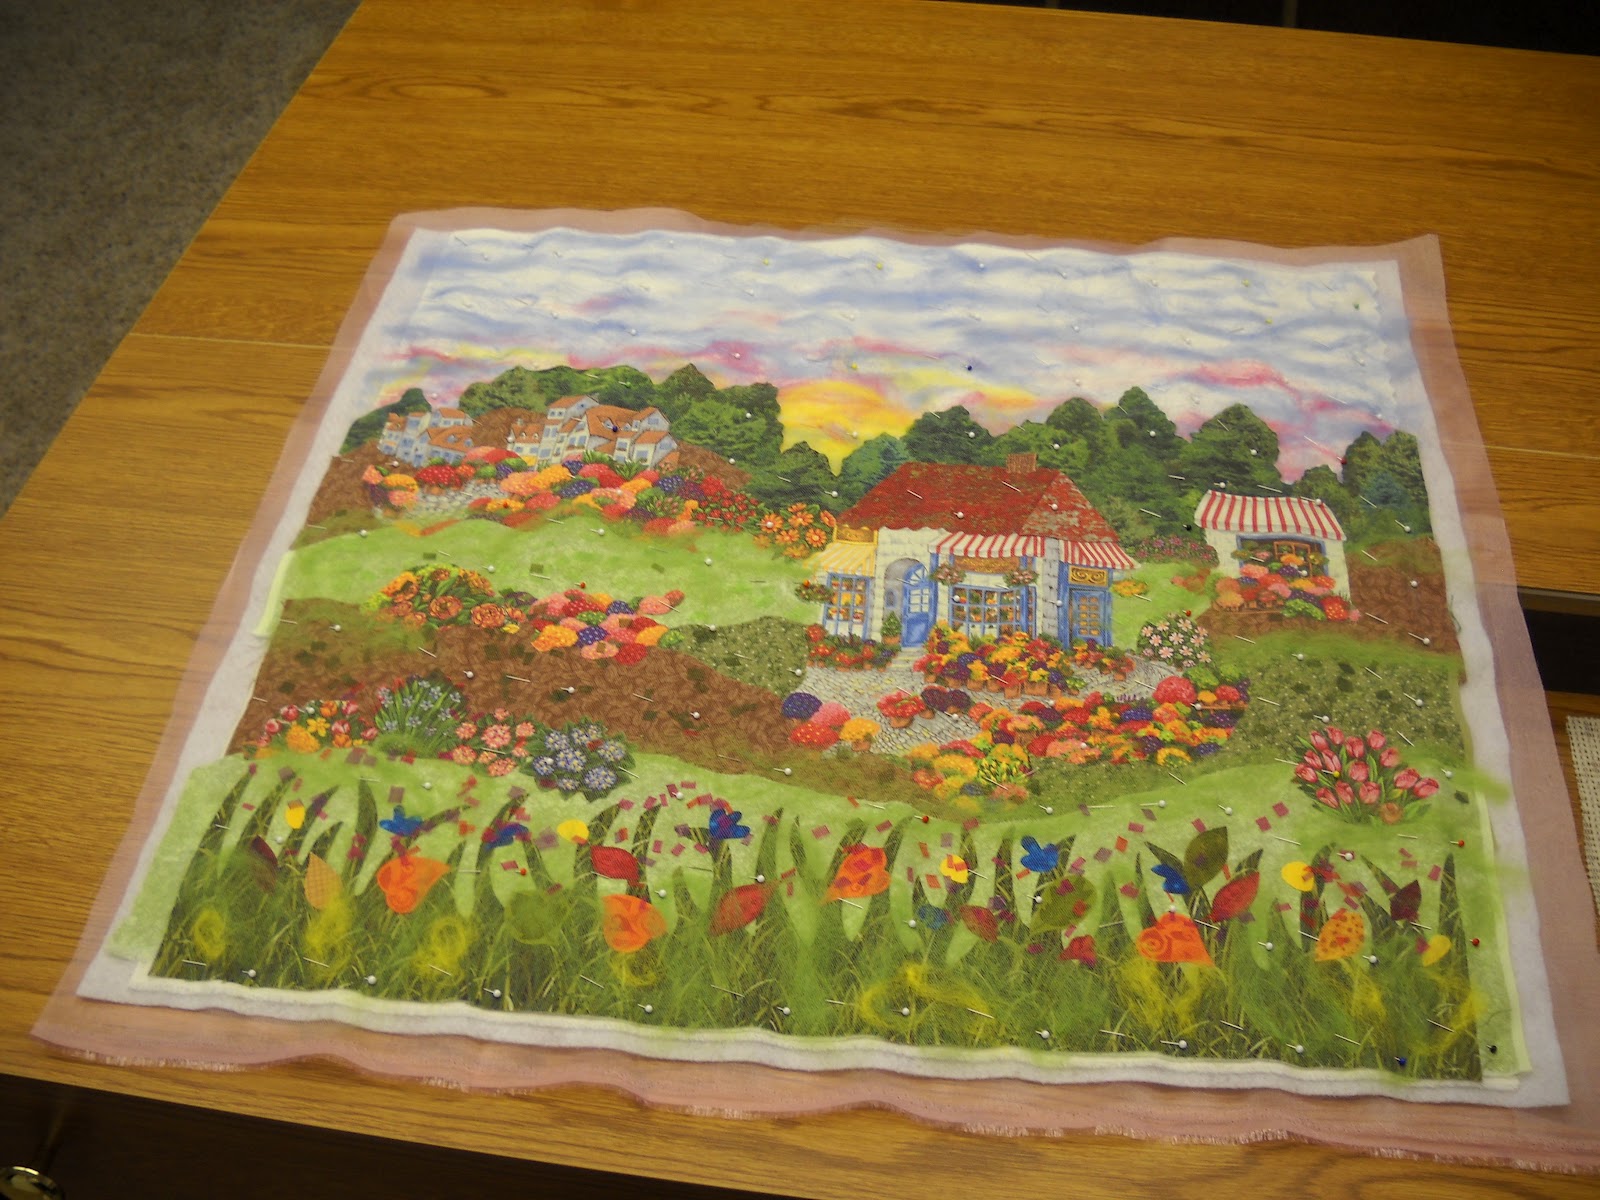
When I originally started this project, I did not have any plans of sharing it with the quilting community. Unfortunately, I did not take a lot of photos during the creation process. I used the roving wool to create the sun and the sky. Once I had all my fabric arranged to create a scene of hills, a forest of trees, and my flower gardens and houses, I fused it all down to my background of muslin. I then covered the entire quilt with bridal tulle. I added batting to the back and pinned it in place.


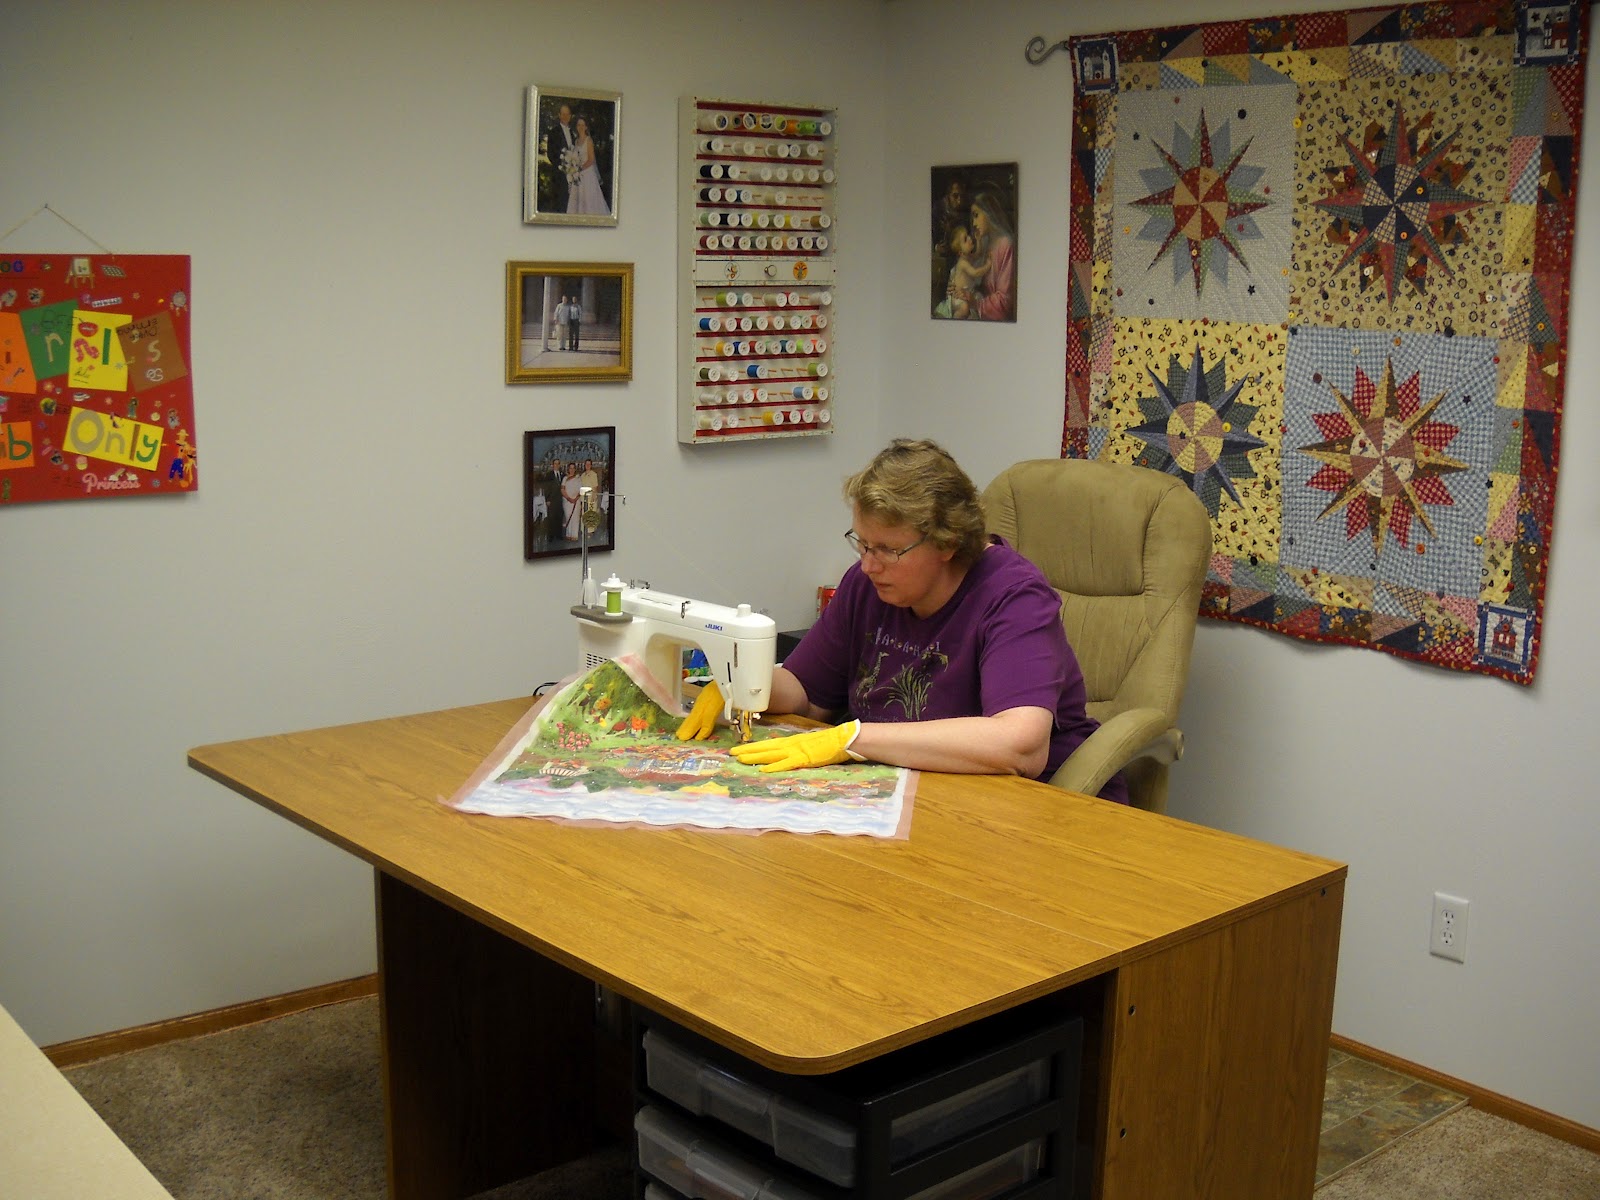
My husband bought me a beautiful Juki sewing machine and a new table. I just love it. The machine is a real work horse with a good motor. It does a great job of free motion quilting. I took the pin basted quilt to the machine and added a lot of stitching throughout the sky and actually over the entire piece.


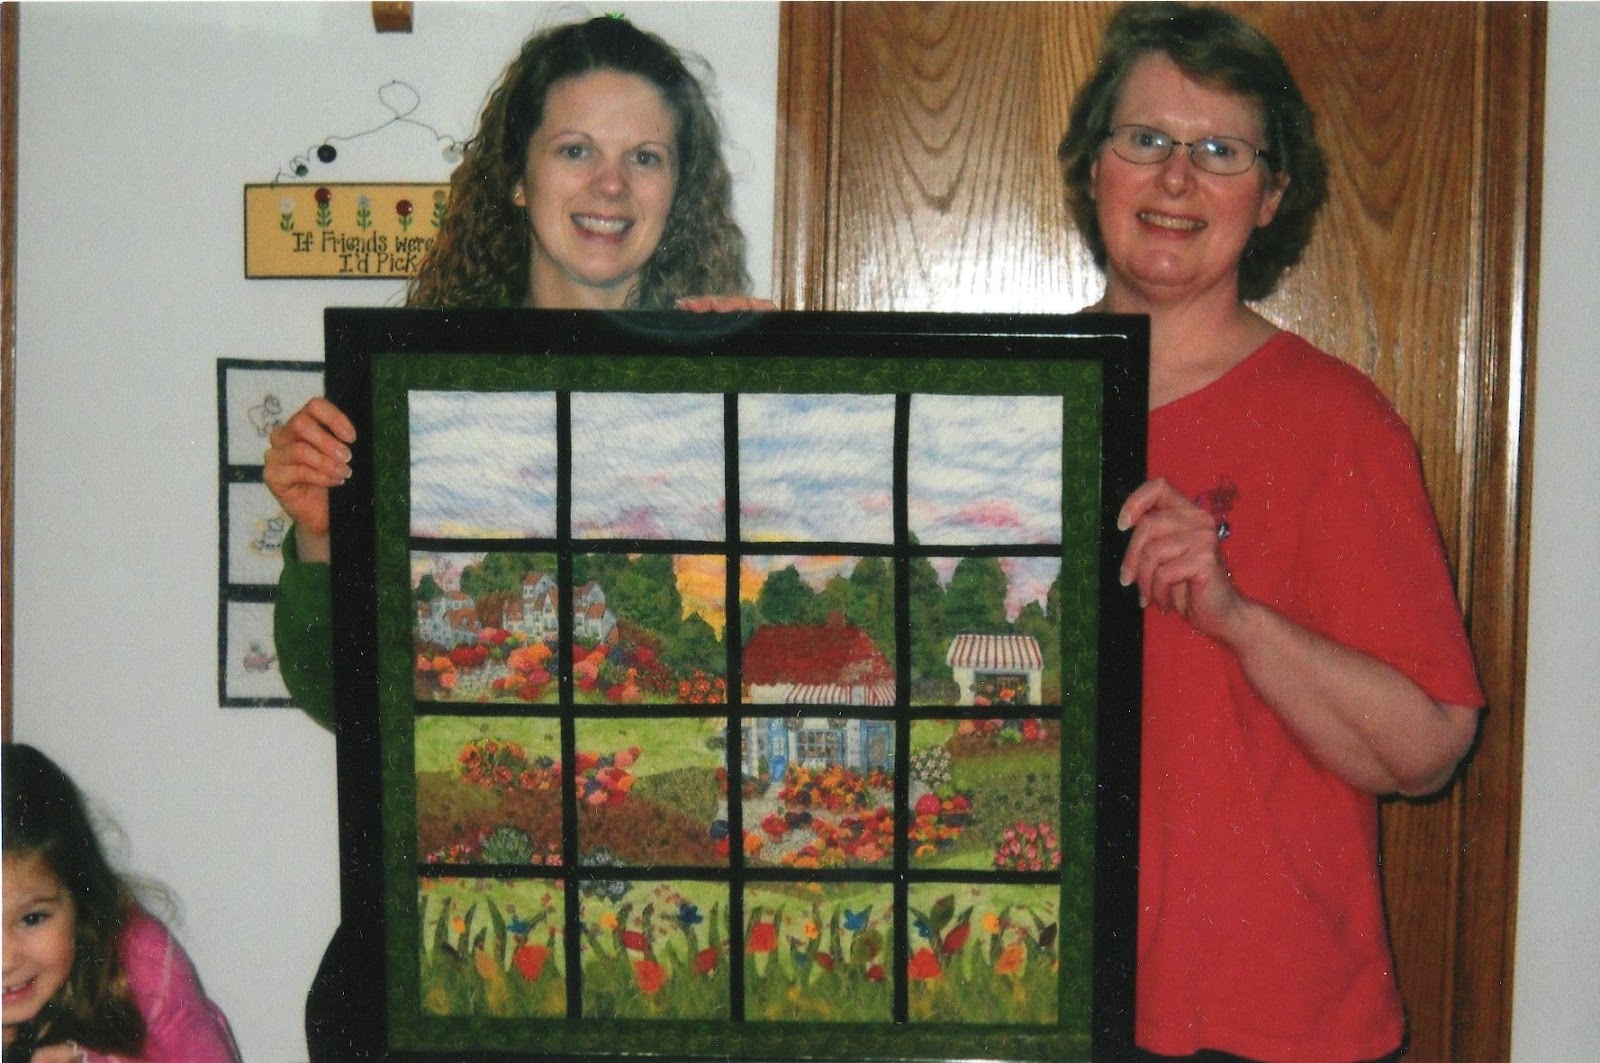
Once the machine thread painting was done I still needed to find a way to finish the piece. I used strips of black bias tape and gave it the appearance that you were looking out a window. I added a backing and binding and did a little more machine quilting. I wanted to have this as an actual piece of artwork, so I decided to put it into a solid black frame to keep with the window effect.


My daughter Barb really likes the color green, and since that is the primary color I used, I knew she would enjoy this project. She was really surprised when she opened her gift.


Here we are with the finished quilt. I called this art quilt, “The View Out My Window.”