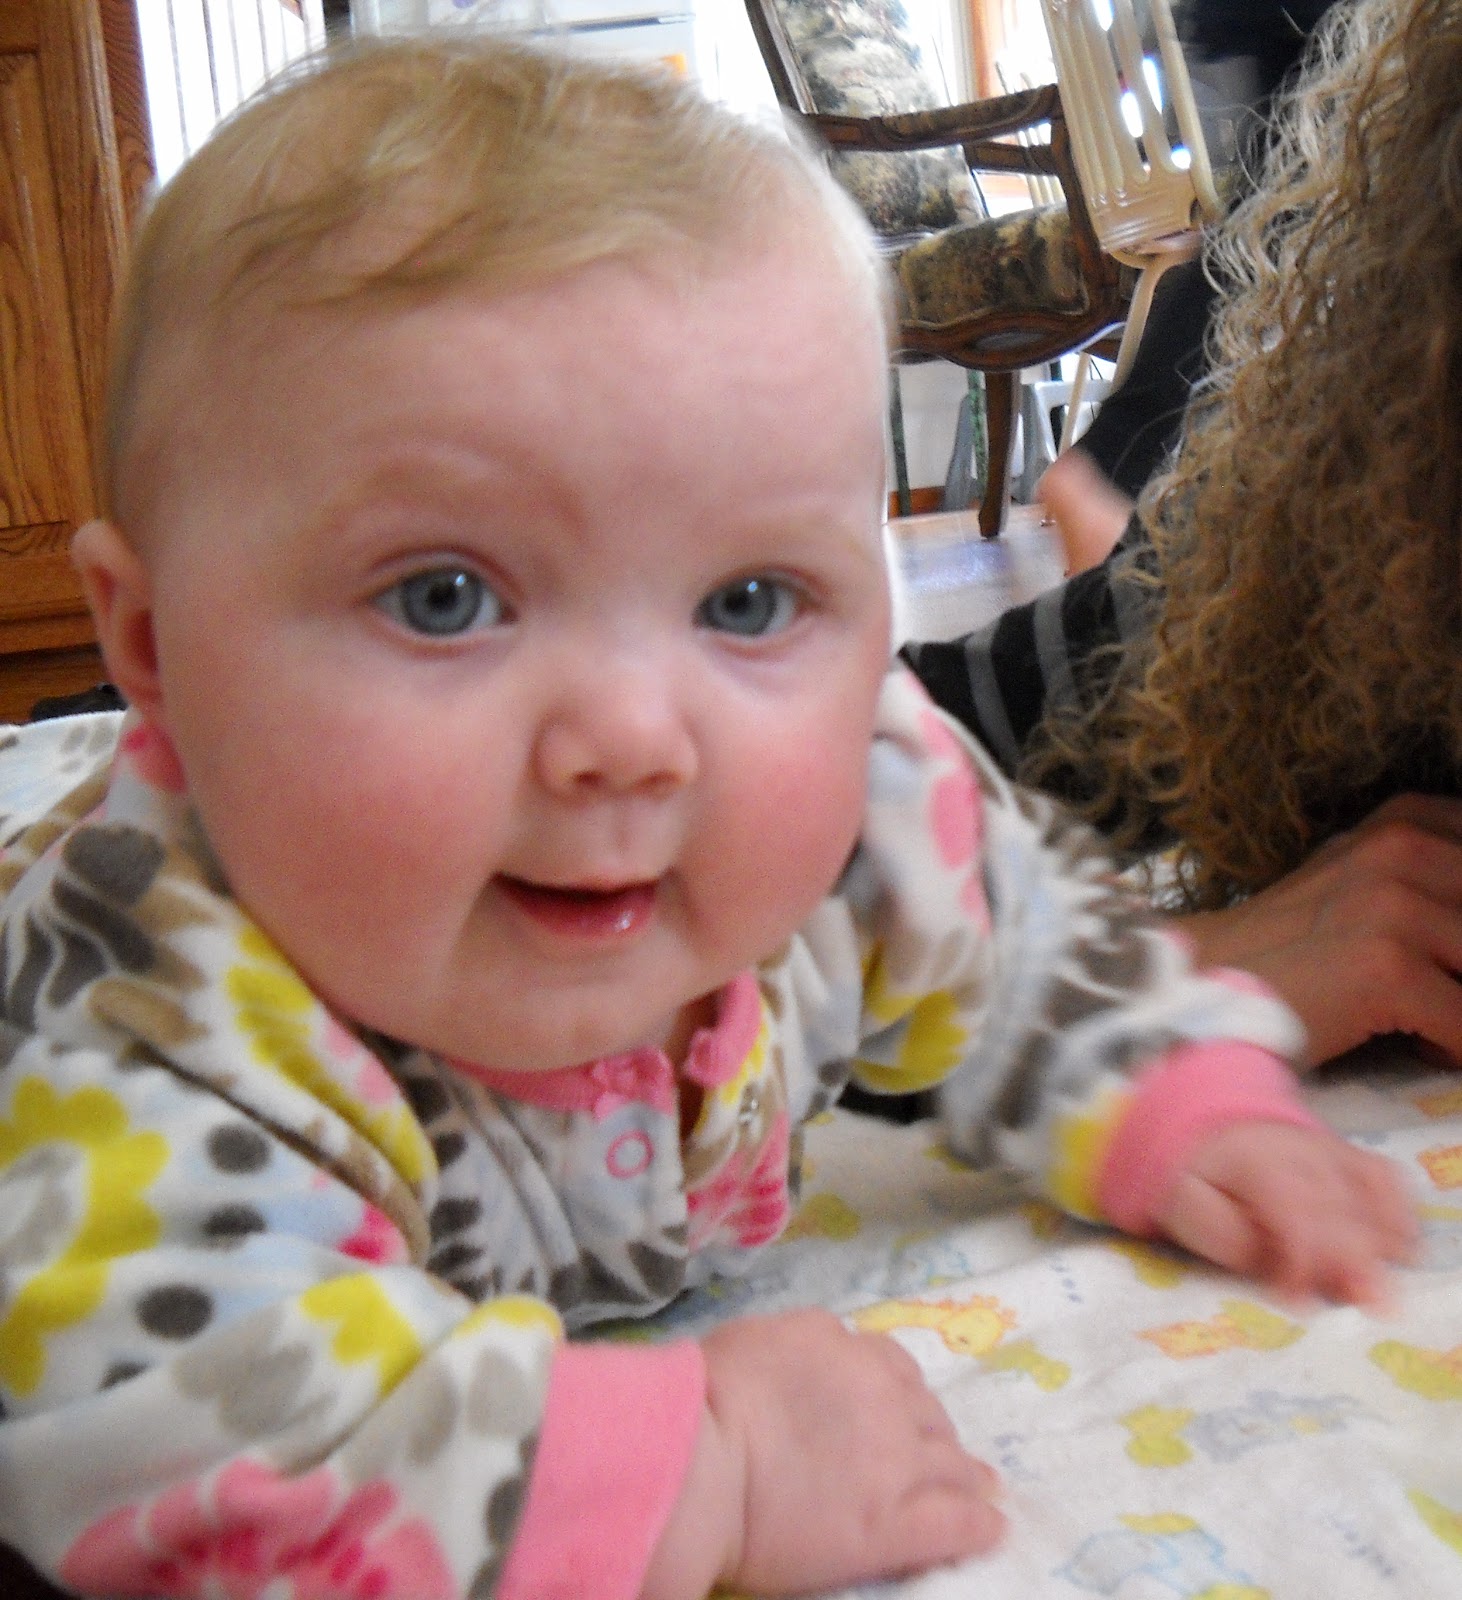
When our latest
little granddaughter, “Wednesday” needed her new bedroom decorated, I decided
to join in on the fun and make a little keepsake that she would have for many
years to come.

I
wanted to make this wall hanging very unique, just for Wednesday, so drew up
this butterfly as the main focal point for the piece.

The
nice part of using a butterfly was that I could make it any colors that I chose.

I drew the center of
my artwork on a piece of mat board that was 6 x 8 inches. Once the initial
coloring was finished on the butterfly, I drew in swirls with a clear gel pen
and then sprayed green Glimmer Mist over the background. The gel pen acted as a
resist and remained white. I liked this part, as it added more interest to the
background.
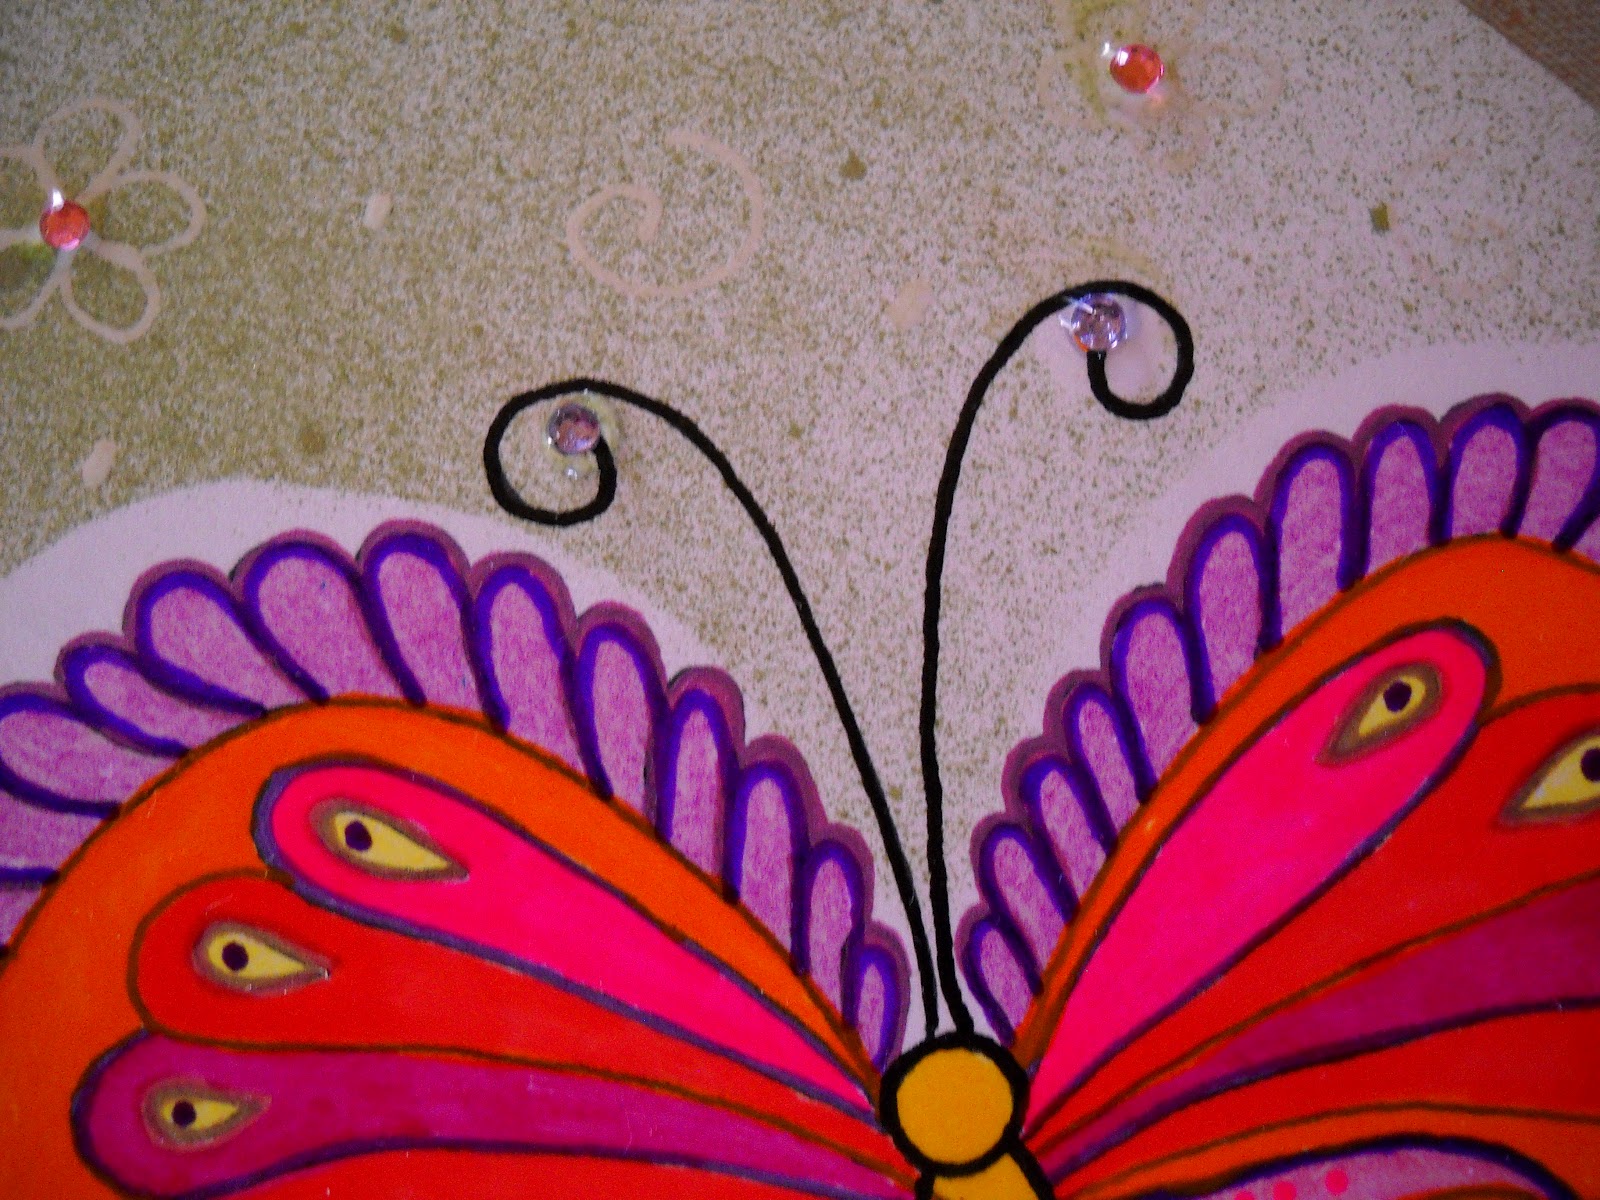
The
butterfly was too light, so I used the gel pens again to bring in more color. I
also liked the way these pens leave a raised dimension on the top of the paper.

The
next step was to create the background for the butterfly art. For this part I
went to my husband’s mat board stash again, and found a perfectly colored green
piece. Once this was cut down to the proper size, I used my stamps and added
images and text with ink and paints. I had a set of calendar stamps, so I
stamped Wednesday’s name into the background to make it personal. I also inked
in brown to give it an aged look.

I
wanted to incorporate some torn paper into the project. I enjoy doing this, as
it is a great way to break up all the straight lines. I had some brown paper
with a green core that went perfectly with the colors I was using. Since I was
using this technique later in the artwork I wanted to add a little to the
center.

To
get everything glued into place I used my brayer and Mod Podge that I brushed
on with a foam brush.

To give some contrast
to the different layers I was applying, I chose to use a purple cardstock and
glued it down next. It brought out the purple colors in the butterfly.

For
the final assembling of the center piece, I placed my butterfly art over the
purple paper and everything was glued down and pressed with a stack of books.

I have a feeling that
Wednesday will be a free spirit she grows up. She is developing a personality
all her own. I decided to use the phrase: “Butterflies Are Free” referring to
my special little girl. I cut out some chipboard letters and taped them to a
sheet of cardstock. With a stencil brush and ink pad I colored them orange.
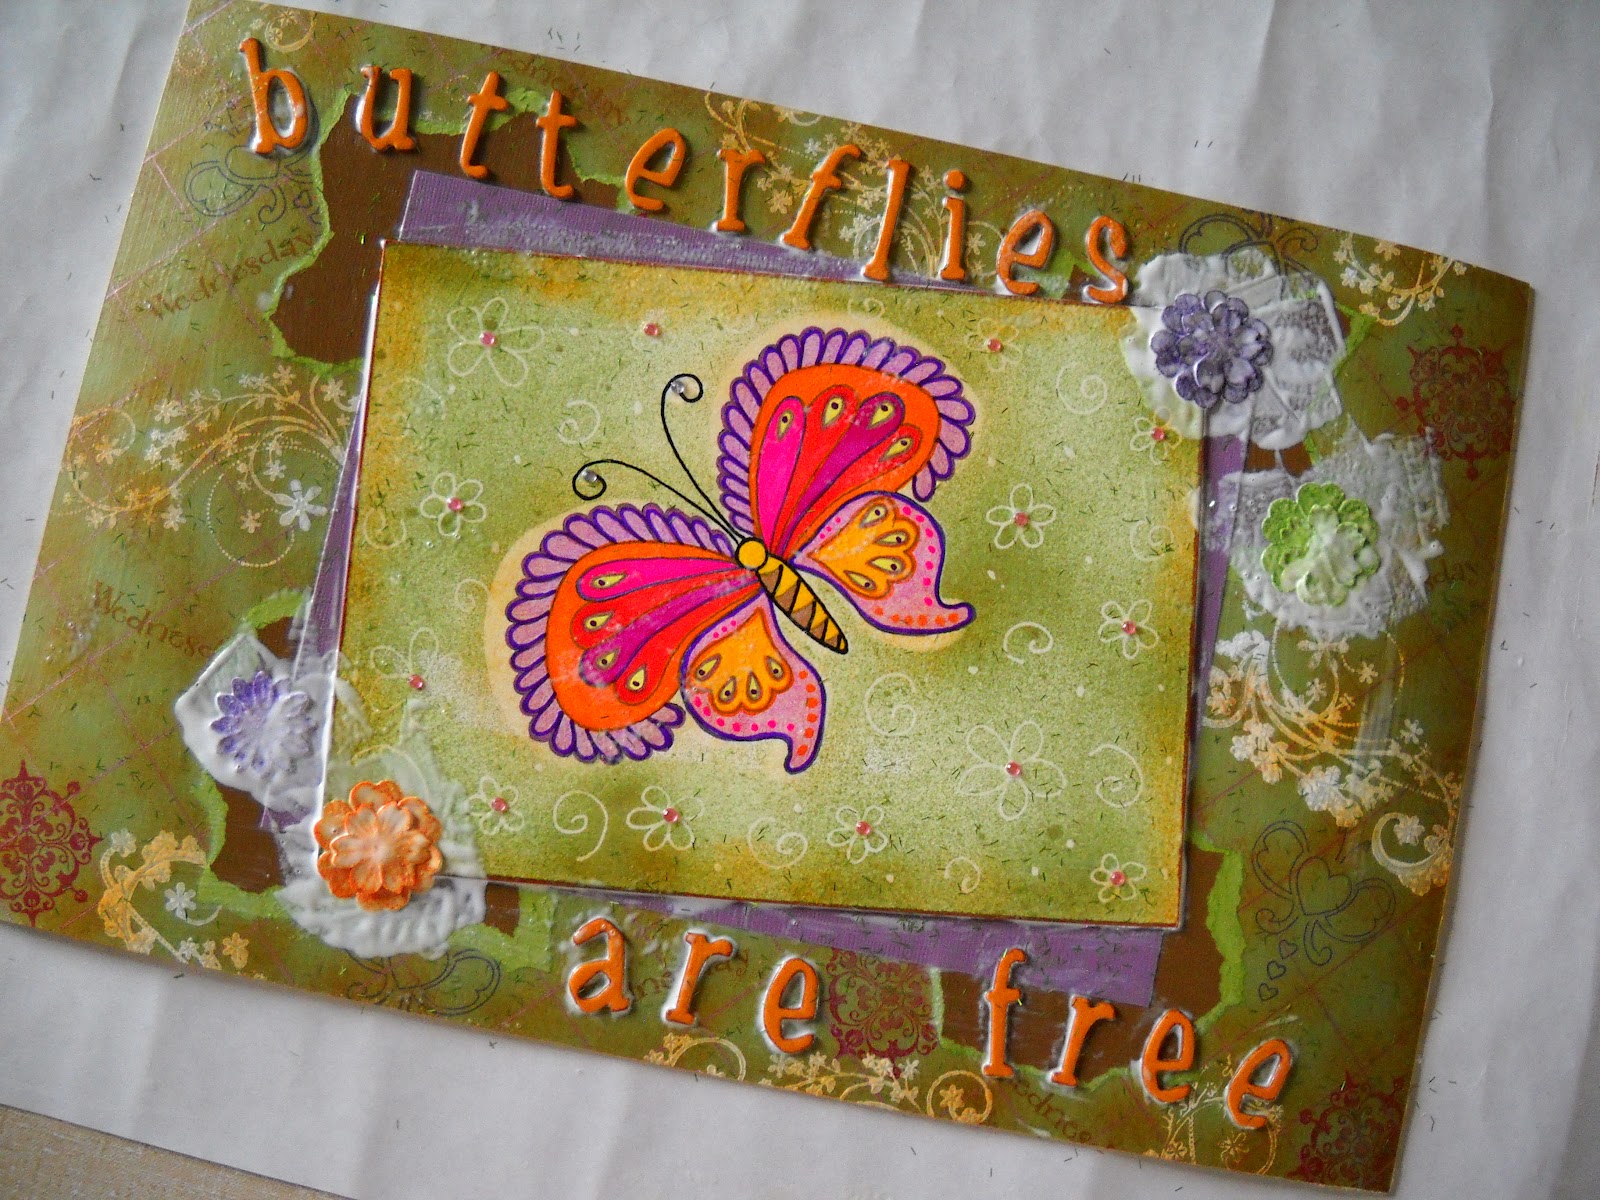
Here
the letters are in place and I also added paper flowers and in this step you
can see the Mod Podge is wet.
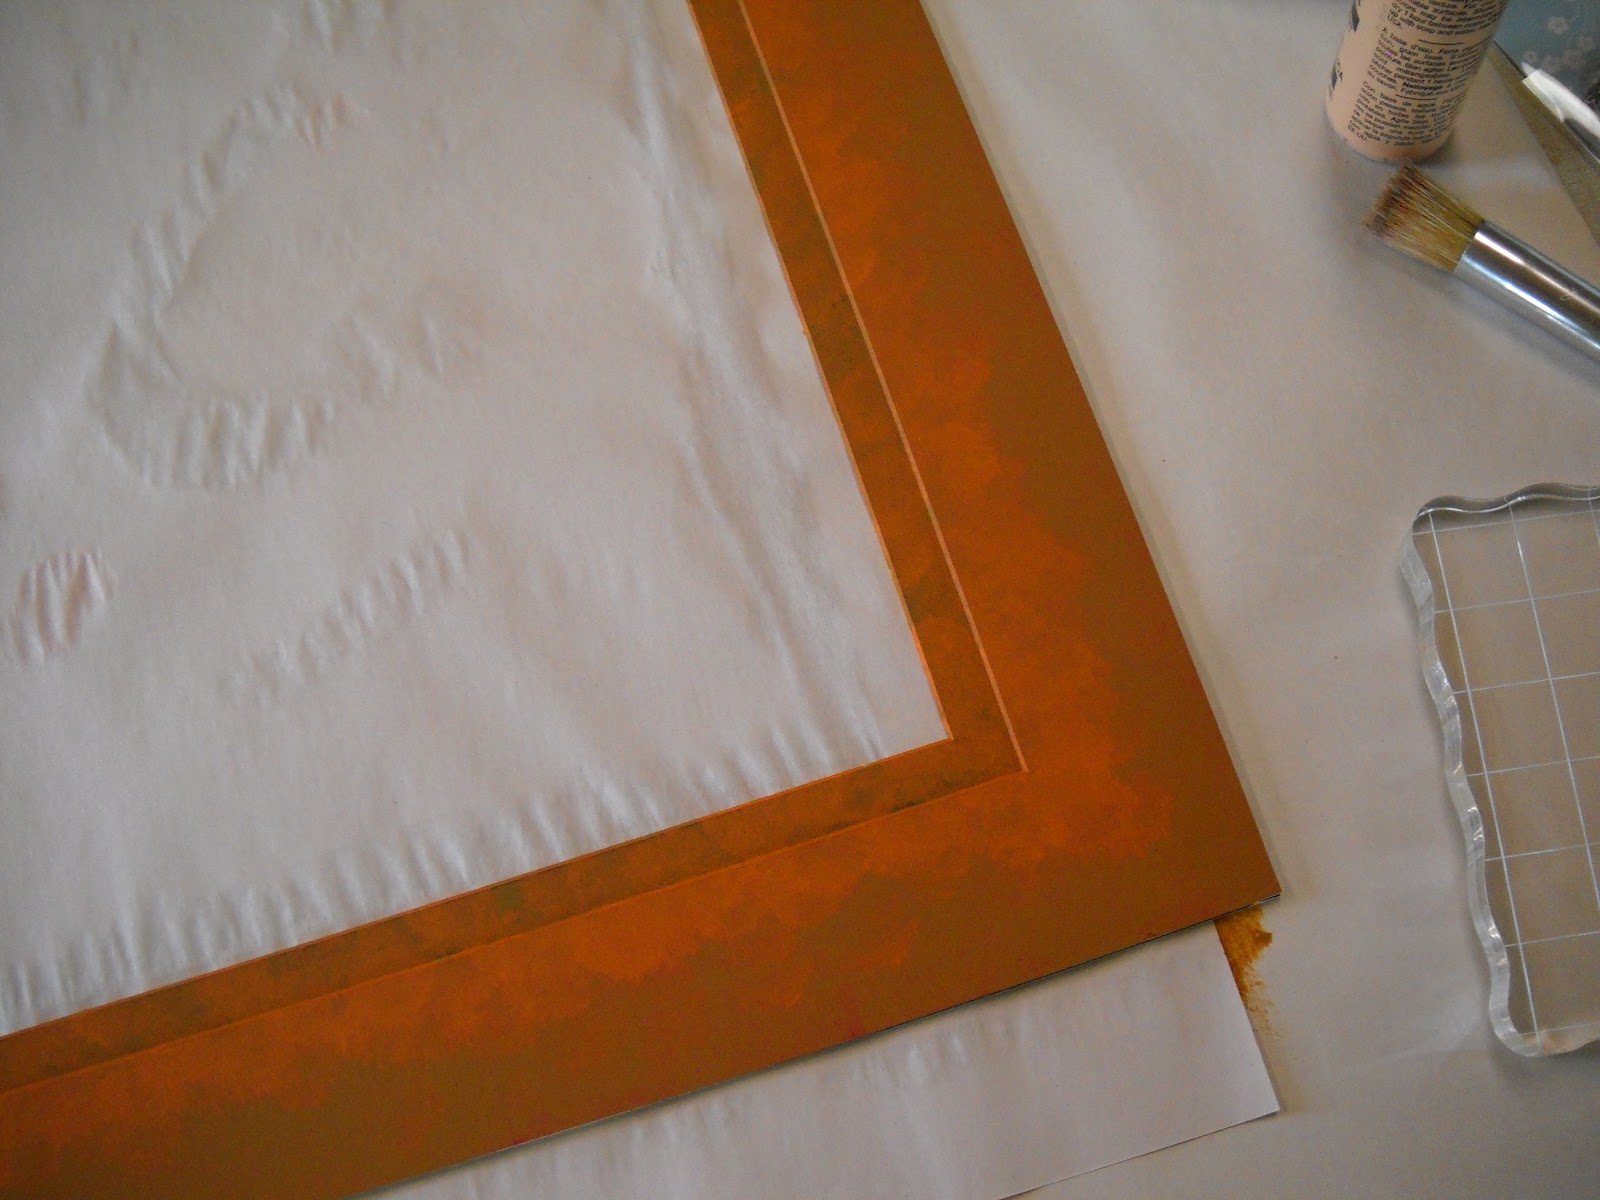
The main materials
for this project came from a recycled frame and already cut picture framing mat
board. I painted the mat board in browns with acrylic paint.

I used my stamps and did a little stamping
with paint instead of ink. Then I inked over the stamped areas to tone down the
white paint.

Next I needed a base for everything to be
placed on, and also a base for the next part to be created on. I drew on some
positioning lines where I wanted to do a little torn paper design.
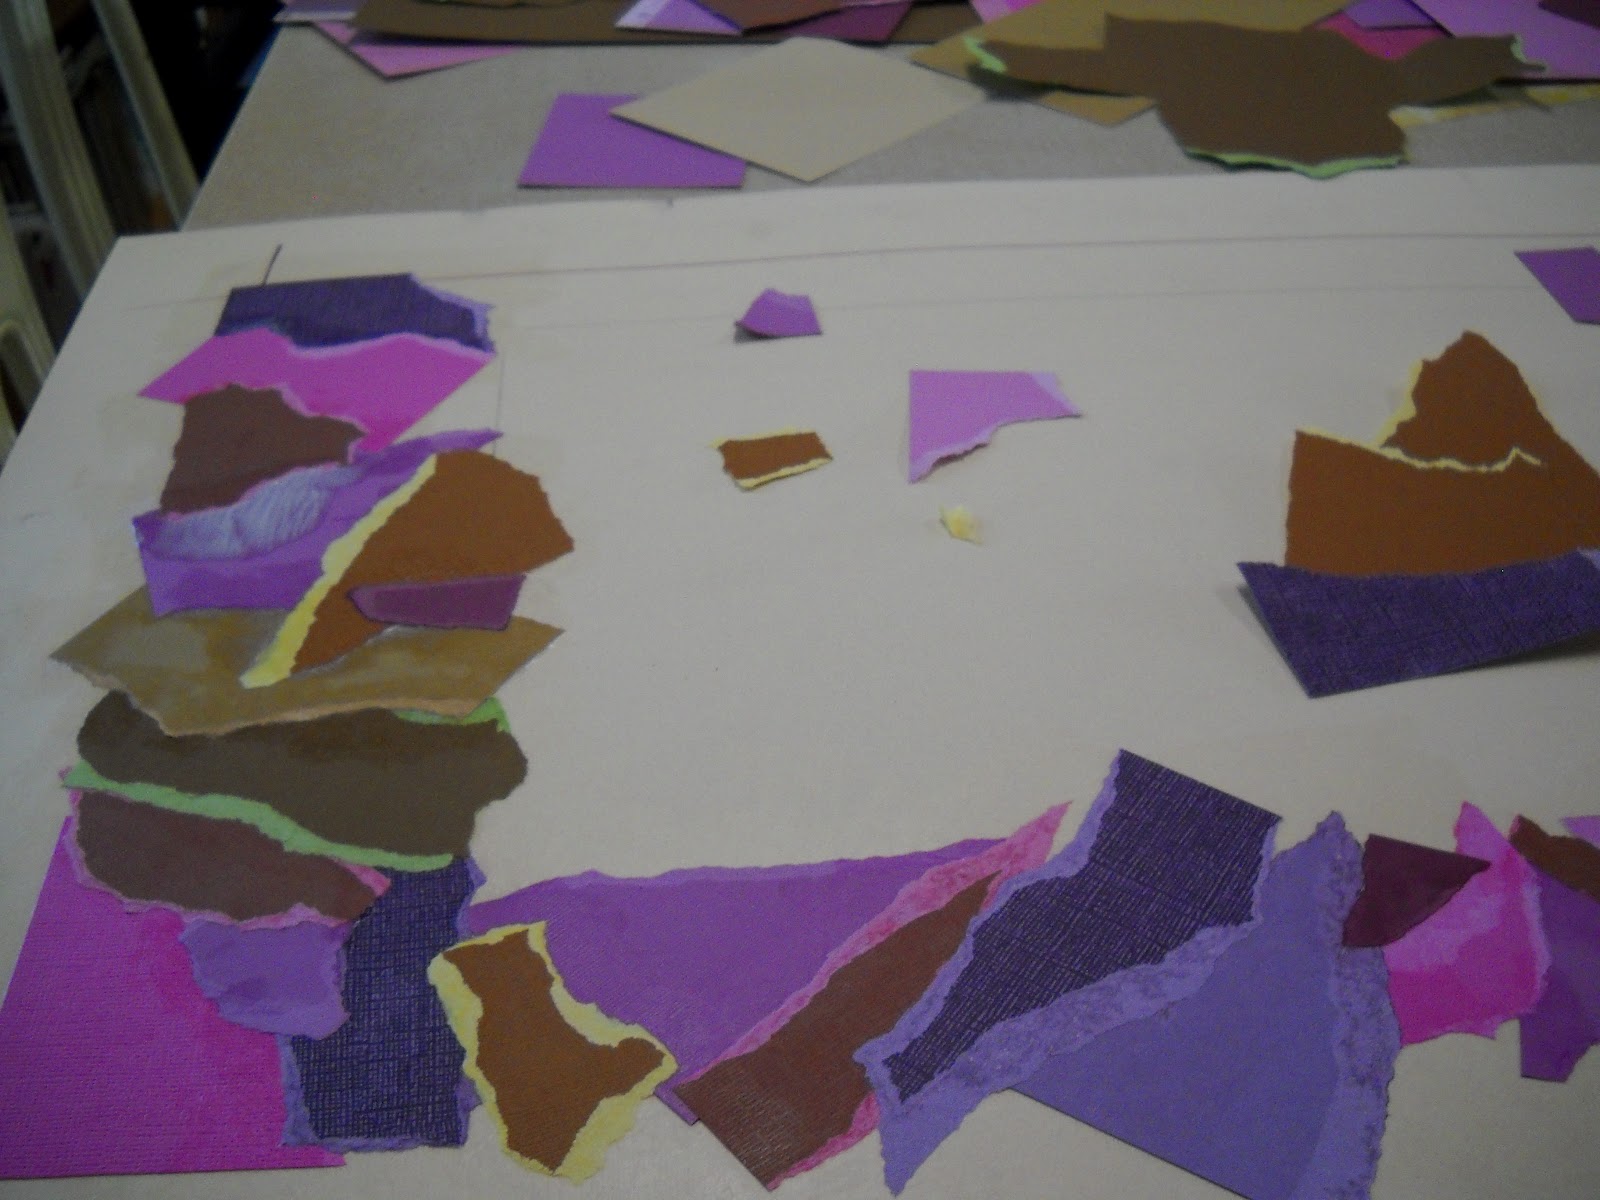
Here you can see the
paper being glued down. I wanted a stained glass affect.

After everything was
put in place on the base mat, and all the torn paper was glued into place, the
matting itself was glued down.
Now to make sure
everything stayed flat and in place while it dried, I covered it with wax paper
and stacks of books and magazines.

Now out to the garage,
and it is time to spray. I am using Krylon Low Odor Acrylic sprays.

It took many coats of
spray to seal all the papers.
.JPG)
.JPG)
.JPG)
I signed and dated it
on the back.
.JPG)
I love you Wednesday!
No comments:
Post a Comment